Multi-Platform Multi-Bus Walk-through
This guide describes the setup process for a multi-platform connection that has a combination of ZeroMQ and RabbitMQ instances. For this example, we want to use the Forwarder to pass device data from two VOLTTRON instance to a single “central” instance for storage. It will also have a Volttron Central agent running on the “central” instance and Volttron Central Platform agents on all 3 instances and connected to “central” instance to provide operational status of it’s instance to the “central” instance. For this document “node” will be used interchangeably with VOLTTRON instance.
Node Setup
For this example we will have two types of nodes; a data collector and a central node. Each of the data collectors will have different message buses (VOLTTRON supports both RabbitMQ and ZeroMQ). The nodes will be configured as in the following table.
| Central | Node-ZMQ | Node-RMQ | |
|---|---|---|---|
| Node Type | Central | Data Collector | Data Collector |
| Master Driver | yes | yes | |
| Forwarder | yes | yes | |
| SQL Historian | yes | ||
| Volttron Central | yes | ||
| Volttron Central Platform | yes | yes | yes |
| Exposes RMQ Port | yes | ||
| Exposes ZMQ Port | yes | ||
| Exposes HTTPS Port | yes |
The goal of this is to be able to see the data from Node-ZMQ and Node-RMQ in the Central SQL Historian and on the trending charts of Volttron Central.
Virtual Machine Setup
The first step in creating a VOLTTRON instance is to make sure the machine is ready for VOLTTRON. Each machine should have its hostname setup. For this walkthrough, the hostnames “central”, “node-zmq” and “node-rmq” will be used.
For Central and Node-RMQ follow the instructions Building-VOLTTRON#steps-for-rabbitmq. For Node-ZMQ use Building-VOLTTRON#steps-for-zmq.
Instance Setup
The following conventions/assumptions are made for the rest of this document:
- Commands should be run from the VOLTTRON root
- Default values are used for VOLTTRON_HOME($HOME/.volttron), vip port (22916), HTTPS port (8443), rabbitmq ports( 5671 for AMQPs and 15671 for RabbitMQ management interface). If using different VOLTTRON_HOME or ports, please replace accordingly.
- Replace central, node-zmq and node-rmq with your own hostnames.
- user will represent your current user.
The following will use vcfg (volttron-cfg) to configure the individual platforms.
Central Instance Setup
Note
This instance must have been bootstrapped using –rabbitmq see Building-VOLTTRON#steps-for-rabbitmq.
Next step would be to configure the instance to have a web interface to accept/deny incoming certificate signing requests from other instances. Additionally, we will need to install a Volttron Central agent, Volttron Central Platform agent, SQL historian agent and a Listener agent. The following shows an example command output for this setup.
(volttron)user@central:~/volttron$ vcfg

Your VOLTTRON_HOME currently set to: /home/user/.volttron

Is this the volttron you are attempting to setup? [Y]:
What type of message bus (rmq/zmq)? [zmq]: rmq
Name of this volttron instance: [volttron1]: central
RabbitMQ server home: [/home/user/rabbitmq_server/rabbitmq_server-3.7.7]:
Fully qualified domain name of the system: [central]:
Would you like to create a new self signed root CAcertificate for this instance: [Y]:

Please enter the following details for root CA certificate
    Country: [US]:
    State: WA
    Location: Richland
    Organization: PNNL
    Organization Unit: volttron
Do you want to use default values for RabbitMQ home, ports, and virtual host: [Y]:
2020-04-13 13:29:36,347 rmq_setup.py INFO: Starting RabbitMQ server
2020-04-13 13:29:46,528 rmq_setup.py INFO: Rmq server at /home/user/rabbitmq_server/rabbitmq_server-3.7.7 is running at
2020-04-13 13:29:46,554 volttron.utils.rmq_mgmt DEBUG: Creating new VIRTUAL HOST: volttron
2020-04-13 13:29:46,582 volttron.utils.rmq_mgmt DEBUG: Create READ, WRITE and CONFIGURE permissions for the user: central-admin
Create new exchange: volttron, {'durable': True, 'type': 'topic', 'arguments': {'alternate-exchange': 'undeliverable'}}
Create new exchange: undeliverable, {'durable': True, 'type': 'fanout'}
2020-04-13 13:29:46,600 rmq_setup.py INFO:
Checking for CA certificate

2020-04-13 13:29:46,601 rmq_setup.py INFO:
 Creating root ca for volttron instance: /home/user/.volttron/certificates/certs/central-root-ca.crt
2020-04-13 13:29:46,601 rmq_setup.py INFO: Creating root ca with the following info: {'C': 'US', 'ST': 'WA', 'L': 'Richland', 'O': 'PNNL', 'OU': 'VOLTTRON', 'CN': 'central-root-ca'}
Created CA cert
2020-04-13 13:29:49,668 rmq_setup.py INFO: **Stopped rmq server
2020-04-13 13:30:00,556 rmq_setup.py INFO: Rmq server at /home/user/rabbitmq_server/rabbitmq_server-3.7.7 is running at
2020-04-13 13:30:00,557 rmq_setup.py INFO:

#######################

Setup complete for volttron home /home/user/.volttron with instance name=central
Notes:
 - On production environments, restrict write access to /home/user/.volttron/certificates/certs/central-root-ca.crt to only admin user. For example: sudo chown root /home/user/.volttron/certificates/certs/central-root-ca.crt and /home/user/.volttron/certificates/certs/central-trusted-cas.crt
 - A new admin user was created with user name: central-admin and password=default_passwd.
   You could change this user's password by logging into https://central:15671/ Please update /home/user/.volttron/rabbitmq_config.yml if you change password

#######################

The rmq message bus has a backward compatibility
layer with current zmq instances. What is the
zmq bus's vip address? [tcp://127.0.0.1]: tcp://192.168.56.101
What is the port for the vip address? [22916]:
Is this instance web enabled? [N]: y
Web address set to: https://central
What is the port for this instance? [8443]:
Is this an instance of volttron central? [N]: y
Configuring /home/user/volttron/services/core/VolttronCentral.
Installing volttron central.
['volttron', '-vv', '-l', '/home/user/.volttron/volttron.cfg.log']
Should the agent autostart? [N]: y
VC admin and password are set up using the admin web interface.
After starting VOLTTRON, please go to https://central:8443/admin/login.html to complete the setup.
Will this instance be controlled by volttron central? [Y]:
Configuring /home/user/volttron/services/core/VolttronCentralPlatform.
What is the name of this instance? [central]:
Volttron central address set to https://central:8443
['volttron', '-vv', '-l', '/home/user/.volttron/volttron.cfg.log']
Should the agent autostart? [N]:
Would you like to install a platform historian? [N]: y
Configuring /home/user/volttron/services/core/SQLHistorian.
['volttron', '-vv', '-l', '/home/user/.volttron/volttron.cfg.log']
Should the agent autostart? [N]: y
Would you like to install a master driver? [N]:
Would you like to install a listener agent? [N]: y
Configuring examples/ListenerAgent.
['volttron', '-vv', '-l', '/home/user/.volttron/volttron.cfg.log']
Should the agent autostart? [N]: y
Finished configuration!

You can now start the volttron instance.

If you need to change the instance configuration you can edit
the config file is at /home/user/.volttron/config
Start VOLTTRON instance and check if the agents are installed.
./start-volttron
vctl status
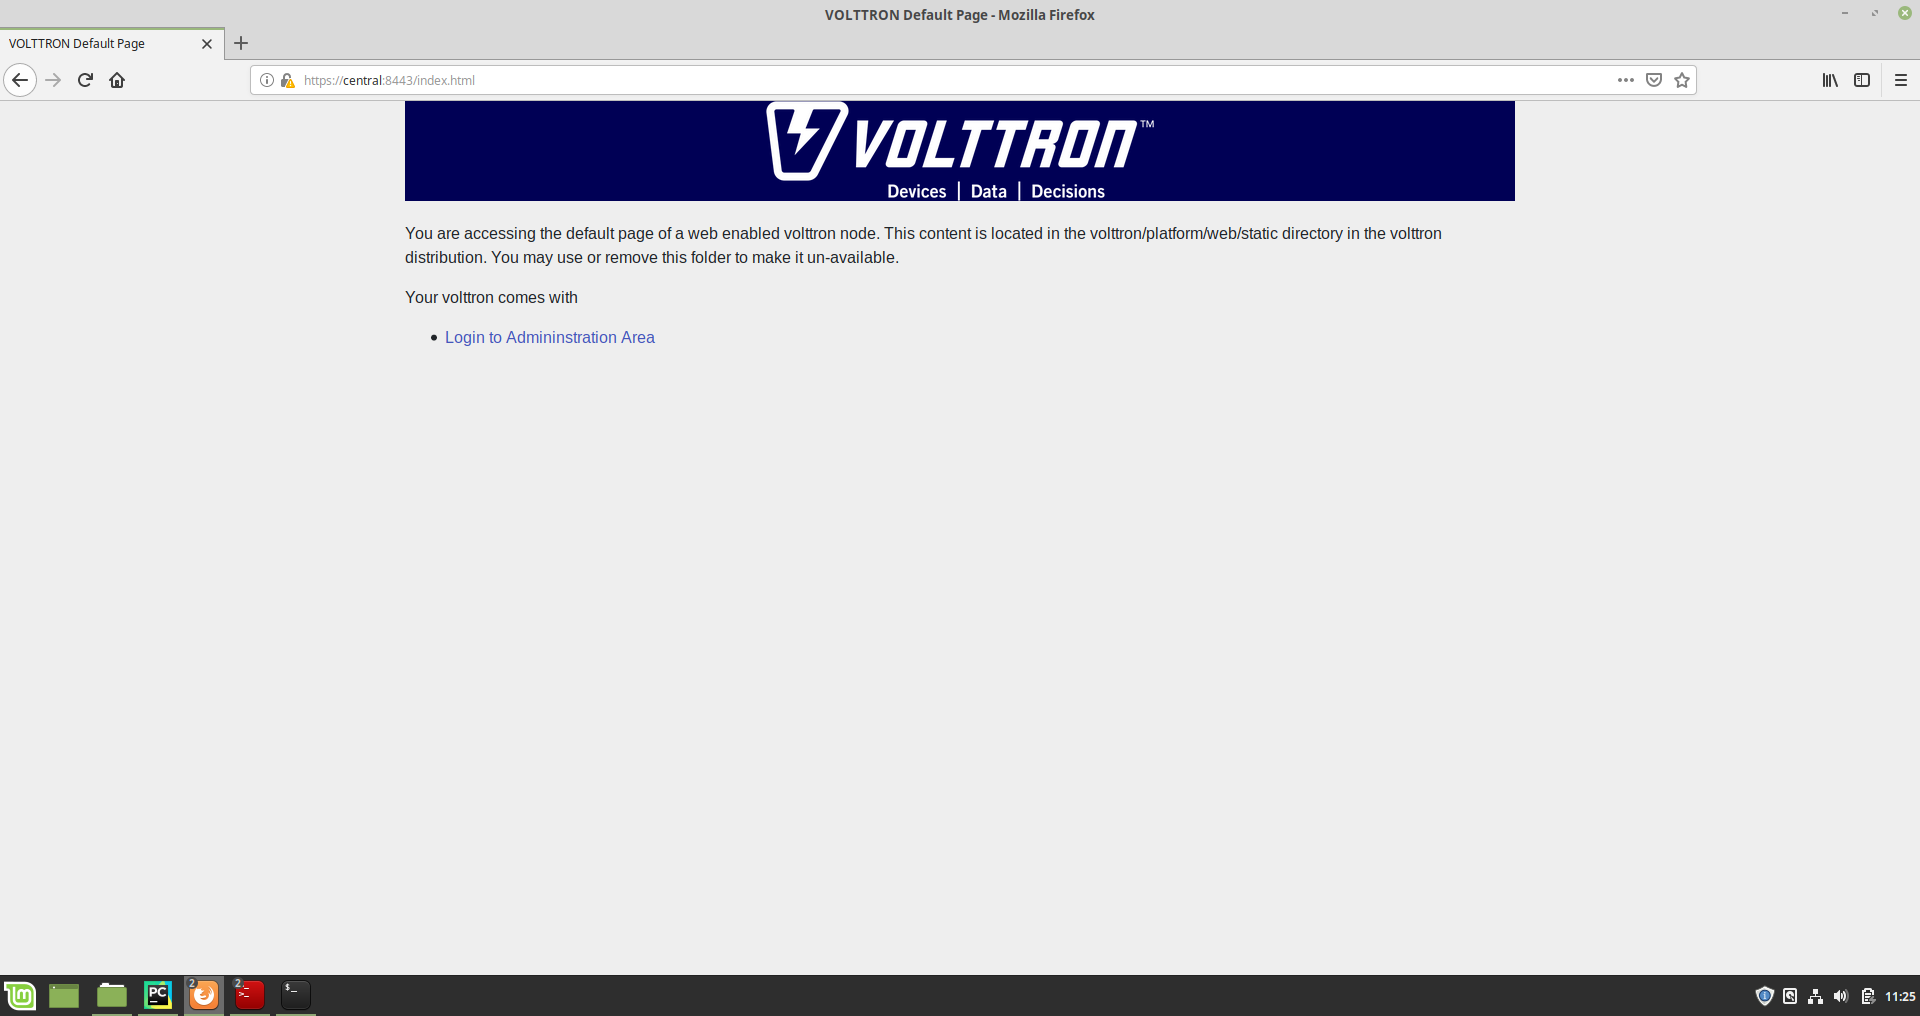
Open browser and go to master admin authentication page https://central:8443/index.html to accept/reject incoming certificate signing request (CSR) from other platforms.
Note
Replace “central” with the proper hostname of VC instance in the admin page URL. If opening the admin page from a different system, then please make that the hostname is resolvable in that machine.
Click on “Login To Admistration Area”.
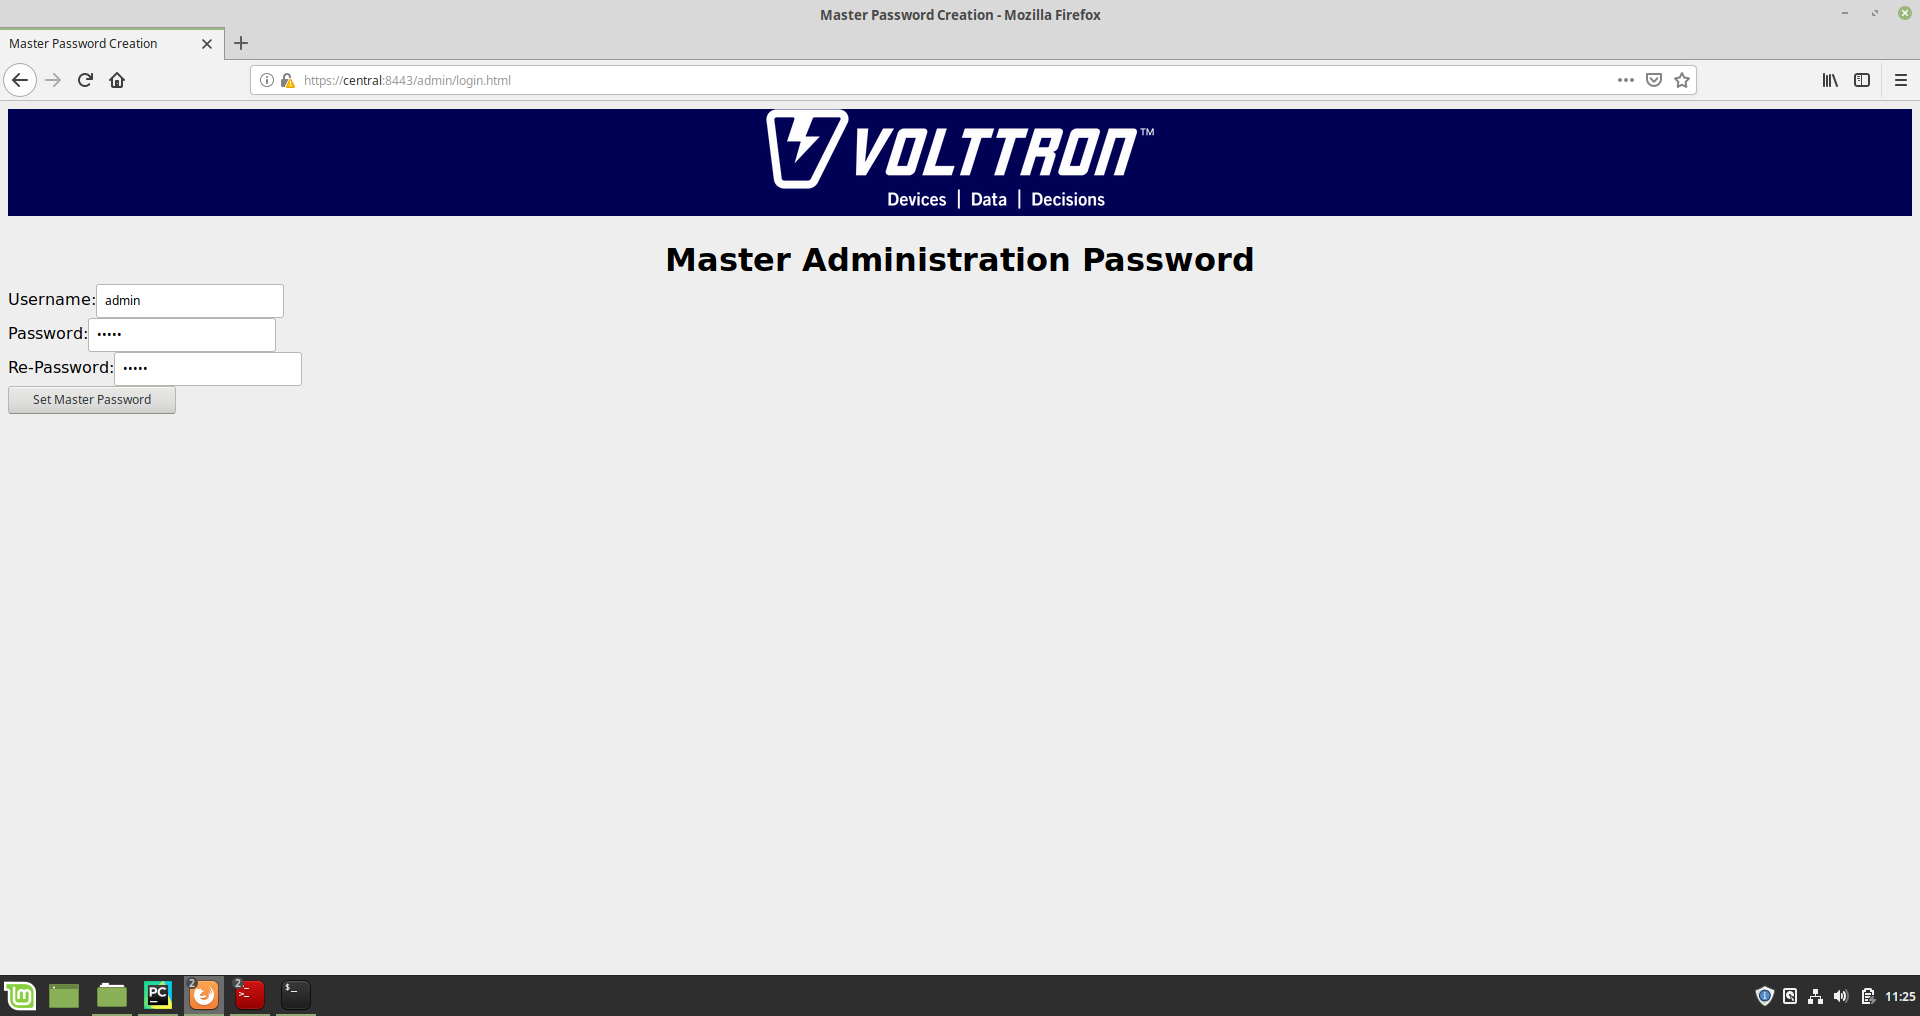
Set the master admin username and password. This can be later used to login into master admin authentication page. This username and password will also be used to log in to Volttron Central.
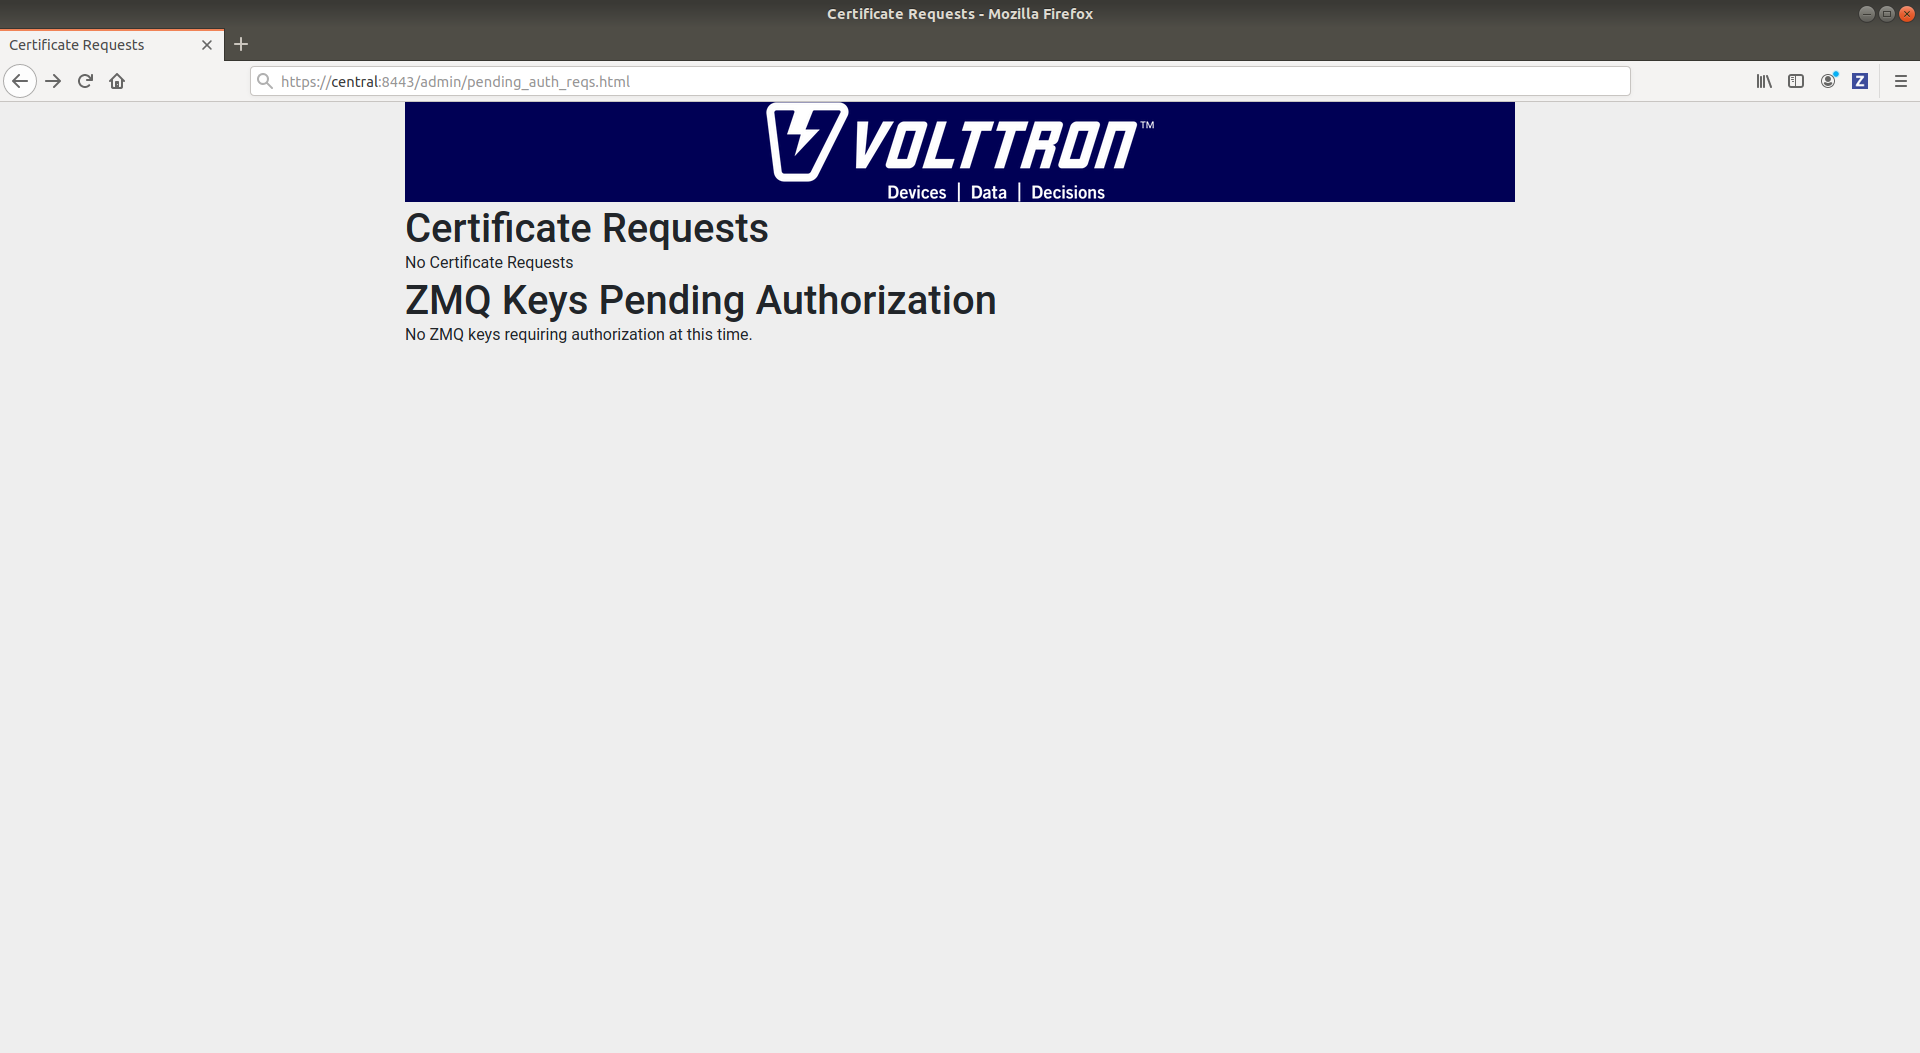
Login into the Master Admin page.
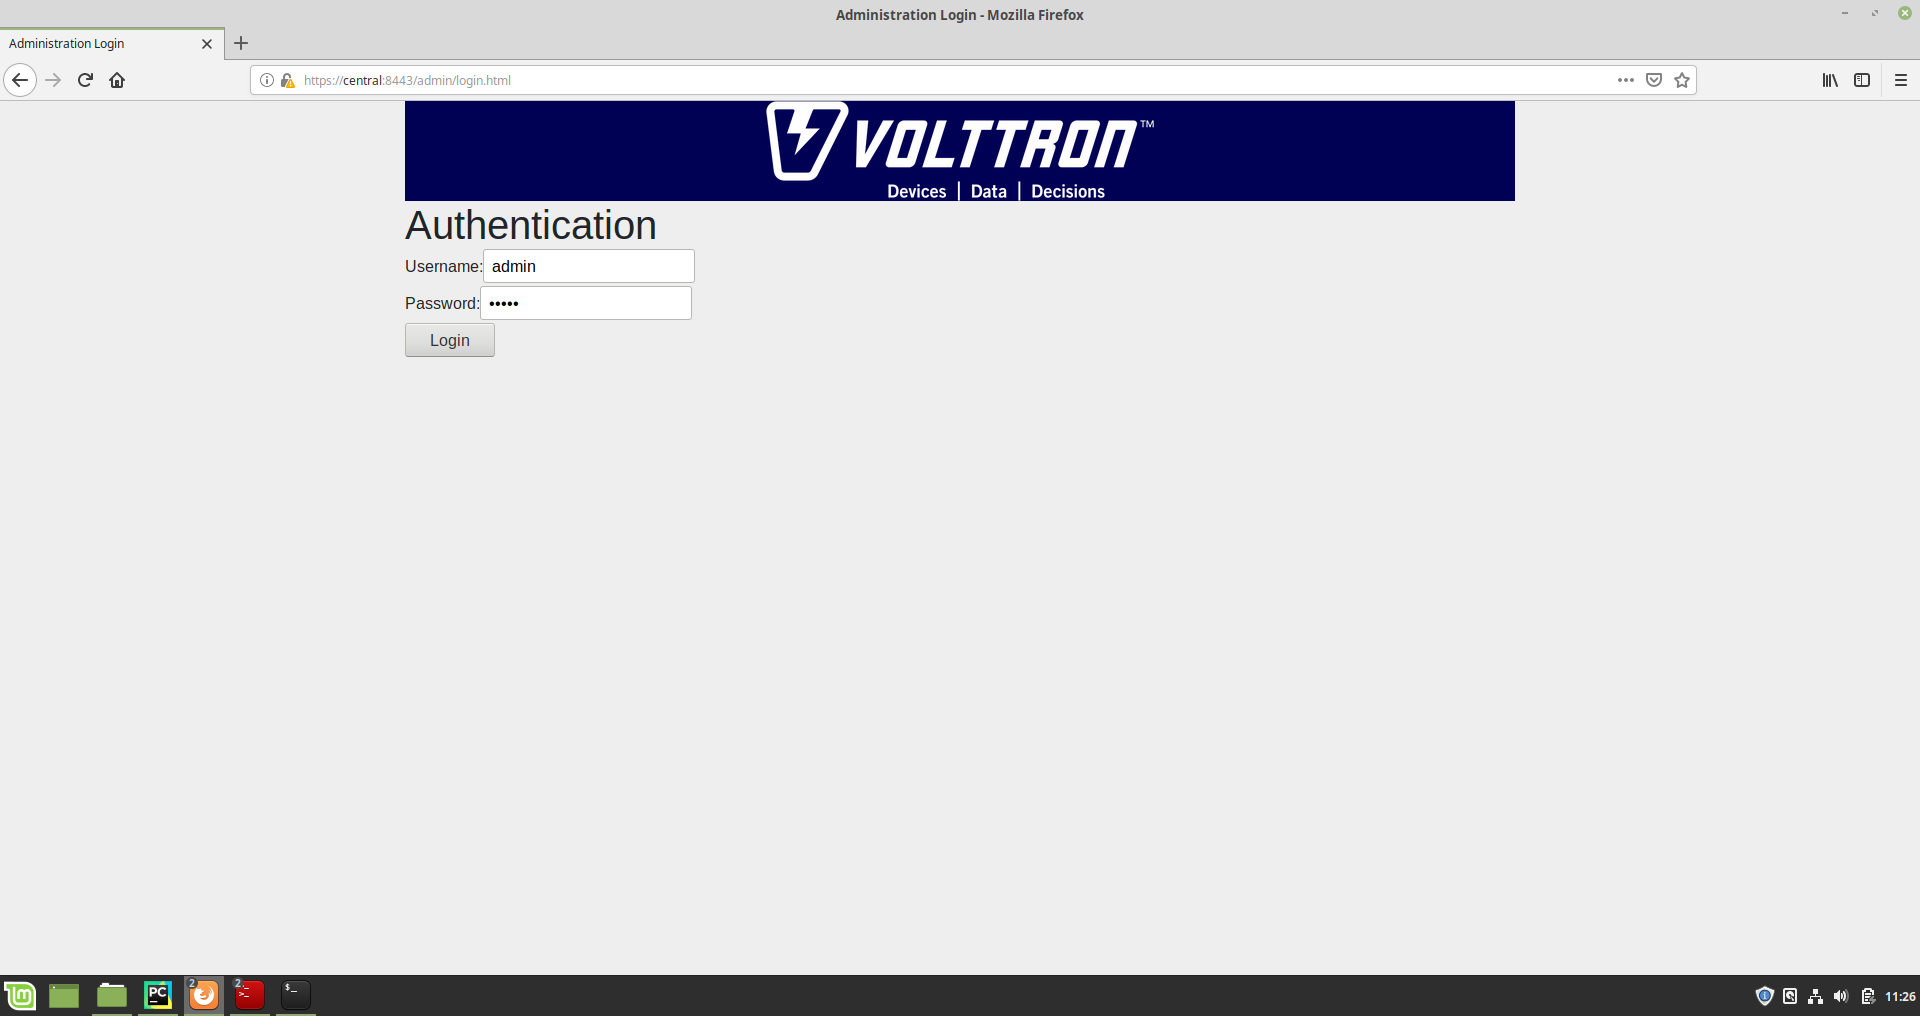
After logging in, you will see no CSR requests initially.
Go back to the terminal and start Volttron Central Platform agent on the “central” instance. The agent will send a CSR request to the web interface.
vctl start --tag vcp
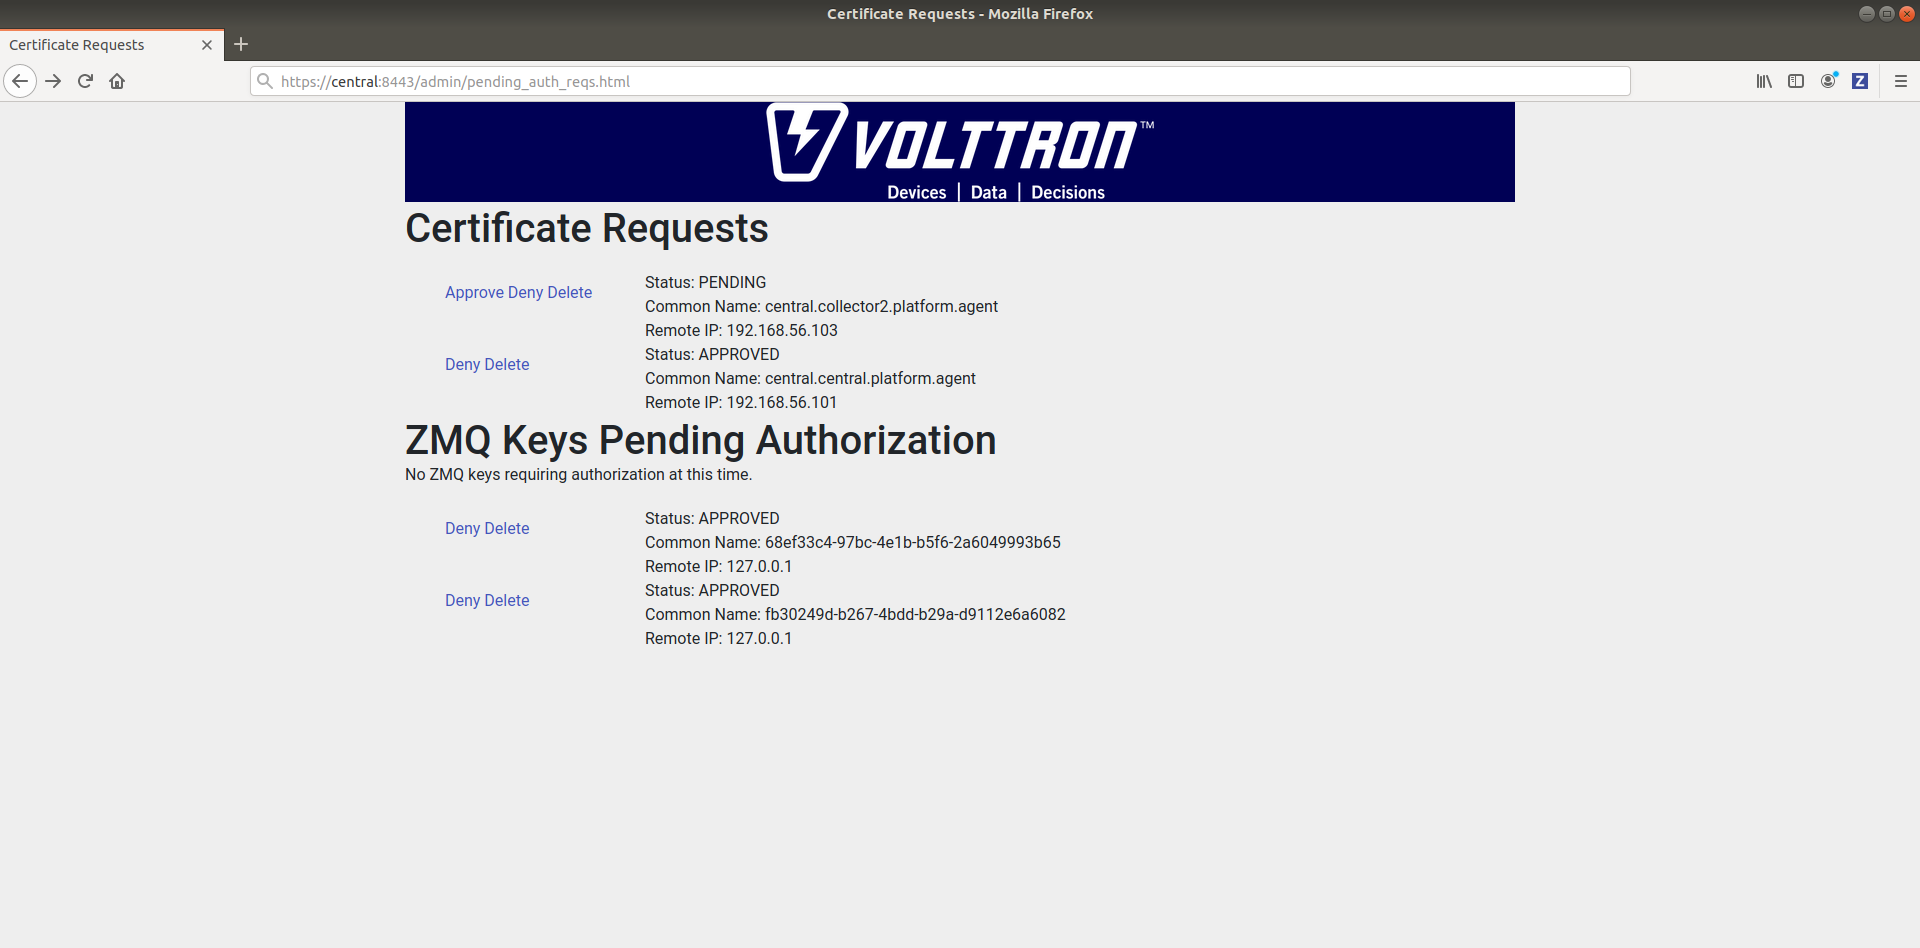
Now go to master admin page to check if there is a new pending CSR request. You will see a “PENDING” request from “central.central.platform.agent”
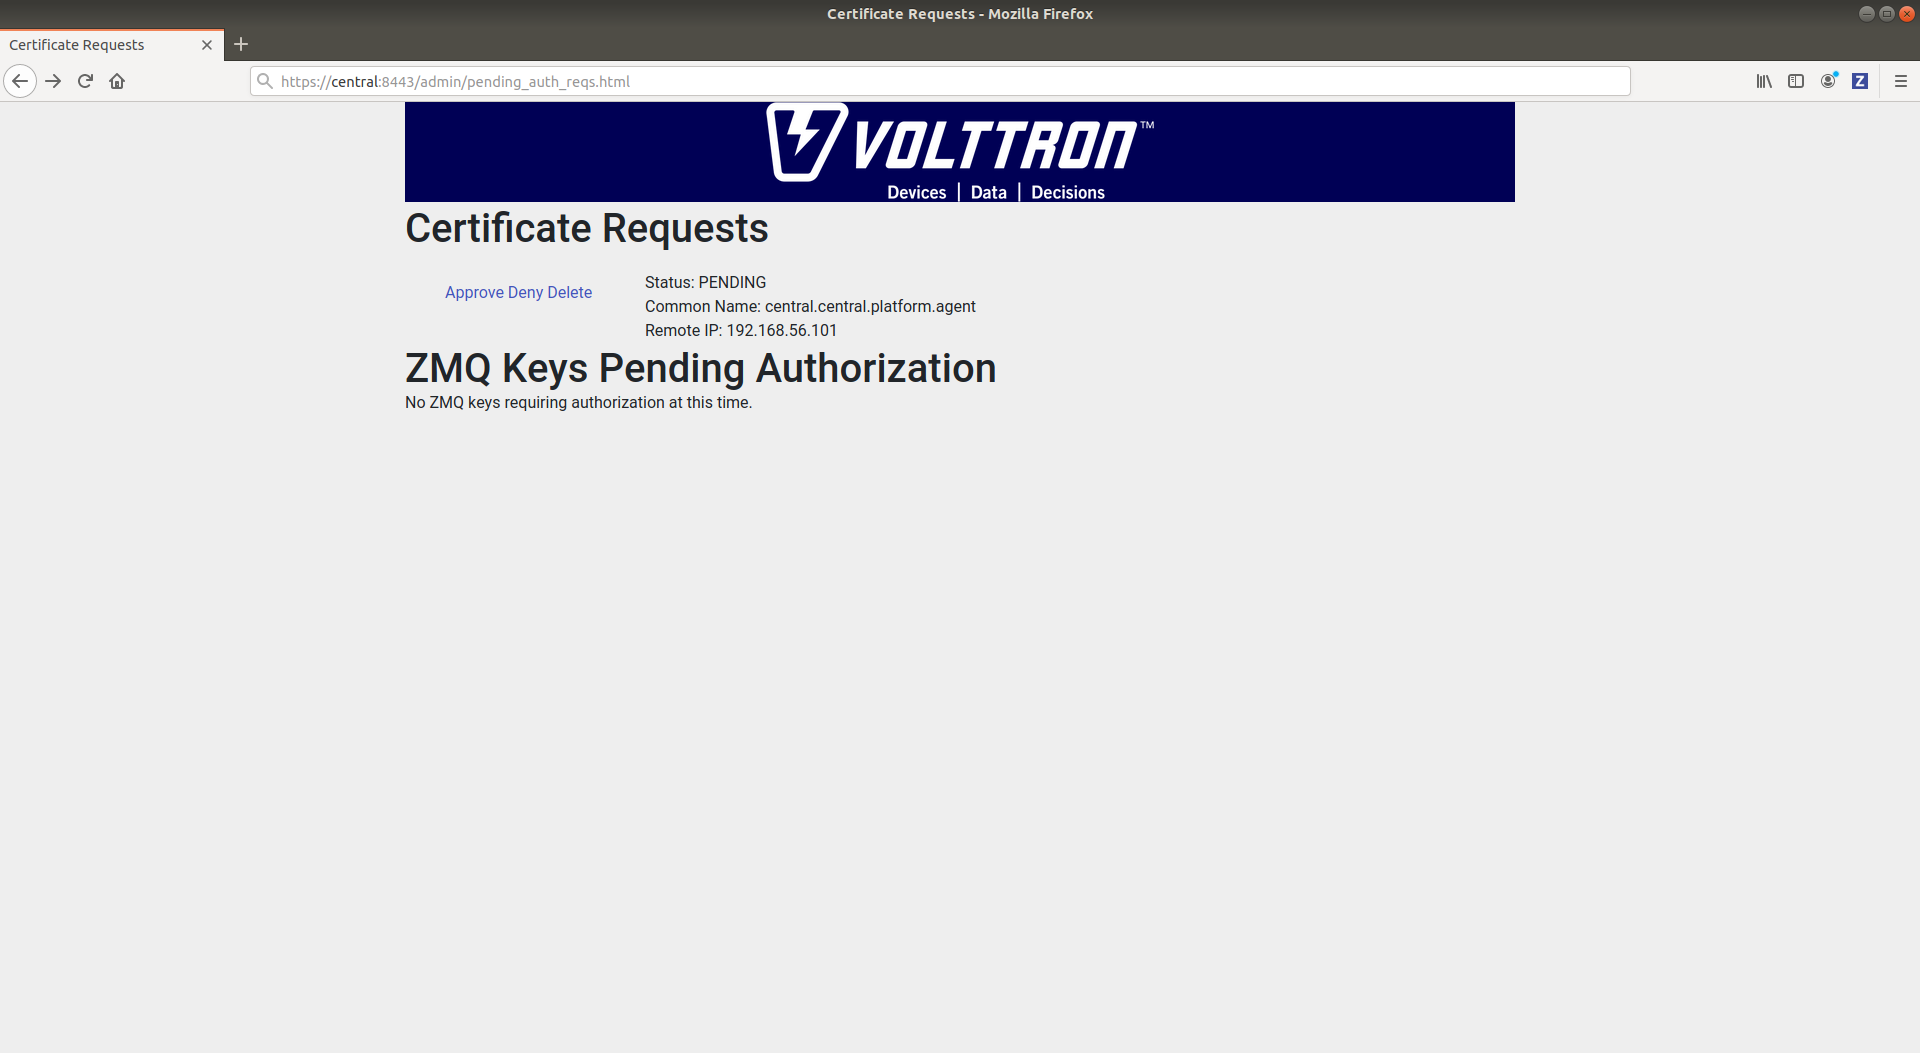
Approve the CSR request to allow authenticated SSL based connection to the “central” instance.
Go back to the terminal and check the status of Volttron Central Platform agent. It should be set to “GOOD”.
Node-ZMQ Instance Setup
On the “node-zmq” VM, setup a ZeroMQ based VOLTTRON instance. Using “vcfg” command, install Volttron Central Platform agent, a master driver agent with a fake driver.
Note
This instance will use old ZeroMQ based authentication mechanism using CURVE keys.
(volttron)user@node-zmq:~/volttron$ vcfg

Your VOLTTRON_HOME currently set to: /home/user/.volttron

Is this the volttron you are attempting to setup? [Y]:
What type of message bus (rmq/zmq)? [zmq]:
What is the vip address? [tcp://127.0.0.1]:
What is the port for the vip address? [22916]:
Is this instance web enabled? [N]:
Will this instance be controlled by volttron central? [Y]:
Configuring /home/user/volttron/services/core/VolttronCentralPlatform.
What is the name of this instance? [volttron1]: collector1
What is the hostname for volttron central? [http://node-zmq]: https://central
What is the port for volttron central? [8080]: 8443
['volttron', '-vv', '-l', '/home/user/.volttron/volttron.cfg.log']
Should the agent autostart? [N]:
Would you like to install a platform historian? [N]:
Would you like to install a master driver? [N]: y
Configuring /home/user/volttron/services/core/MasterDriverAgent.
['volttron', '-vv', '-l', '/home/user/.volttron/volttron.cfg.log']
Would you like to install a fake device on the master driver? [N]: y
Should the agent autostart? [N]: y
Would you like to install a listener agent? [N]:
Finished configuration!

You can now start the volttron instance.

If you need to change the instance configuration you can edit
the config file is at /home/user/.volttron/config
Please note the Volttron Central web-address should point to that of the “central” instance.
Start VOLTTRON instance and check if the agents are installed.
./start-volttron
vctl status
Start Volttron Central Platform on this platform manually.
vctl start --tag vcp
Check the VOLTTRON log in the “central” instance, you will see “authentication failure” entry from the incoming connection. You will need to add the public key of VCP agent on the “central” instance.

At this point, you can either accept the connection through the admin page or the command line.
Using the admin page:
Navigate back to the master admin authentication page. You should see a pending request under the ZMQ Keys Pending Authorization header.
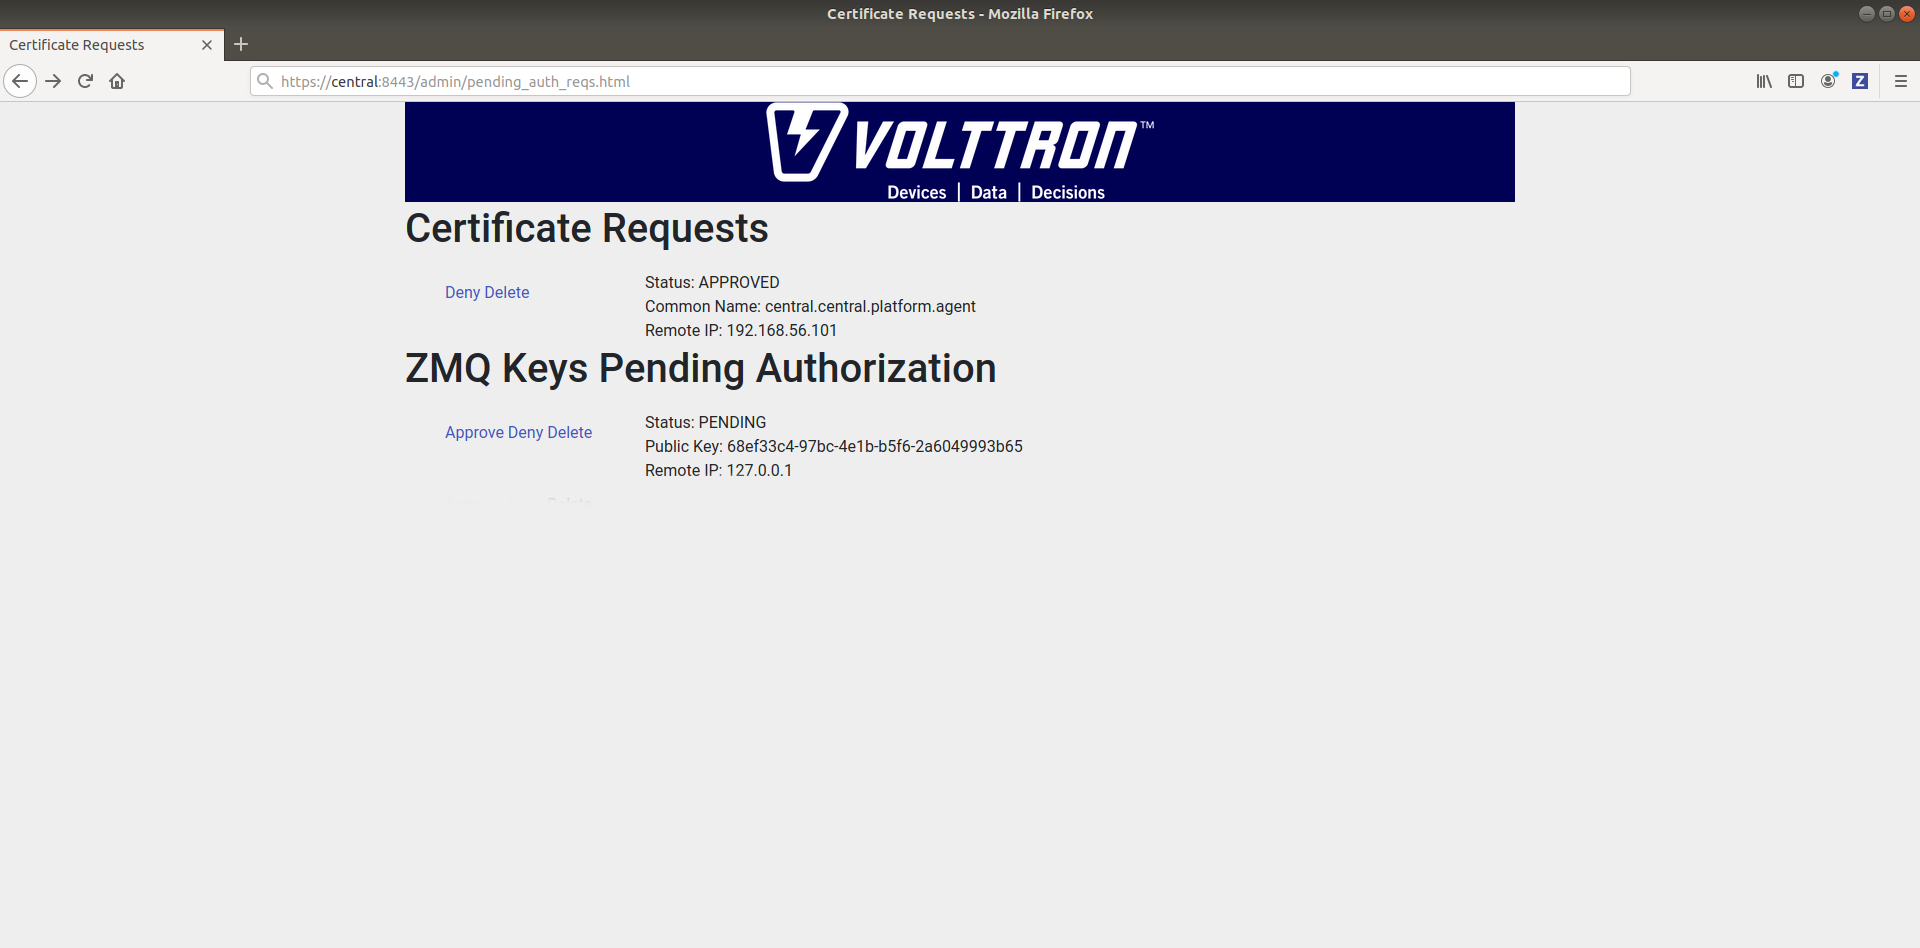
Accept the credential in the same method as a CSR.
Using the command line:
On the “node-zmq” box execute this command and grab the public key of the VCP agent.
vctl auth publickey
Add auth entry corresponding to VCP agent on “central” instance using the below command. Replace the user id value and credentials value appropriately before running
vctl auth add --user_id <any unique user id. for example zmq_node_vcp> --credentials <public key of vcp on zmq node>
Complete similar steps to start a forwarder agent that connects to “central” instance. Modify the configuration in services/core/ForwardHistorian/rmq_config.yml to have a destination VIP address pointing to VIP address of the “central” instance and server key of the “central” instance.
---
destination-vip: tcp://<ip>:22916
destination-serverkey: <serverkey>
Note
Replace <ip> with public facing IP-address of “central” instance and <serverkey> with serverkey of “central” instance. Use the command vctl auth serverkey on the “central” instance to get the server key of the instance
Install and start forwarder agent.
python scripts/install-agent.py -s services/core/ForwardHistorian -c services/core/ForwardHistorian/rmq_config.yml --start
To accept the credential using the admin page:
Navigate back to the master admin authentication page. You should see another pending request under the ZMQ Keys Pending Authorization header.
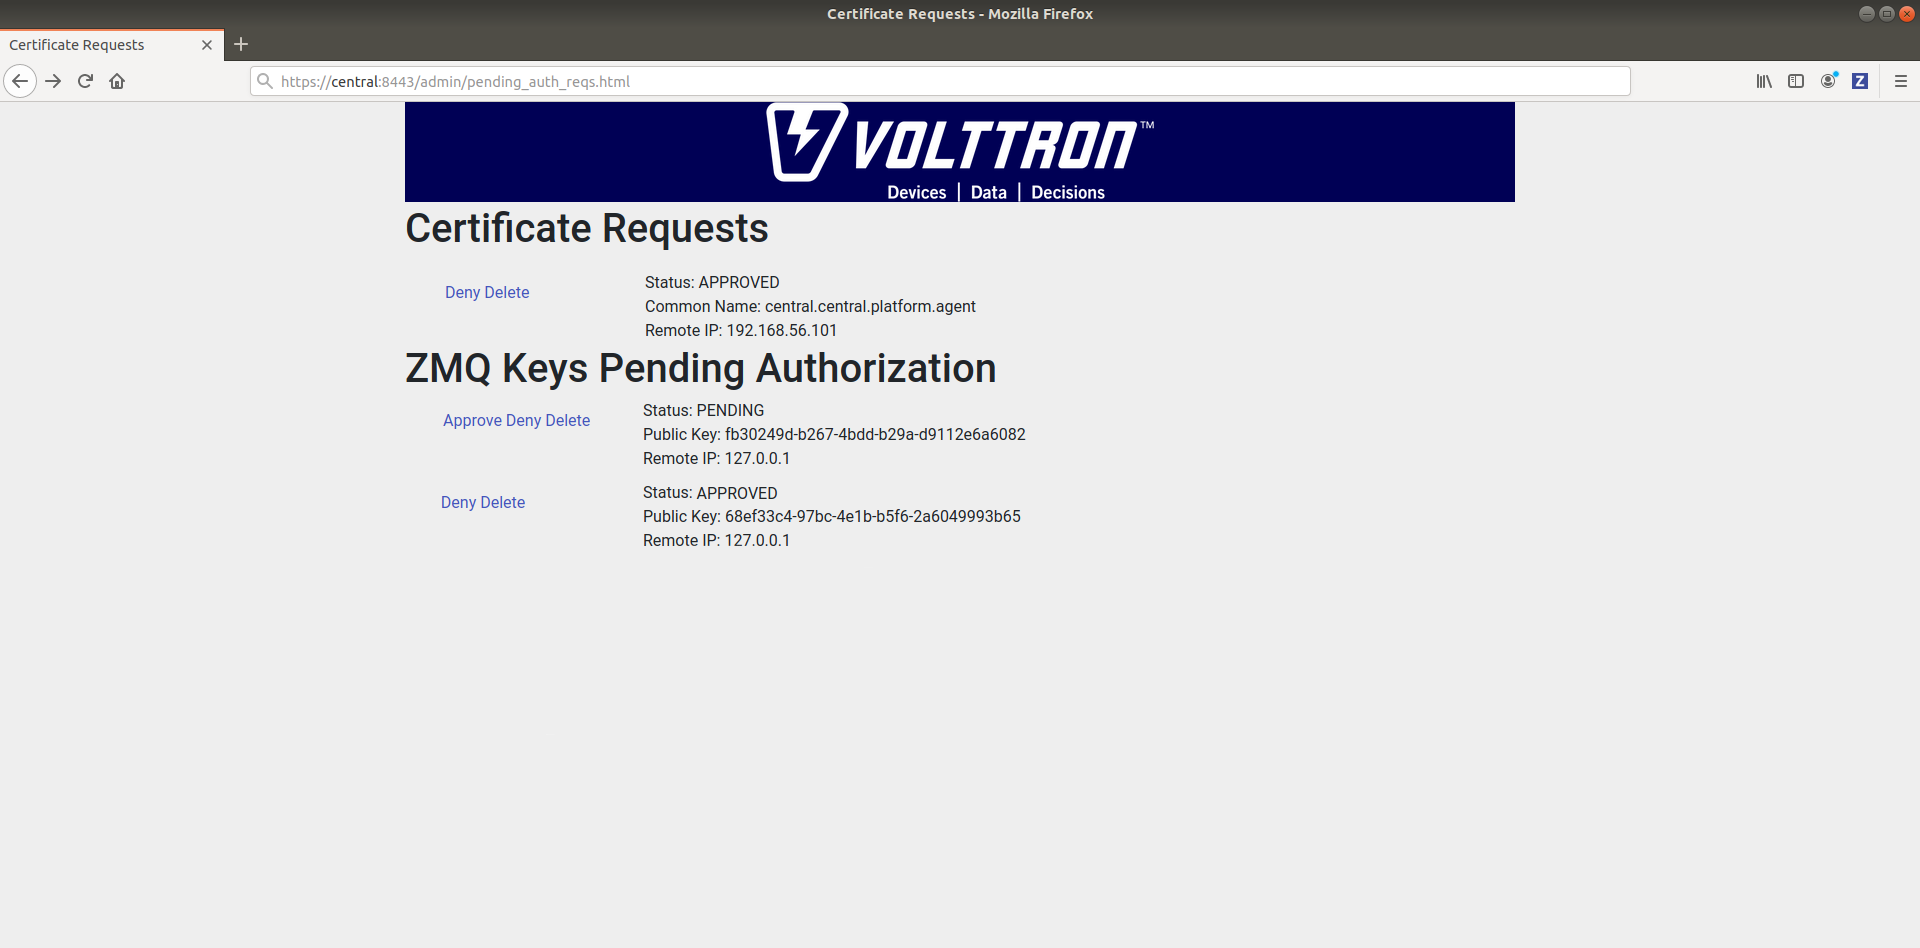
Accept this credential in the same method as before.
To accept the credential using the command line:
Grab the public key of the forwarder agent.
vctl auth publickey
Add auth entry corresponding to VCP agent on central instance.
vctl auth add --user_id <any unique user id. for example zmq_node_forwarder> --credentials <public key of forwarder on zmq node>
In either case, you should start seeing messages from “collector1” instance on the “central” instance’s VOLTTRON log now.
Node-RMQ Instance Setup
Note
This instance must have been bootstrapped using –rabbitmq see Building-VOLTTRON#steps-for-rabbitmq.
Using “vcfg” command, install Volttron Central Platform agent, a master driver agent with fake driver. The instance name is set to “collector2”.
(volttron)user@node-rmq:~/volttron$ vcfg

Your VOLTTRON_HOME currently set to: /home/user/.volttron

Is this the volttron you are attempting to setup? [Y]:
What type of message bus (rmq/zmq)? [zmq]: rmq
Name of this volttron instance: [volttron1]: collector2
RabbitMQ server home: [/home/user/rabbitmq_server/rabbitmq_server-3.7.7]:
Fully qualified domain name of the system: [node-rmq]:
Would you like to create a new self signed root CAcertificate for this instance: [Y]:

Please enter the following details for root CA certificate
    Country: [US]:
    State: WA
    Location: Richland
    Organization: PNNL
    Organization Unit: volttron
Do you want to use default values for RabbitMQ home, ports, and virtual host: [Y]:
2020-04-13 13:29:36,347 rmq_setup.py INFO: Starting RabbitMQ server
2020-04-13 13:29:46,528 rmq_setup.py INFO: Rmq server at /home/user/rabbitmq_server/rabbitmq_server-3.7.7 is running at
2020-04-13 13:29:46,554 volttron.utils.rmq_mgmt DEBUG: Creating new VIRTUAL HOST: volttron
2020-04-13 13:29:46,582 volttron.utils.rmq_mgmt DEBUG: Create READ, WRITE and CONFIGURE permissions for the user: collector2-admin
Create new exchange: volttron, {'durable': True, 'type': 'topic', 'arguments': {'alternate-exchange': 'undeliverable'}}
Create new exchange: undeliverable, {'durable': True, 'type': 'fanout'}
2020-04-13 13:29:46,600 rmq_setup.py INFO:
Checking for CA certificate

2020-04-13 13:29:46,601 rmq_setup.py INFO:
 Creating root ca for volttron instance: /home/user/.volttron/certificates/certs/collector2-root-ca.crt
2020-04-13 13:29:46,601 rmq_setup.py INFO: Creating root ca with the following info: {'C': 'US', 'ST': 'WA', 'L': 'Richland', 'O': 'PNNL', 'OU': 'VOLTTRON', 'CN': 'collector2-root-ca'}
Created CA cert
2020-04-13 13:29:49,668 rmq_setup.py INFO: **Stopped rmq server
2020-04-13 13:30:00,556 rmq_setup.py INFO: Rmq server at /home/user/rabbitmq_server/rabbitmq_server-3.7.7 is running at
2020-04-13 13:30:00,557 rmq_setup.py INFO:

#######################

Setup complete for volttron home /home/user/.volttron with instance name=collector2
Notes:
 - On production environments, restrict write access to /home/user/.volttron/certificates/certs/collector2-root-ca.crt to only admin user. For example: sudo chown root /home/user/.volttron/certificates/certs/collector2-root-ca.crt and /home/user/.volttron/certificates/certs/collector2-trusted-cas.crt
 - A new admin user was created with user name: collector2-admin and password=default_passwd.
   You could change this user's password by logging into https://node-rmq:15671/ Please update /home/user/.volttron/rabbitmq_config.yml if you change password

#######################

The rmq message bus has a backward compatibility
layer with current zmq instances. What is the
zmq bus's vip address? [tcp://127.0.0.1]:
What is the port for the vip address? [22916]:
Is this instance web enabled? [N]:
Will this instance be controlled by volttron central? [Y]:
Configuring /home/user/volttron/services/core/VolttronCentralPlatform.
What is the name of this instance? [collector2]:
What is the hostname for volttron central? [http://node-rmq]: https://central
What is the port for volttron central? [8443]:
['volttron', '-vv', '-l', '/home/user/.volttron/volttron.cfg.log']
Should the agent autostart? [N]:
Would you like to install a platform historian? [N]:
Would you like to install a master driver? [N]: y
Configuring /home/user/volttron/services/core/MasterDriverAgent.
['volttron', '-vv', '-l', '/home/user/.volttron/volttron.cfg.log']
Would you like to install a fake device on the master driver? [N]: y
Should the agent autostart? [N]: y
Would you like to install a listener agent? [N]:
Finished configuration!

You can now start the volttron instance.

If you need to change the instance configuration you can edit
the config file is at /home/user/.volttron/config
Note
The Volttron Central web-address should point to that of the “central” instance.
Start VOLTTRON instance and check if the agents are installed.
./start-volttron
vctl status
Start Volttron Central Platform on this platform manually.
vctl start --tag vcp
Go the master admin authentication page and check if there is a new pending CSR request from VCP agent of “collector2” instance.
Approve the CSR request to allow authenticated SSL based connection to the “central” instance.
Now go back to the terminal and check the status of Volttron Central Platform agent. It should be set to “GOOD”.
Let’s now install a forwarder agent on this instance to forward local messages matching “devices” topic to external “central” instance. Modify the configuration in services/core/ForwardHistorian/rmq_config.yml to have a destination address pointing to web address of the “central” instance.
---
destination-address: https://central:8443
Start forwarder agent.
python scripts/install-agent.py -s services/core/ForwardHistorian -c services/core/ForwardHistorian/rmq_config.yml --start
Go the master admin authentication page and check if there is a new pending CSR request from forwarder agent of “collector2” instance.
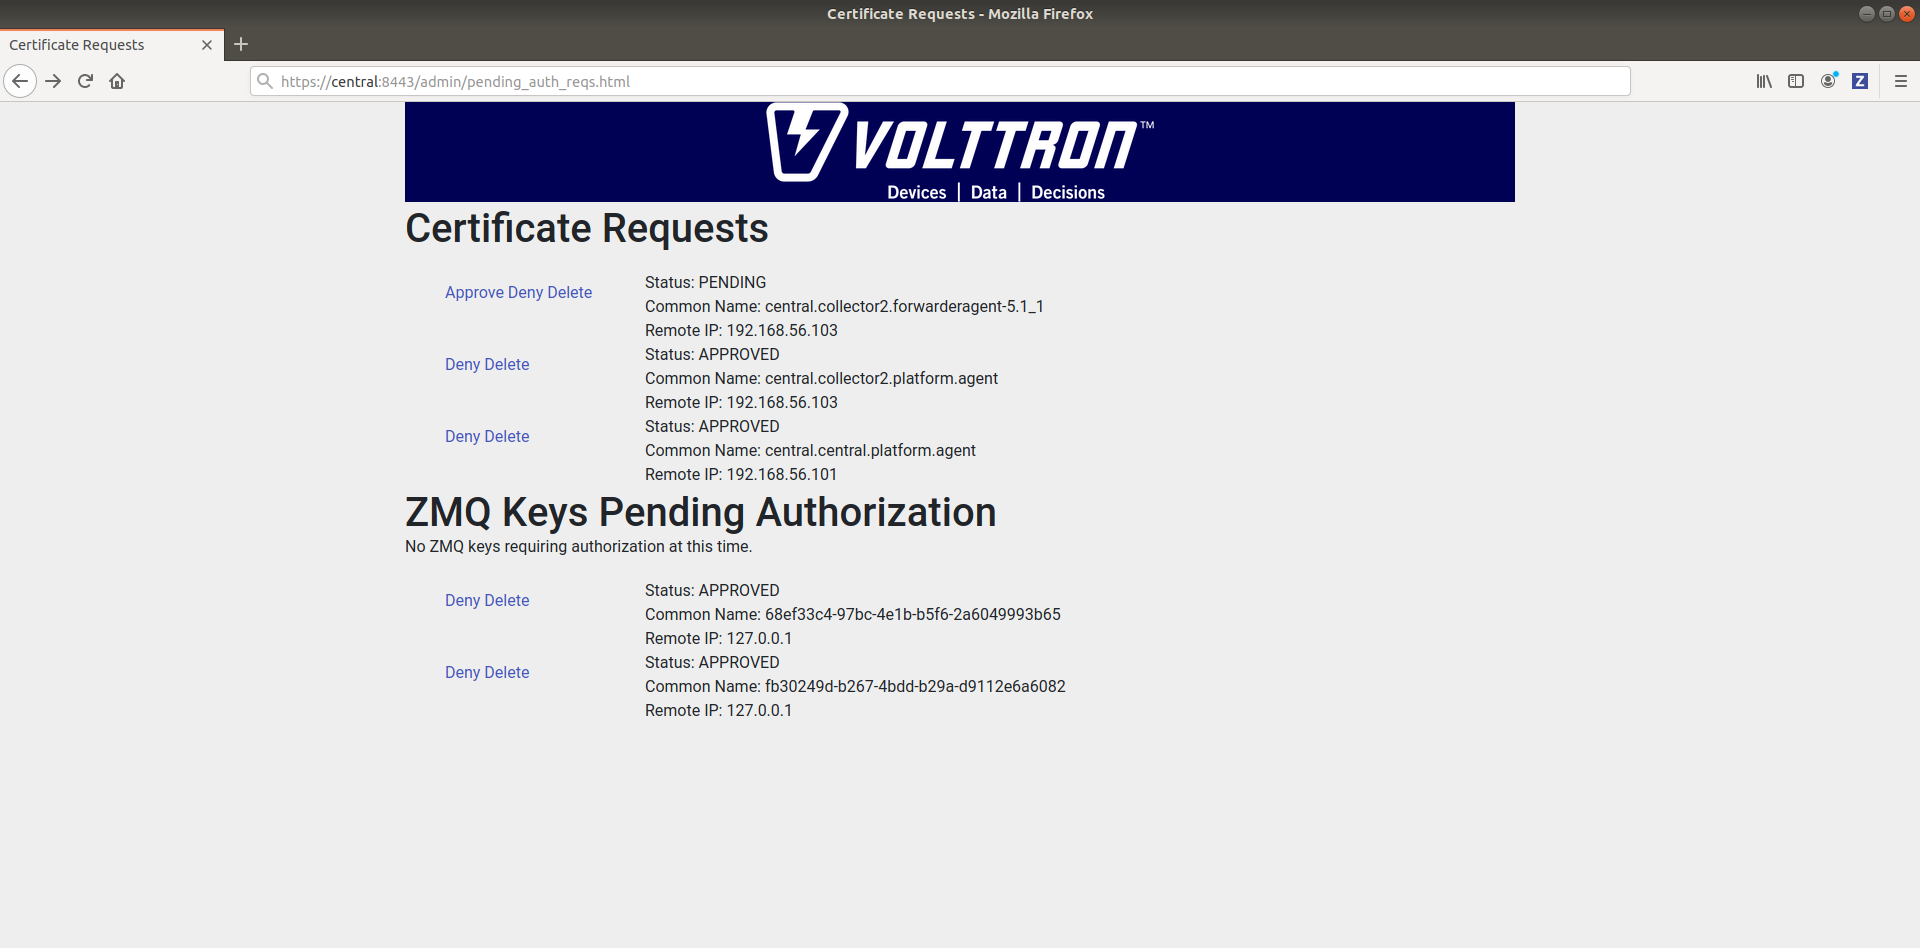
Approve the CSR request to allow authenticated SSL based connection to the “central” instance.
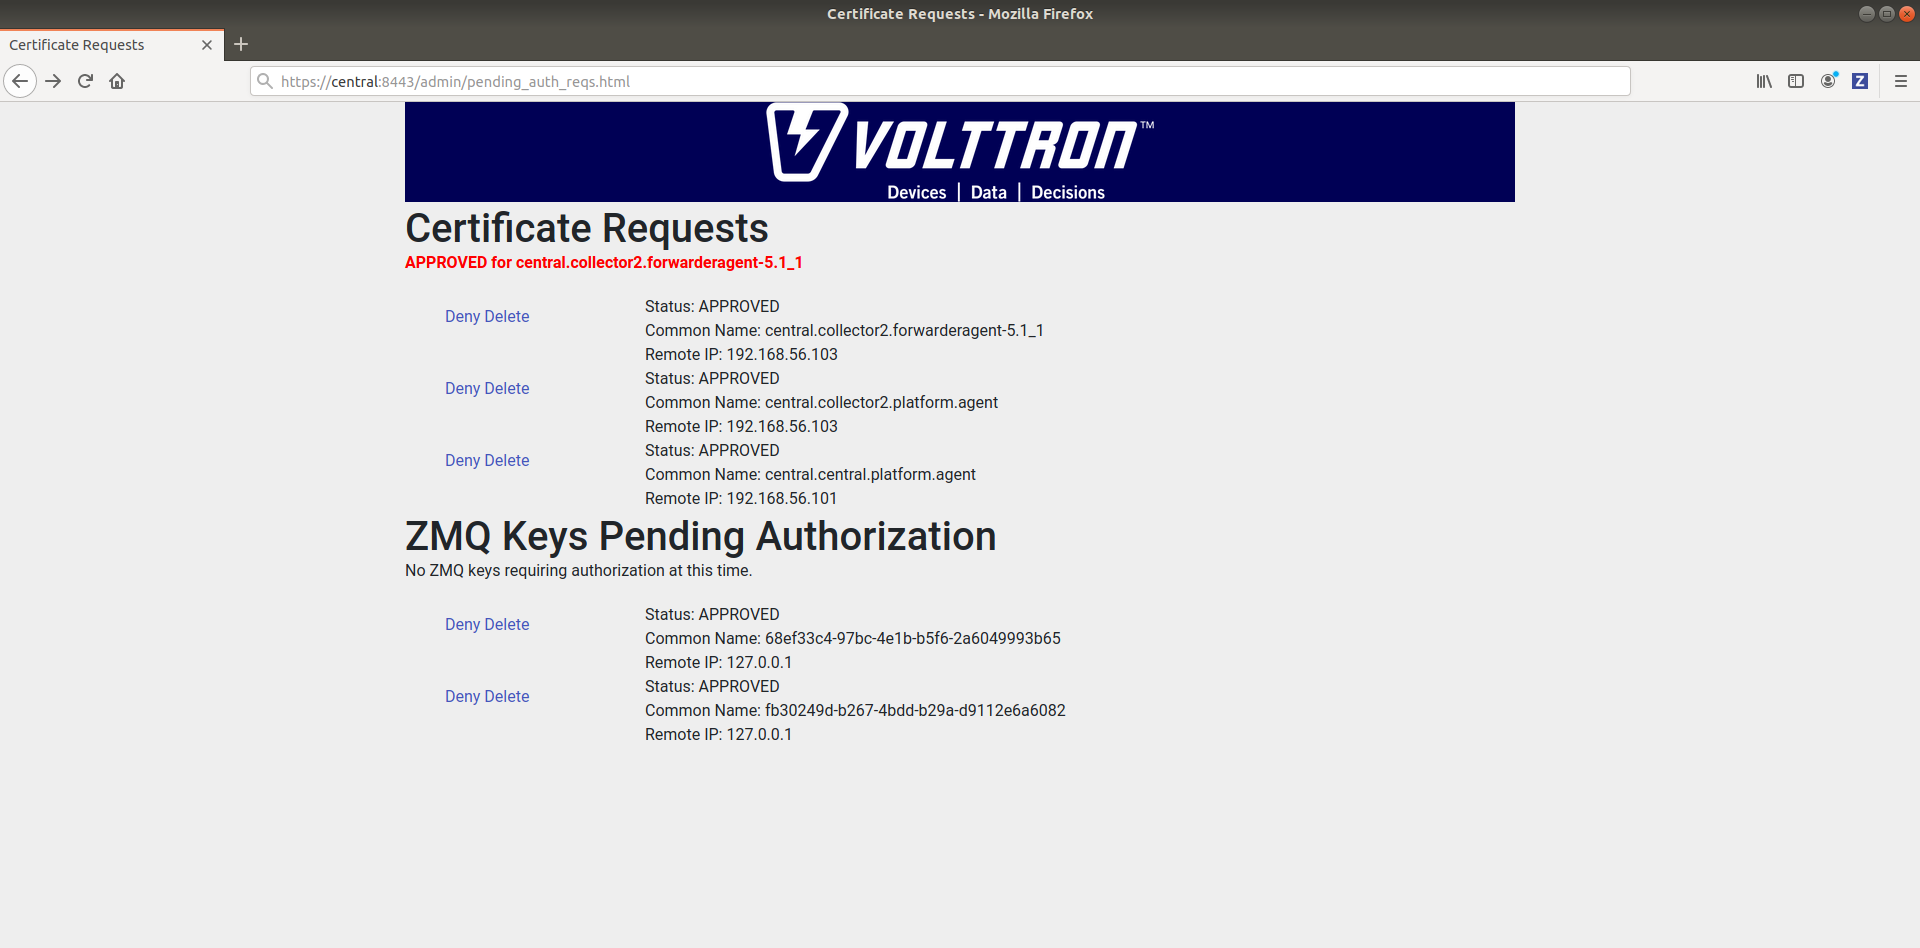
Now go back to the terminal and check the status of forwarder agent. It should be set to “GOOD”.
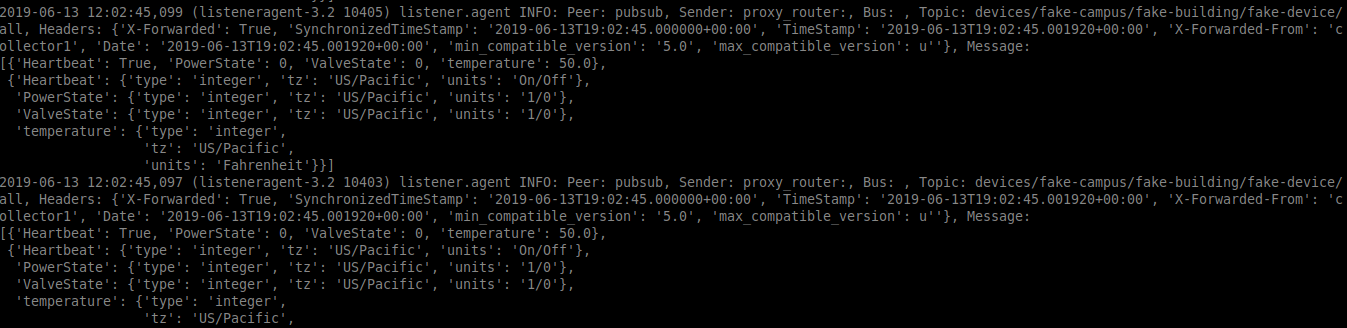
Check the VOLTTRON log of “central” instance. You should see messages with “devices” topic coming from “collector2” instance.

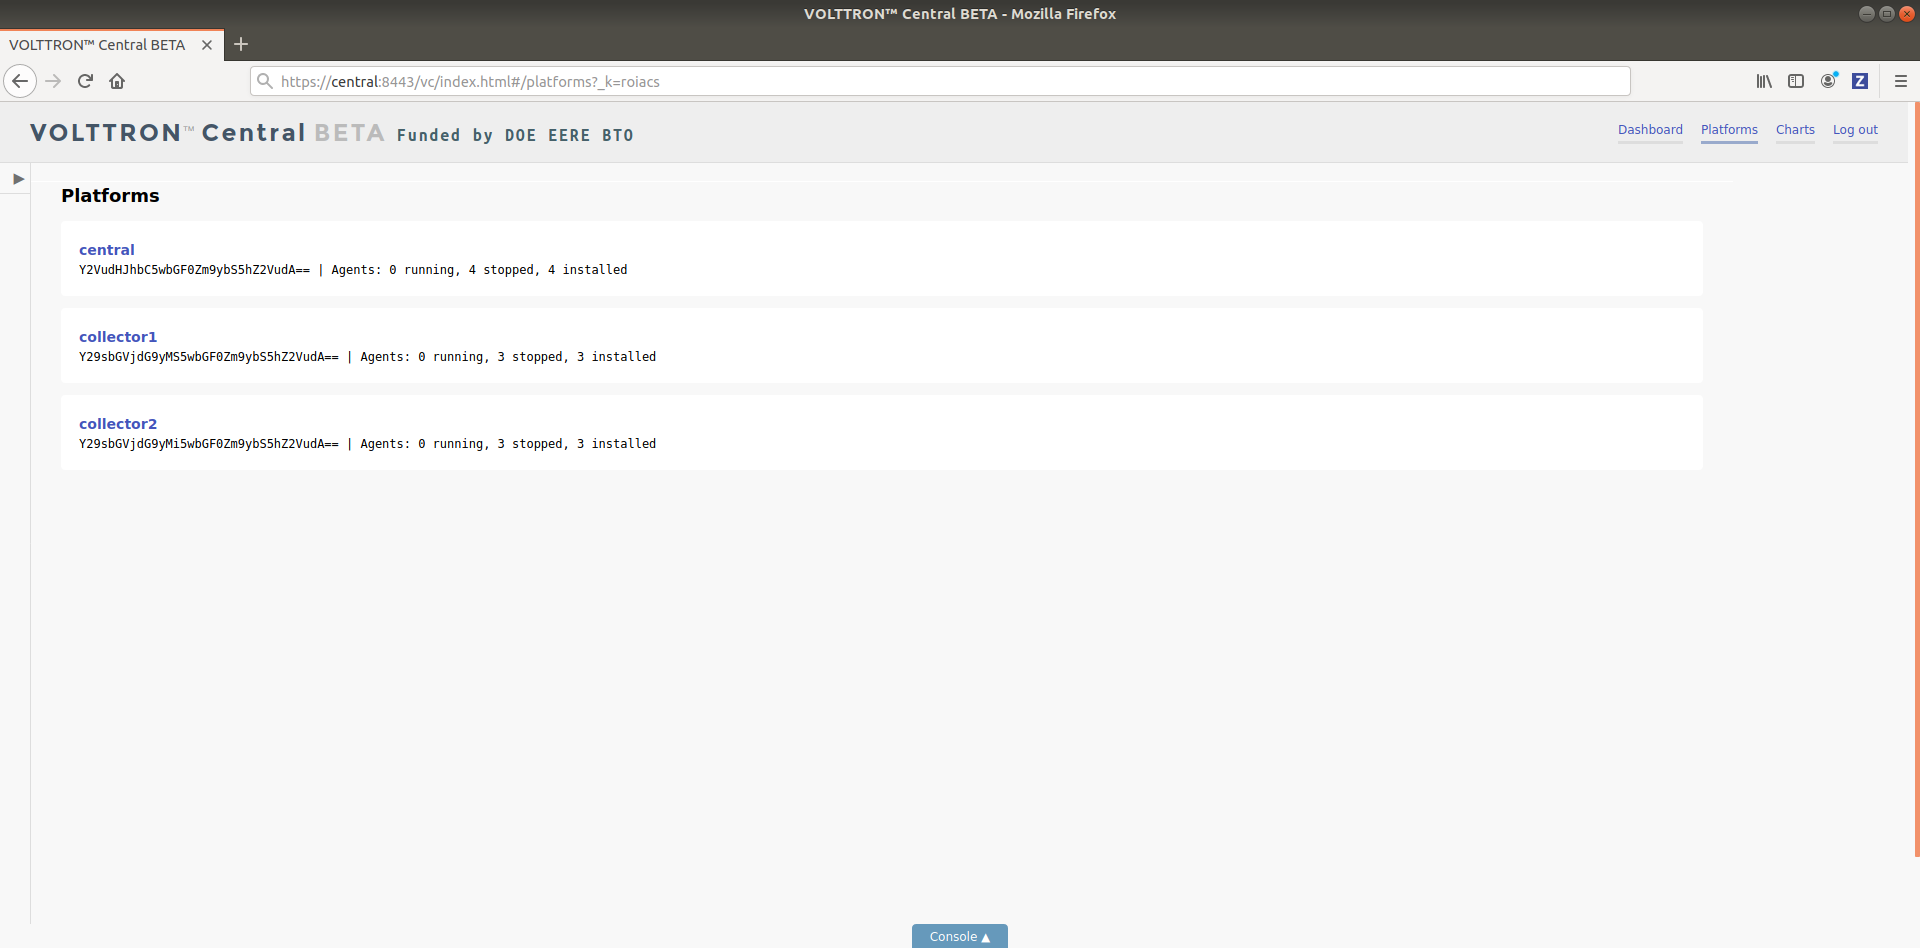
To confirm that VolttronCentral is monitoring the status of all the 3 platforms, open a browser and type this URL https://central:8443/vc/index.html. Login using credentials (username and password) earlier set during the VC configuration step (using vcfg command in “central” instance). Click on “platforms” tab in the far right corner. You should see all three platforms listed in that page. Click on each of the platforms and check the status of the agents.