Home Assistant Driver
The Home Assistant driver enables VOLTTRON to read any data point from any Home Assistant controlled device. Currently control(write access) is supported only for lights(state and brightness) and thermostats(state and temperature).
The following diagram shows interaction between platform driver agent and home assistant driver.
        sequenceDiagram
    HomeAssistant Driver->>HomeAssistant: Retrieve Entity Data (REST API)
    HomeAssistant-->>HomeAssistant Driver: Entity Data (Status Code: 200)
    HomeAssistant Driver->>PlatformDriverAgent: Publish Entity Data
    PlatformDriverAgent->>Controller Agent: Publish Entity Data

    Controller Agent->>HomeAssistant Driver: Instruct to Turn Off Light
    HomeAssistant Driver->>HomeAssistant: Send Turn Off Light Command (REST API)
    HomeAssistant-->>HomeAssistant Driver: Command Acknowledgement (Status Code: 200)
Pre-requisites
Before proceeding, find your Home Assistant IP address and long-lived access token from here.
Clone the repository, start volttron, install the listener agent, and the platform driver agent.
Configuration
After cloning, generate configuration files. Each device requires one device configuration file and one registry file. Ensure your registry_config parameter in your device configuration file, links to correct registry config name in the config store. For more details on how volttron platform driver agent works with volttron configuration store see, Platform driver configuration Examples for lights and thermostats are provided below.
Device configuration
Device configuration file contains the connection details to you home assistant instance and driver_type as “home_assistant”
{
    "driver_config": {
        "ip_address": "Your Home Assistant IP",
        "access_token": "Your Home Assistant Access Token",
        "port": "Your Port"
    },
    "driver_type": "home_assistant",
    "registry_config": "config://light.example.json",
    "interval": 30,
    "timezone": "UTC"
}
Registry Configuration
Registry file can contain one single device and its attributes or a logical group of devices and its attributes. Each entry should include the full entity id of the device, including but not limited to home assistant provided prefix such as “light.”, “climate.” etc. The driver uses these prefixes to convert states into integers. Like mentioned before, the driver can only control lights and thermostats but can get data from all devices controlled by home assistant
Each entry in a registry file should also have a ‘Entity Point’ and a unique value for ‘Volttron Point Name’. The ‘Entity ID’ maps to the device instance, the ‘Entity Point’ extracts the attribute or state, and ‘Volttron Point Name’ determines the name of that point as it appears in VOLTTRON.
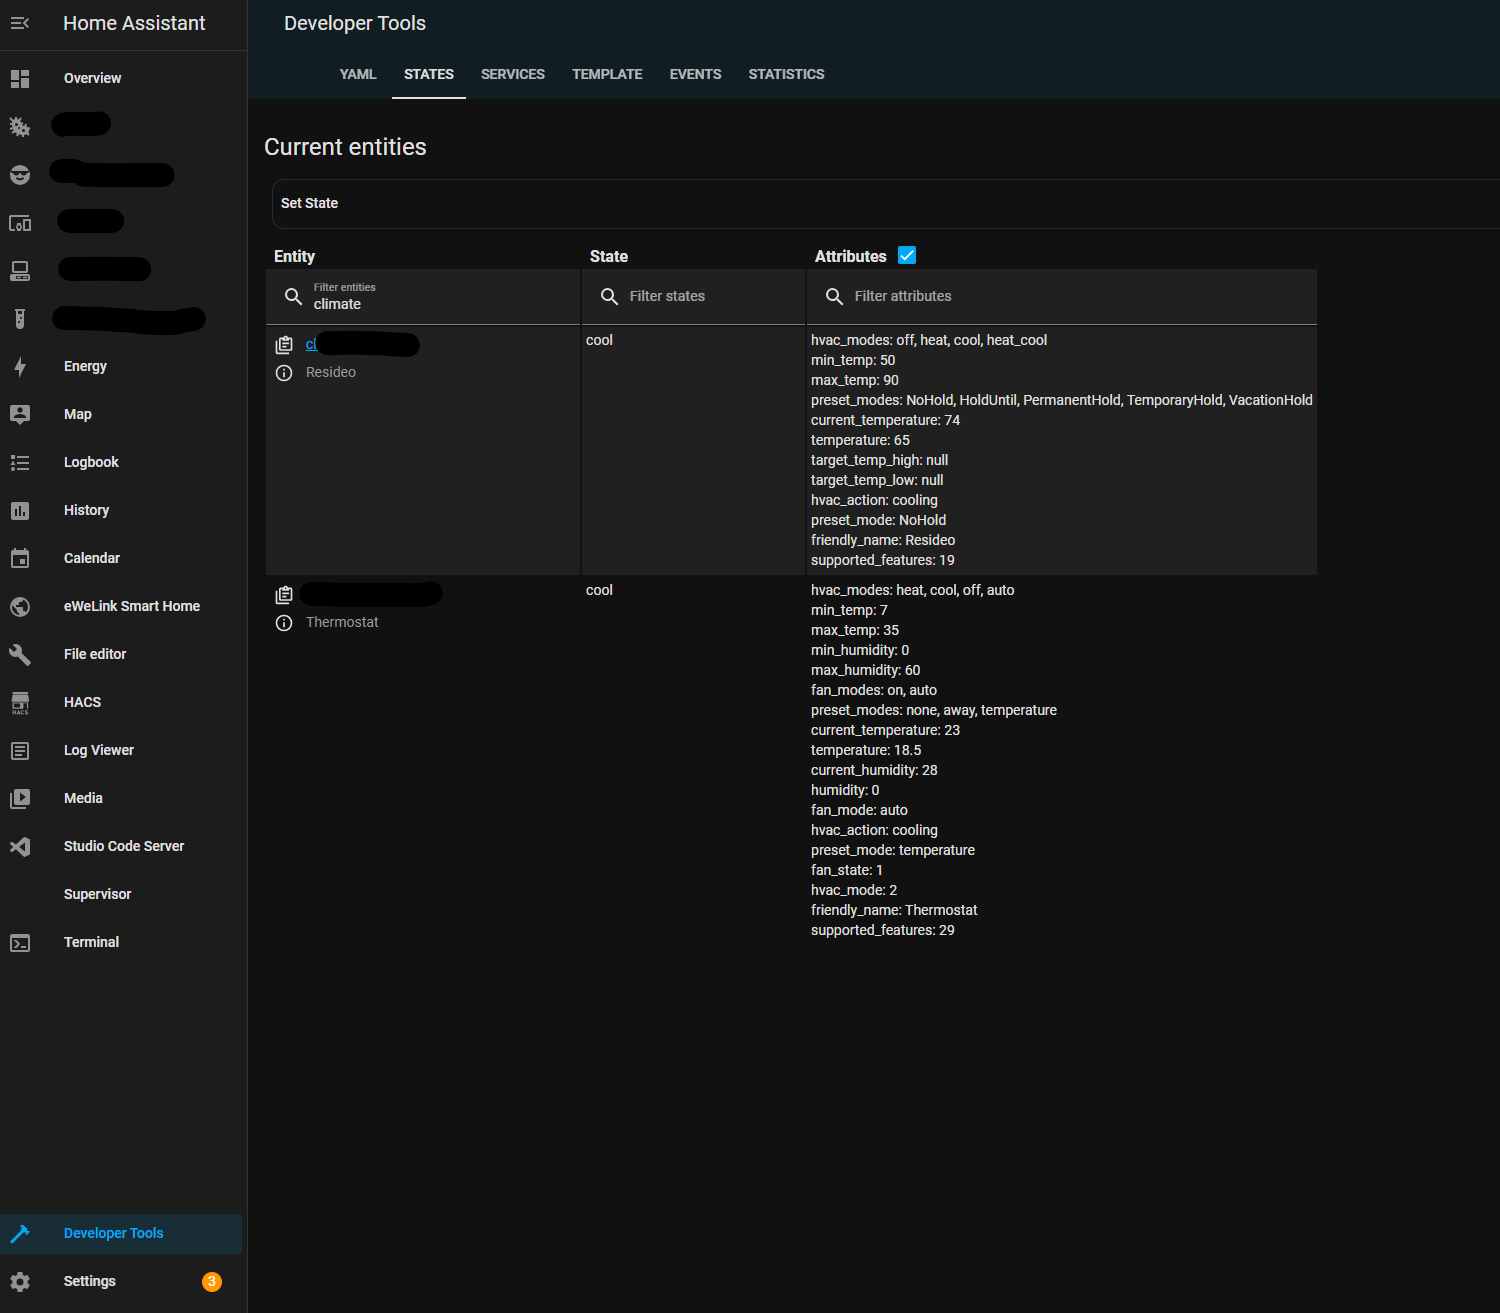
Attributes can be located in the developer tools in the Home Assistant GUI.
Below is an example file named light.example.json which has attributes of a single light instance with entity id ‘light.example’:
[
    {
        "Entity ID": "light.example",
        "Entity Point": "state",
        "Volttron Point Name": "light_state",
        "Units": "On / Off",
        "Units Details": "on/off",
        "Writable": true,
        "Starting Value": true,
        "Type": "boolean",
        "Notes": "lights hallway"
    },
    {
        "Entity ID": "light.example",
        "Entity Point": "brightness",
        "Volttron Point Name": "light_brightness",
        "Units": "int",
        "Units Details": "light level",
        "Writable": true,
        "Starting Value": 0,
        "Type": "int",
        "Notes": "brightness control, 0 - 255"
    }
]
When using a single registry file to represent a logical group of multiple physical entities, make sure the “Volttron Point Name” is unique within a single registry file.
For example, if a registry file contains entities with id ‘light.instance1’ and ‘light.instance2’ the entry for the attribute brightness for these two light instances could have “Volttron Point Name” as ‘light1/brightness’ and ‘light2/brightness’ respectively. This would ensure that data is posted to unique topic names and brightness data from light1 is not overwritten by light2 or vice-versa.
Example Thermostat Registry
For thermostats, the state is converted into numbers as follows: “0: Off, 2: heat, 3: Cool, 4: Auto”,
[
    {
        "Entity ID": "climate.my_thermostat",
        "Entity Point": "state",
        "Volttron Point Name": "thermostat_state",
        "Units": "Enumeration",
        "Units Details": "0: Off, 2: heat, 3: Cool, 4: Auto",
        "Writable": true,
        "Starting Value": 1,
        "Type": "int",
        "Notes": "Mode of the thermostat"
    },
    {
        "Entity ID": "climate.my_thermostat",
        "Entity Point": "current_temperature",
        "Volttron Point Name": "volttron_current_temperature",
        "Units": "F",
        "Units Details": "Current Ambient Temperature",
        "Writable": true,
        "Starting Value": 72,
        "Type": "float",
        "Notes": "Current temperature reading"
    },
    {
        "Entity ID": "climate.my_thermostat",
        "Entity Point": "temperature",
        "Volttron Point Name": "set_temperature",
        "Units": "F",
        "Units Details": "Desired Temperature",
        "Writable": true,
        "Starting Value": 75,
        "Type": "float",
        "Notes": "Target Temp"
    }
]
Transfer the registers files and the config files into the VOLTTRON config store using the commands below:
vctl config store platform.driver light.example.json HomeAssistant_Driver/light.example.json
vctl config store platform.driver devices/BUILDING/ROOM/light.example HomeAssistant_Driver/light.example.config
Upon completion, initiate the platform driver. Utilize the listener agent to verify the driver output:
2023-09-12 11:37:00,226 (listeneragent-3.3 211531) __main__ INFO: Peer: pubsub, Sender: platform.driver:, Bus: , Topic: devices/BUILDING/ROOM/light.example/all, Headers: {'Date': '2023-09-12T18:37:00.224648+00:00', 'TimeStamp': '2023-09-12T18:37:00.224648+00:00', 'SynchronizedTimeStamp': '2023-09-12T18:37:00.000000+00:00', 'min_compatible_version': '3.0', 'max_compatible_version': ''}, Message:
[{'light_brightness': 254, 'state': 'on'},
 {'light_brightness': {'type': 'integer', 'tz': 'UTC', 'units': 'int'},
  'state': {'type': 'integer', 'tz': 'UTC', 'units': 'On / Off'}}]
Running Tests
To run tests on the VOLTTRON home assistant driver you need to create a helper in your home assistant instance. This can be done by going to Settings > Devices & services > Helpers > Create Helper > Toggle. Name this new toggle volttrontest. After that run the pytest from the root of your VOLTTRON file.
If everything works, you will see 6 passed tests.