Eclipse IDE Setup
The only thing that is necessary to create a VOLTTRON agent is a text editor and the shell. However, we have found the Eclipse Development Environment (IDE) to be a valuable tool for helping to develop VOLTTRON agents. You can obtain the latest (MARS as fo 10/7/15) from http://www.eclipse.org/. Once downloaded the PyDev Plugin is a valuable tool for executing the platform as well as debugging agent code.
- Install PyDev Plugin
- Clone the VOLTTRON Source
- Build VOLTTRON
- Link Eclipse to VOLTTRON Python Environment
- Make Project a PyDev Project
- Testing the Installation
- Execute VOLTTRON Through Shell
- Execute VOLTTRON Through Eclipse
- Start a ListenerAgent
PyDev Plugin
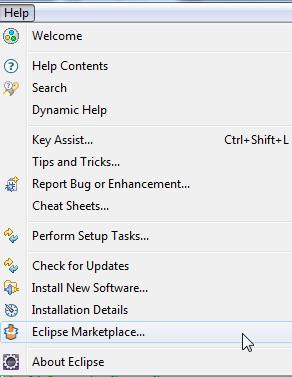
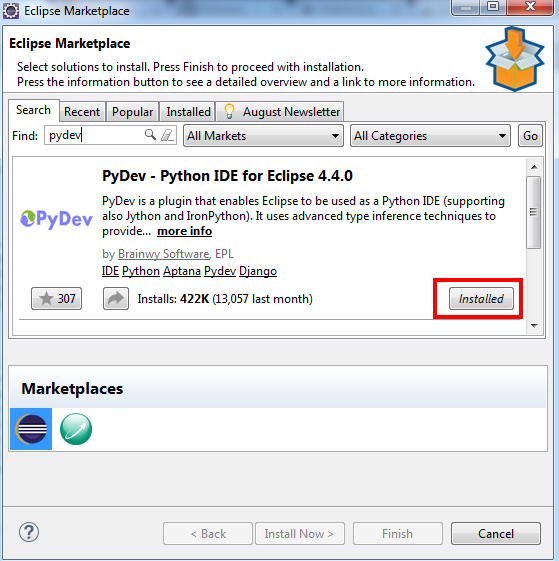
Installing the PyDev plugin from the Eclipse Market place There is a python plugin for eclipse that makes development much easier. Install it from the eclipse marketplace.
Cloning the Source Code
The VOLTTRON code is stored in a git repository. Eclipse (Luna and Mars) come with a git plugin out of the box. For other versions the plugin is available for Eclipse that makes development more convenient (note: you must have Git already installed on the system and have built VOLTTRON):
If your version of Eclipse does not have the marketplace follow these instructions.
The project can now be checked out from the repository into Eclipse.
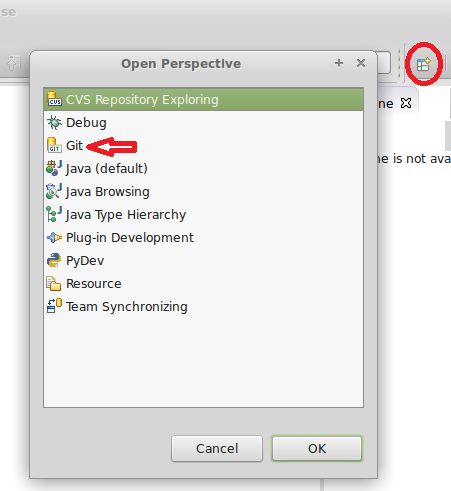
Open the Git view
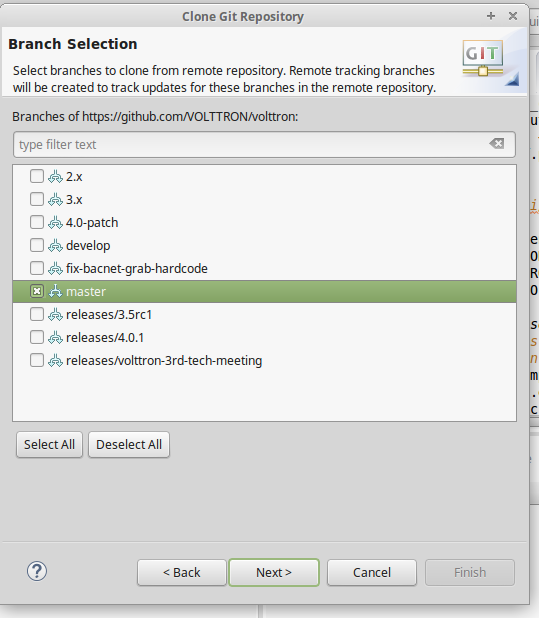
Clone a Git Repository

Fill out the URI: https://github.com/VOLTTRON/volttron
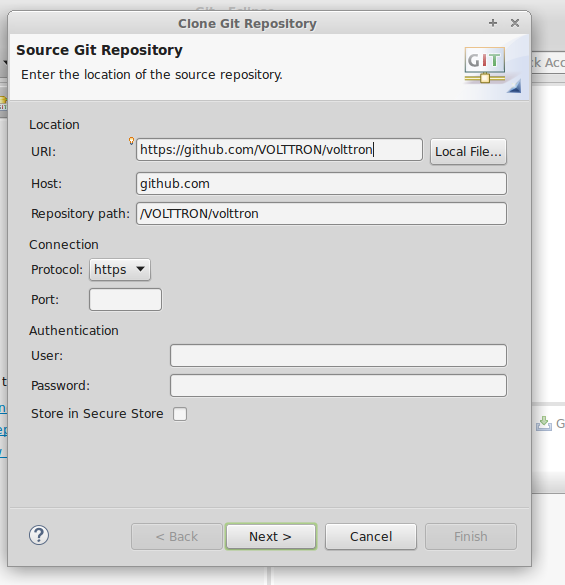
Select master for latest stable version
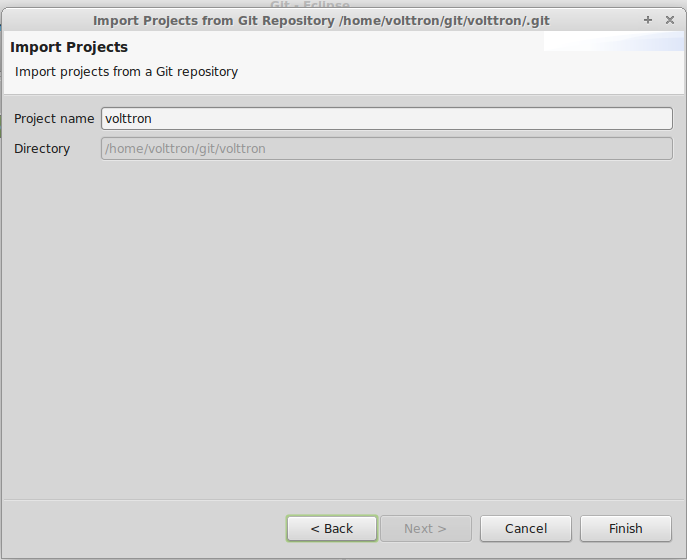
Import the cloned repository as a general project
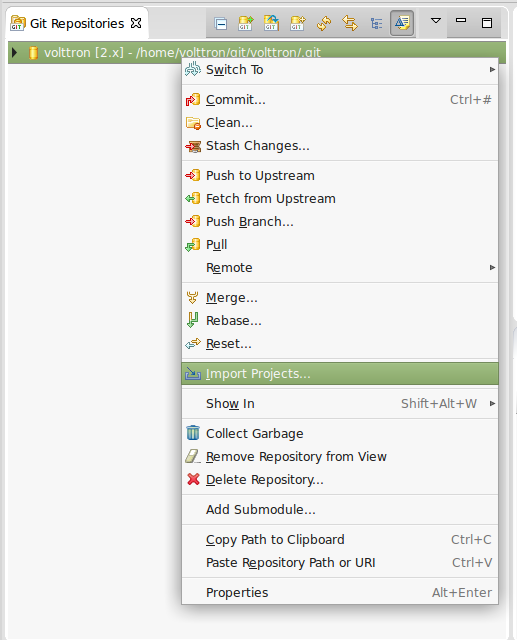
Pick a project name (default volttron) and hit Finish
Switch to the PyDev perspective
Build VOLTTRON
Continue the setup process by opening a command shell. Make the current directory the root of your cloned VOLTTRON directory. Follow the instructions in our Building VOLTTRON section of the wiki and then continue below.
Linking Eclipse and the VOLTTRON Python Environment
From the Eclipse IDE right click on the project name and select Refresh so eclipse will be aware of the file system changes. The next step will define the python version that PyDev will use for VOLTTRON
Choose Window - > Preferences
Expand the PyDev tree
Select Interpreters - > Python Interpreter
Click New
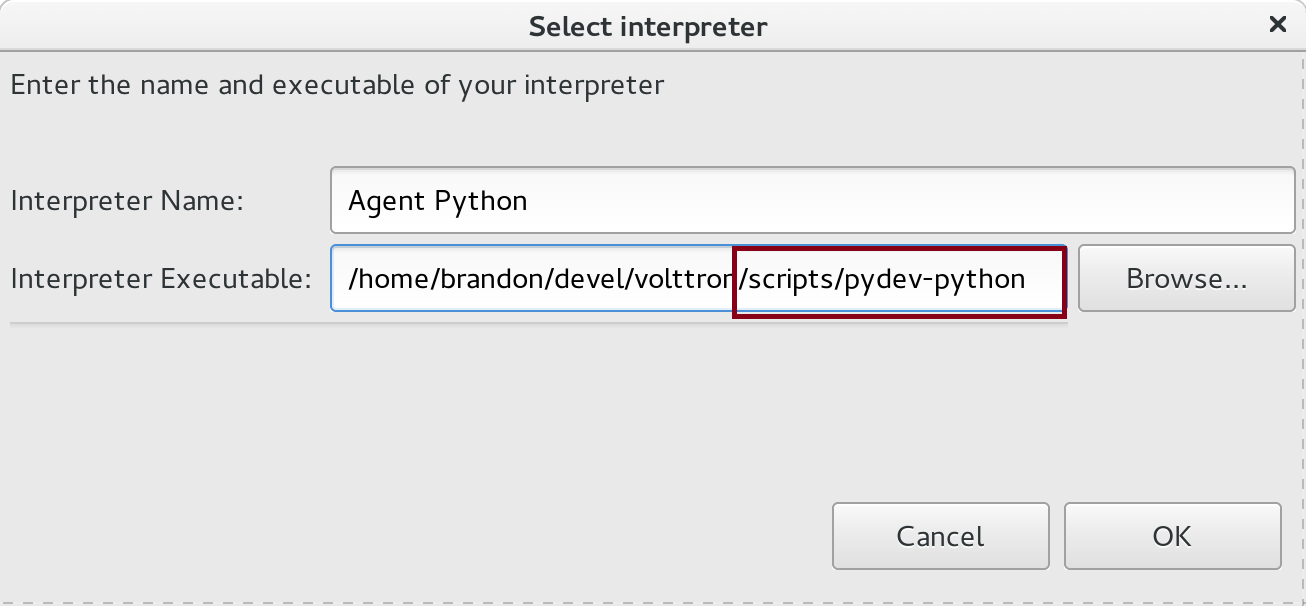
Click Browse and browse to the pydev-python file located in scripts directory off of the volttron source
Click Ok
Select All, then uncheck the VOLTTRON root like the picture below
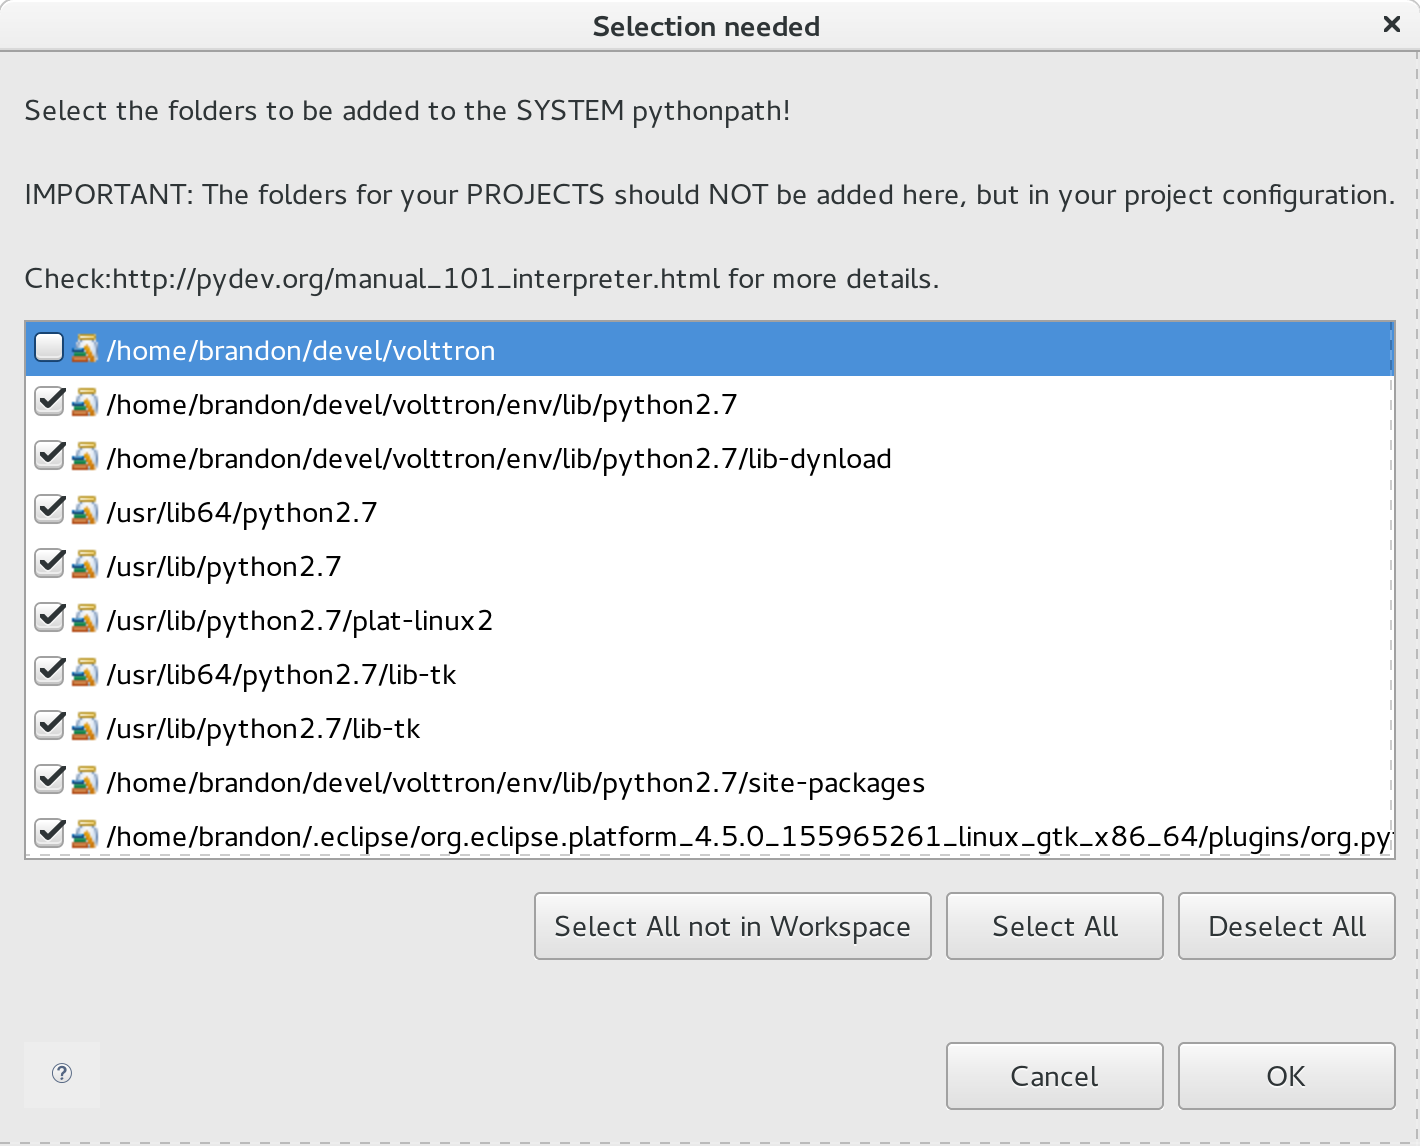
Click Ok
Note
You may need redo this stage after platform updates
Make Project a PyDev Project
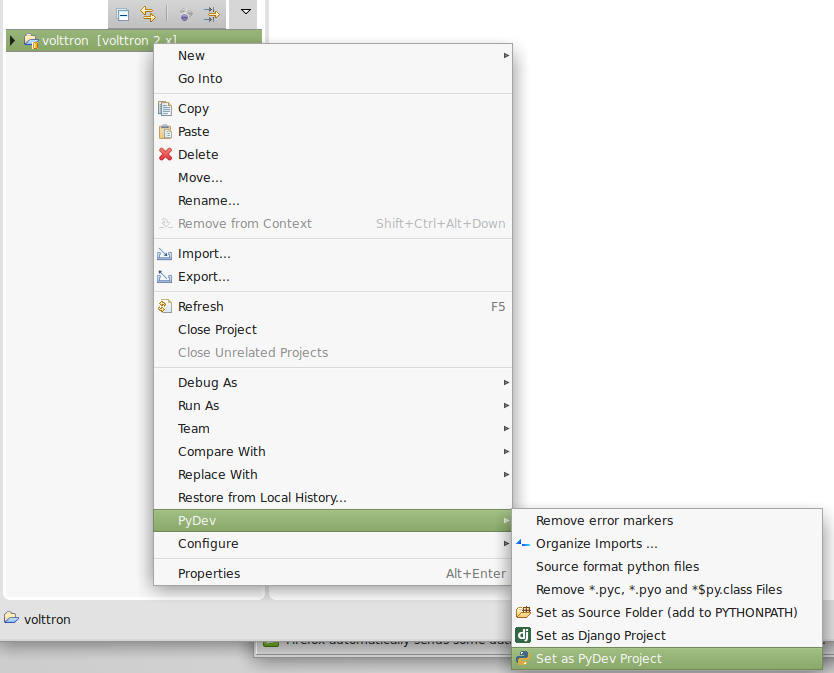
- In the Project/PackageExplorer view on the left, right-click on the project, PyDev-> Set as PyDev Project
- Switch to the PyDev perspective (if it has not already switched),
Window -> Open Perspective -> PyDev
Eclipse should now be configured to use the project’s environment.
Testing the Installation
In order to test the installation the VOLTTRON platform must be running. You can do this either through the shell or through Eclipse.
Execute VOLTTRON Through Shell
Open a console and cd into the root of the volttron repository.
Execute source env/bin/activate
Execute volttron -vv
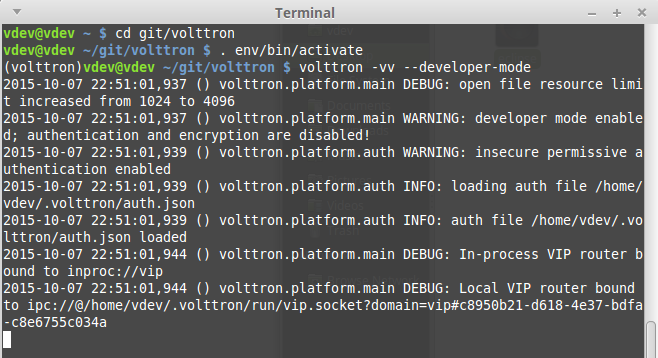
You now have a running VOLTTRON logging to standard out. The next step to verifying the installation is to start a listeneragent.
Execute VOLTTRON Through Eclipse
Click Run -> Run Configuration from the Eclipse Main Menu
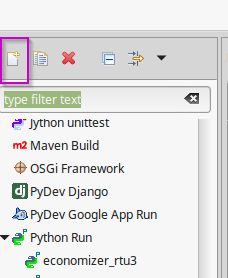
Click the New Launch Configuration button
Change the name and select the main module volttron/platform/main.py
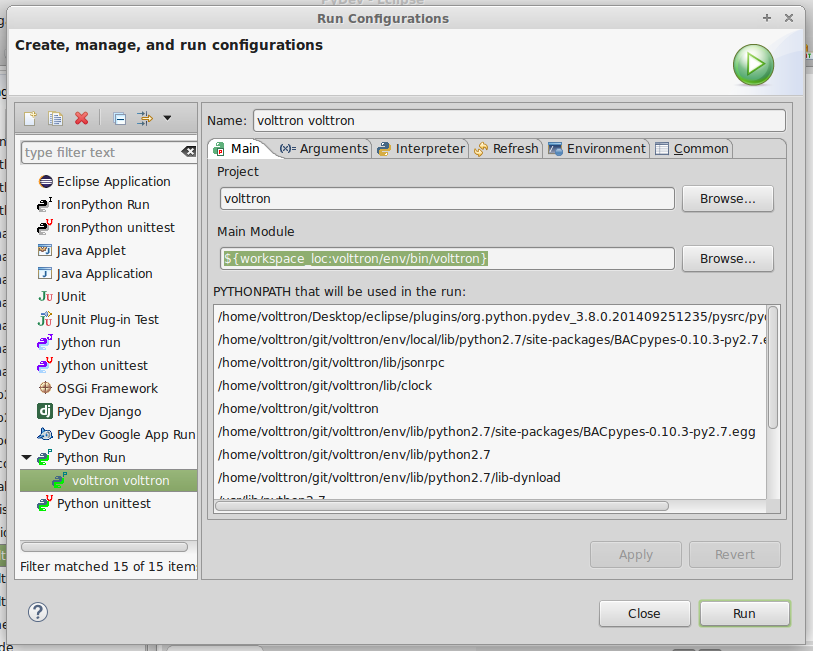
Click the Arguments Tab add ‘-vv’ to the arguments and change the working directory to default

Click Run. The following image displays the output of a successfully started platform

| ref: | _Start-Listener-Eclipse: |
|---|
Start a ListenerAgent
Warning
Before attempting to run an agent in Eclipse, please see the note in: AgentDevelopment
The listener agent will listen to the message bus for any published messages. It will also publish a heartbeat message ever 10 seconds (by default).
Create a new run configuration entry for the listener agent.
In the Package Explorer view, open examples -> ListenerAgent –> listener
Righ-click on agent.py and select Run As -> Python Run (this will create a run configuration but fail)
On the menu bar, pick Run -> Run Configurations…
Under Python Run pick “volttron agent.py”
Click on the Arguments tab and Change Working Directory to Default
In the Environment tab, click new set the variable to AGENT_CONFIG with the value of /home/git/volttron/examples/ListenerAgent/config
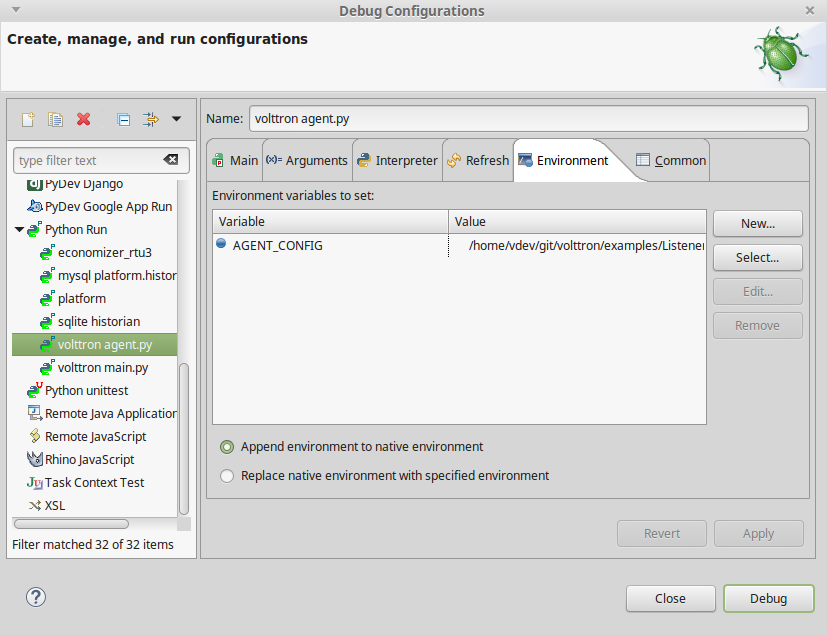
Click Run, this launches the agent
You should see the agent start to publish and receive its own heartbeat message in the console.