OpenADR VTN Server: User Guide
Warning
This VTN server implementation is incomplete, and is not supported by the VOLTTRON core team. For information about its status including known issues, refer to the VTN Server Configuration docs.
This guide assumes that you have a valid user account to access and log in to the VTN application website.
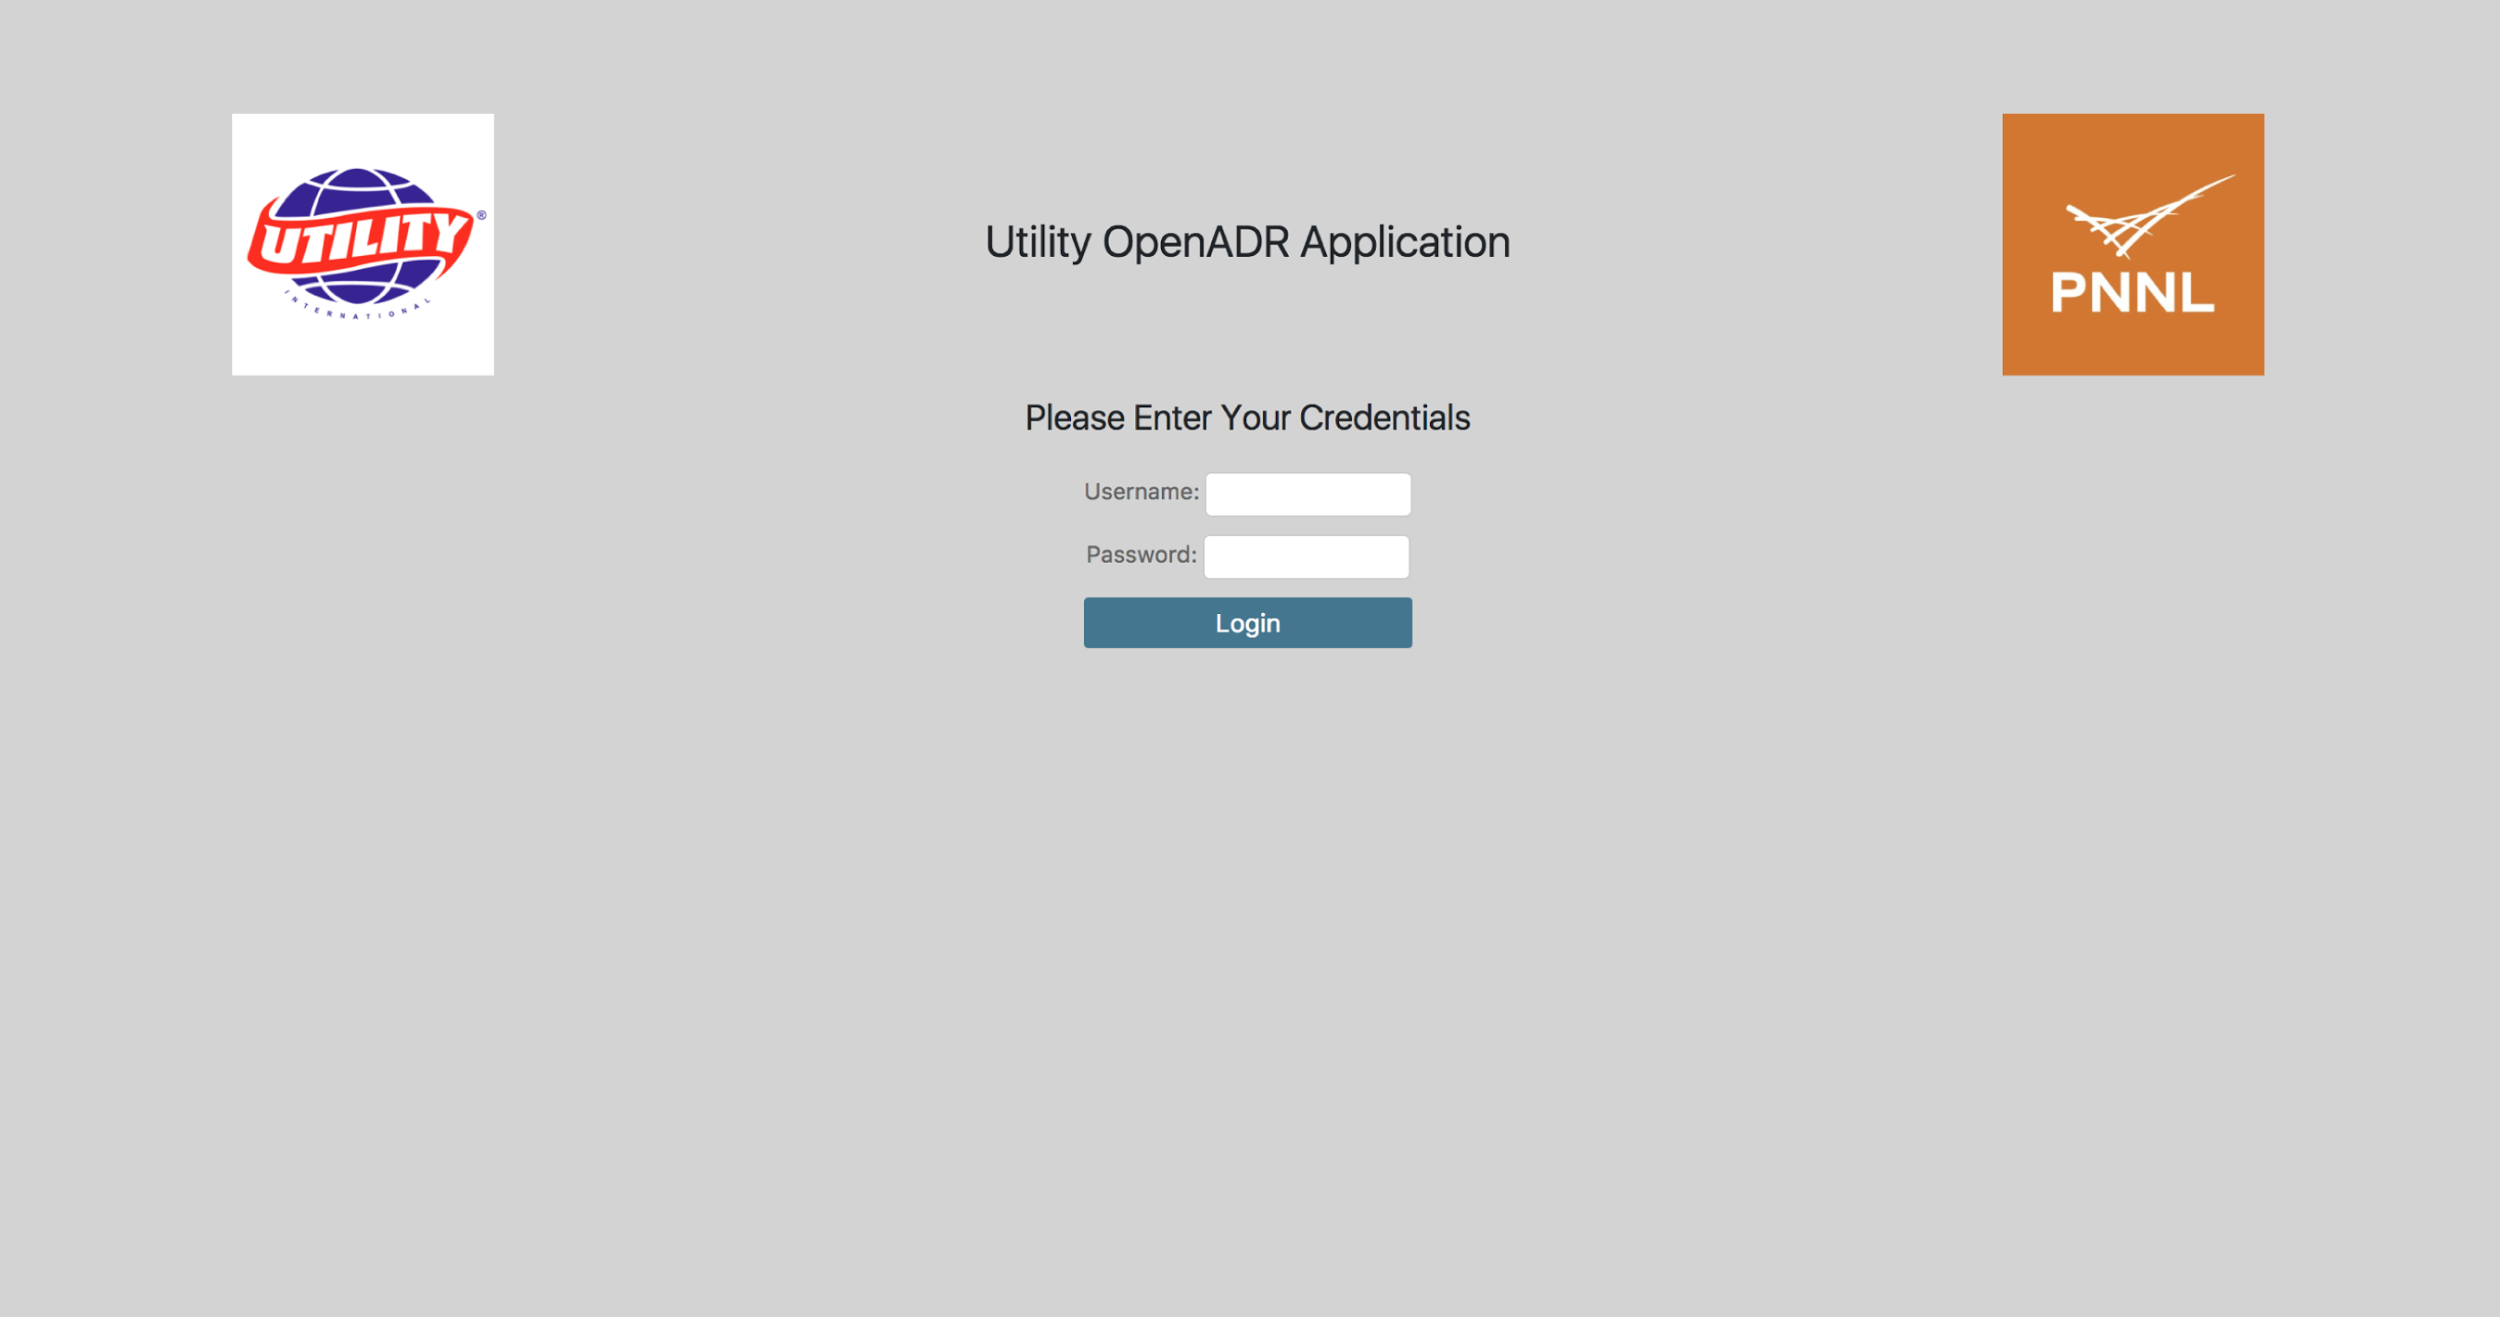
Login Screen
In order to begin using the VTN application, navigate to \http://yourhostname*<or>*ip:8000/vtn.
Overview Screen
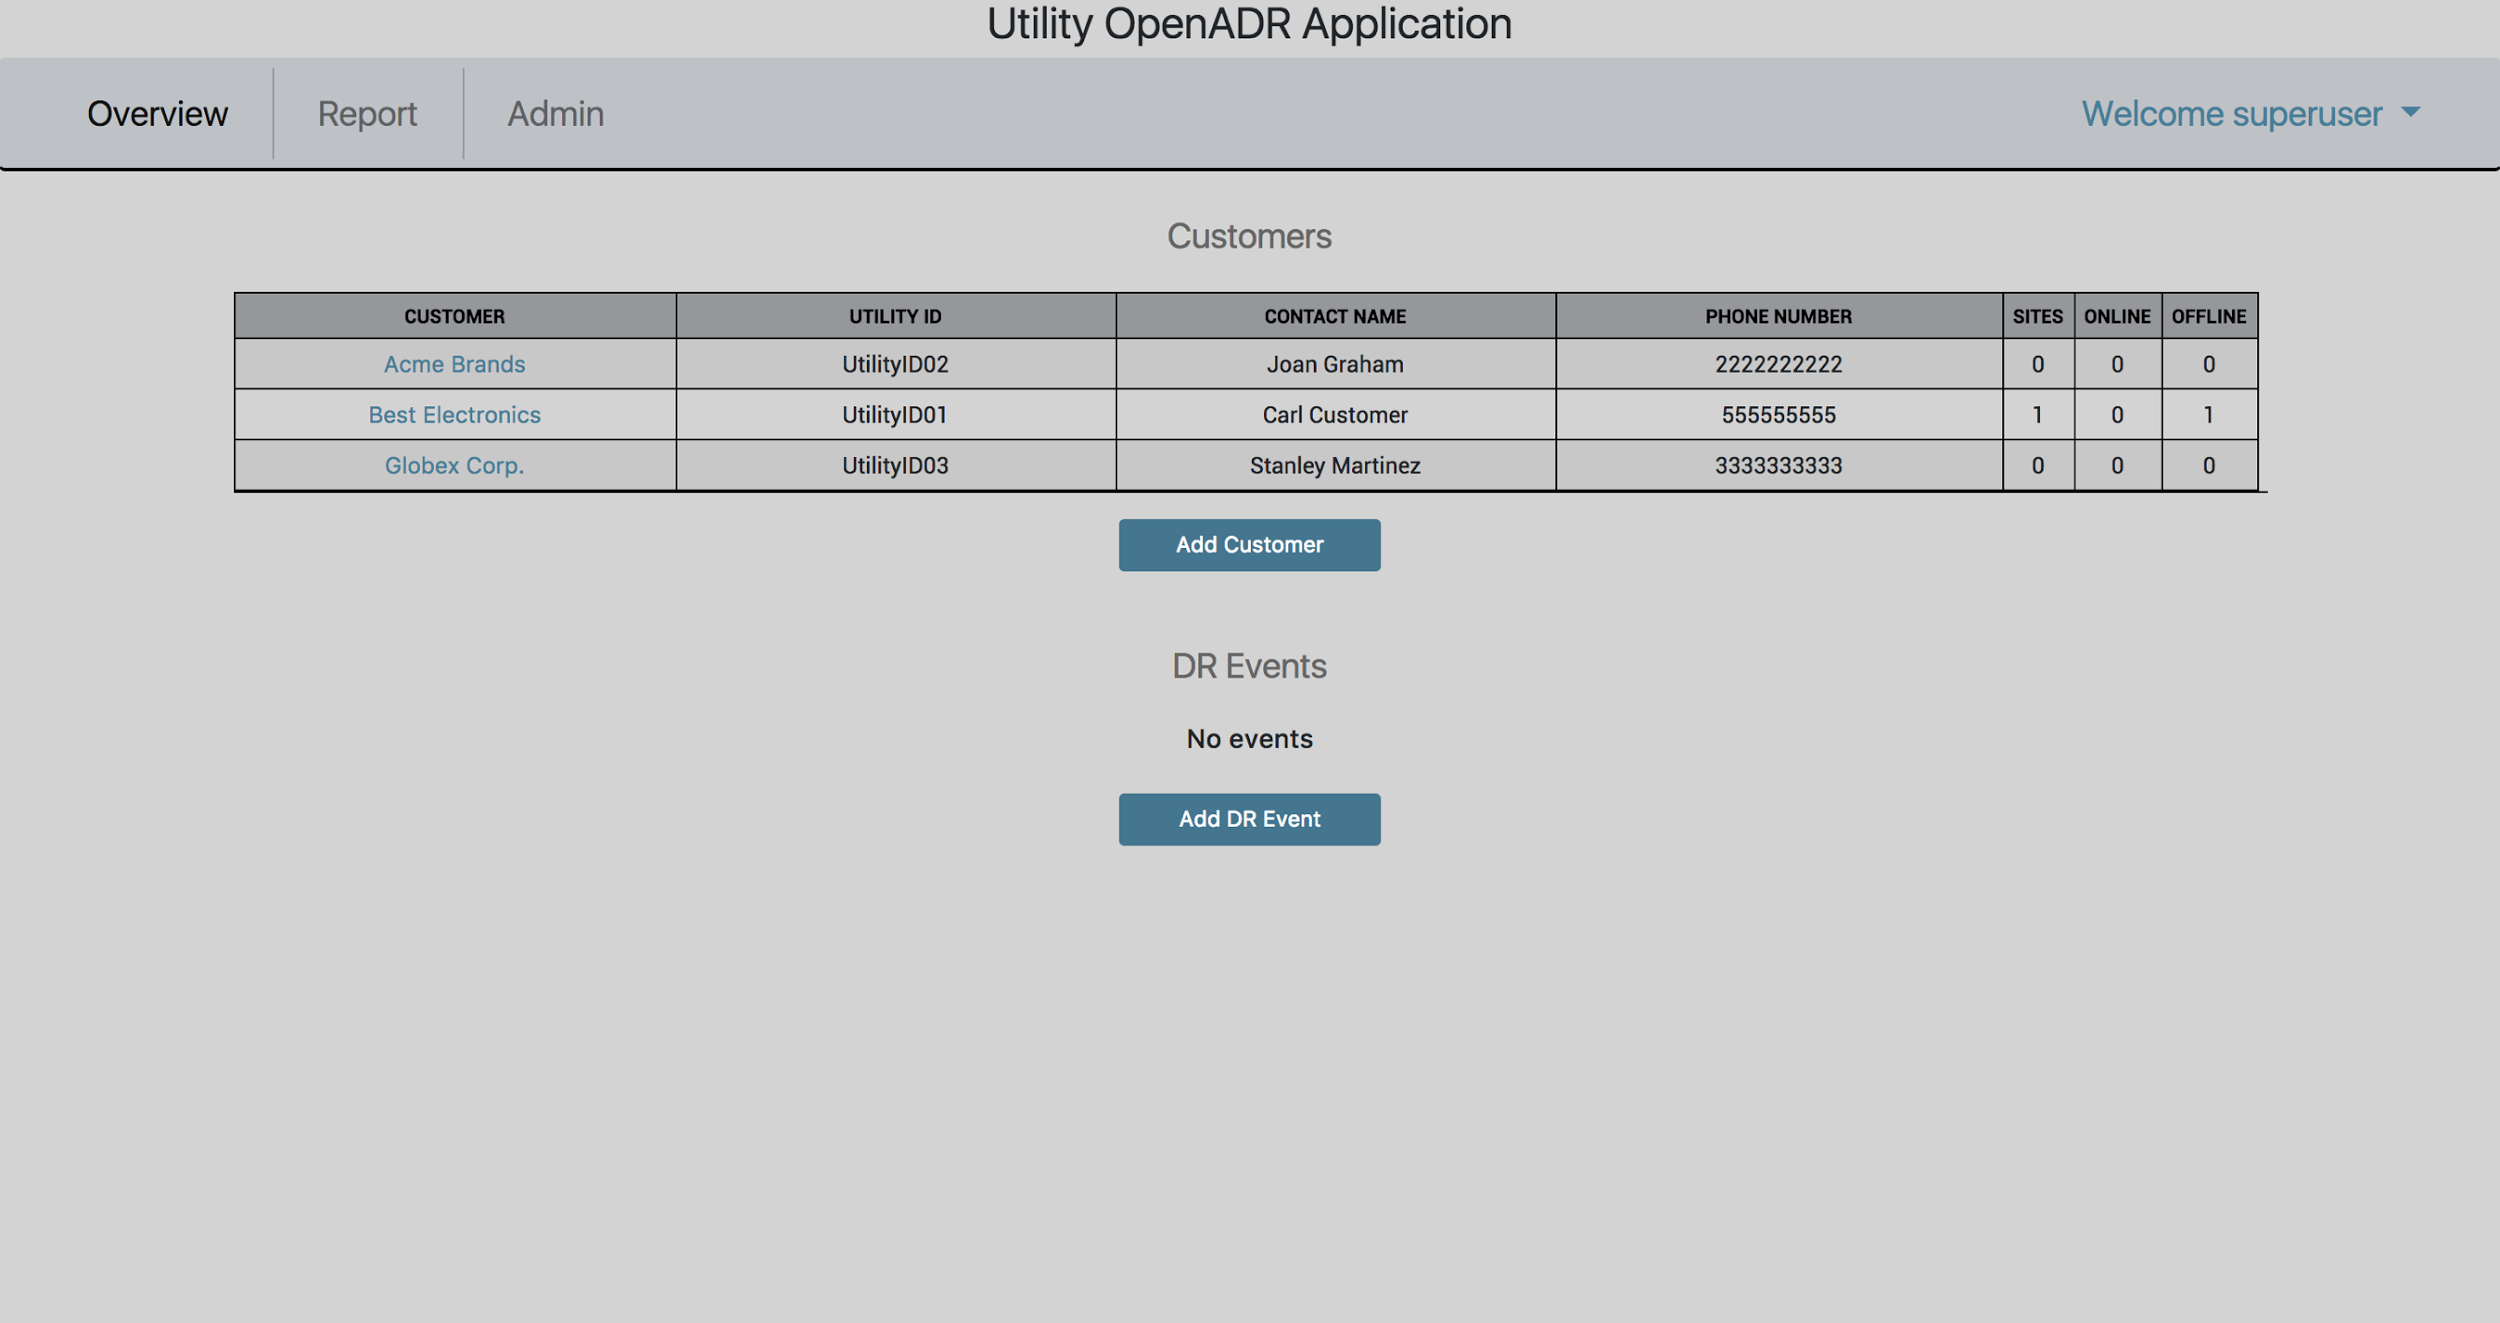
Once logged in for the first time, this is the ‘Overview’ screen.
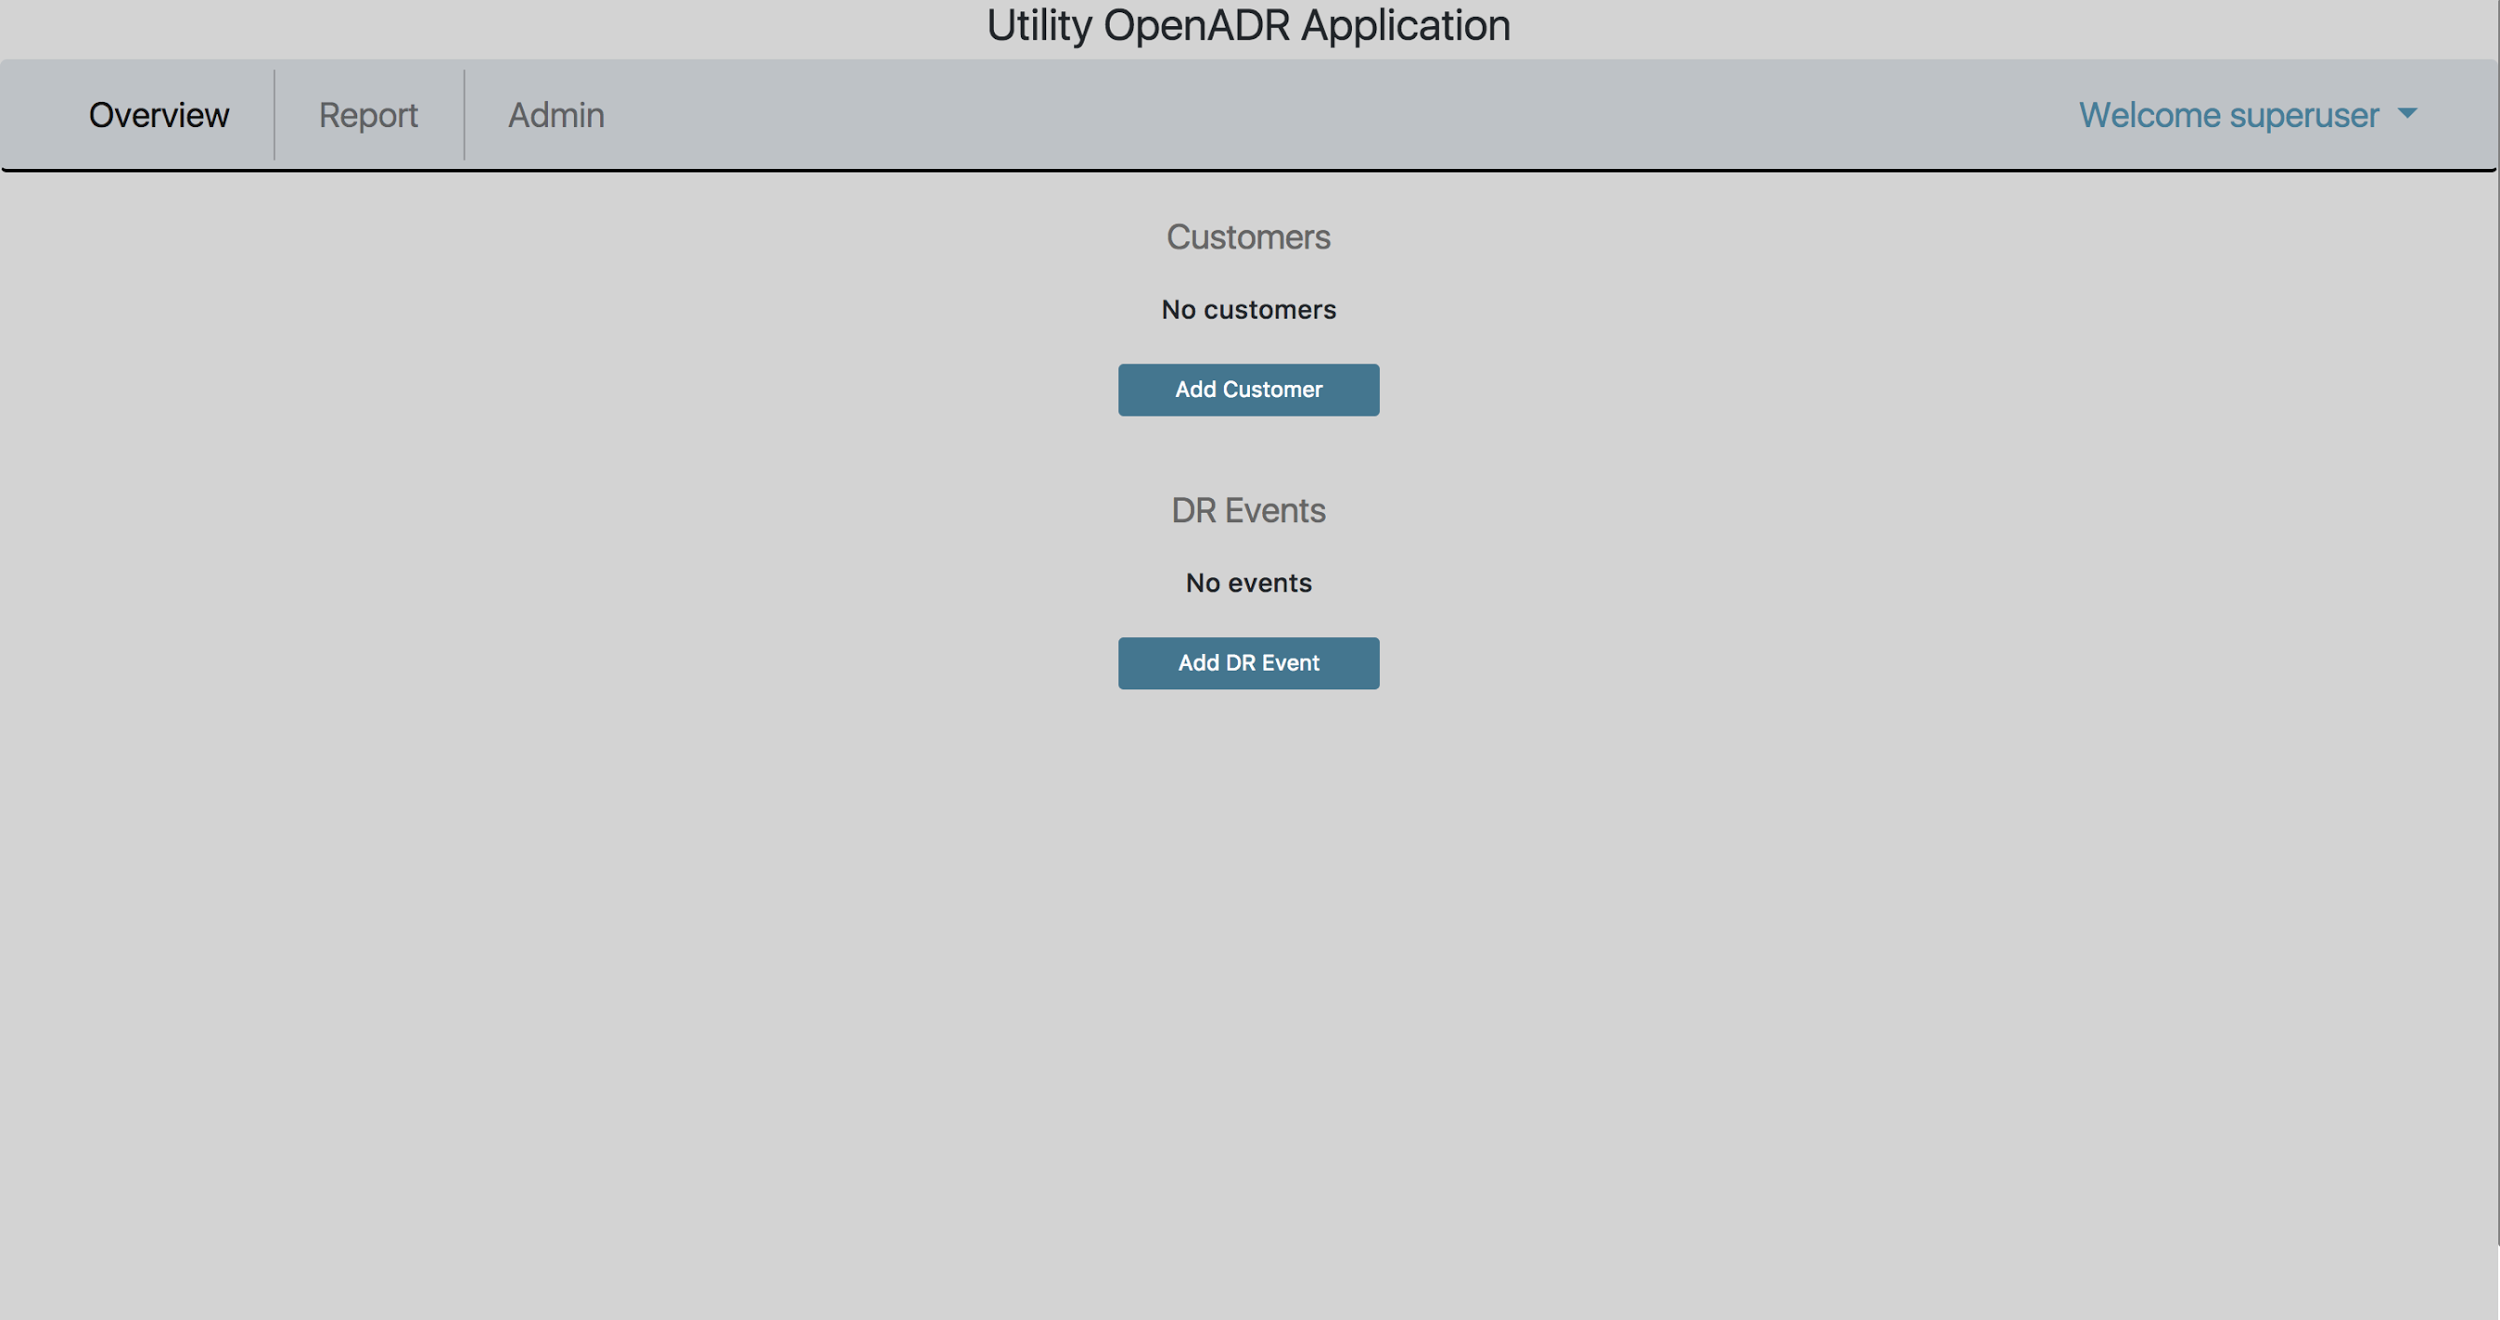
In order to begin scheduling DR events, one must first create at least one customer, with at least one associated site/VEN, and at least one sort of demand response (DR) program. A VTN will not be able to tell a VEN about DR Events if the VTN doesn’t know about the VEN. A VTN knows about a VEN after a Site for the VEN has been created in the VTN application, and the VEN has contacted the VTN.
The rest of this document describes how to set up Customers, Sites, DR Programs, and DR Events, as well as how to export event data.
Create a Customer
Creating a Customer can be done by clicking on ‘Add Customer’ on the Overview screen.
The standard interface for adding a Customer:
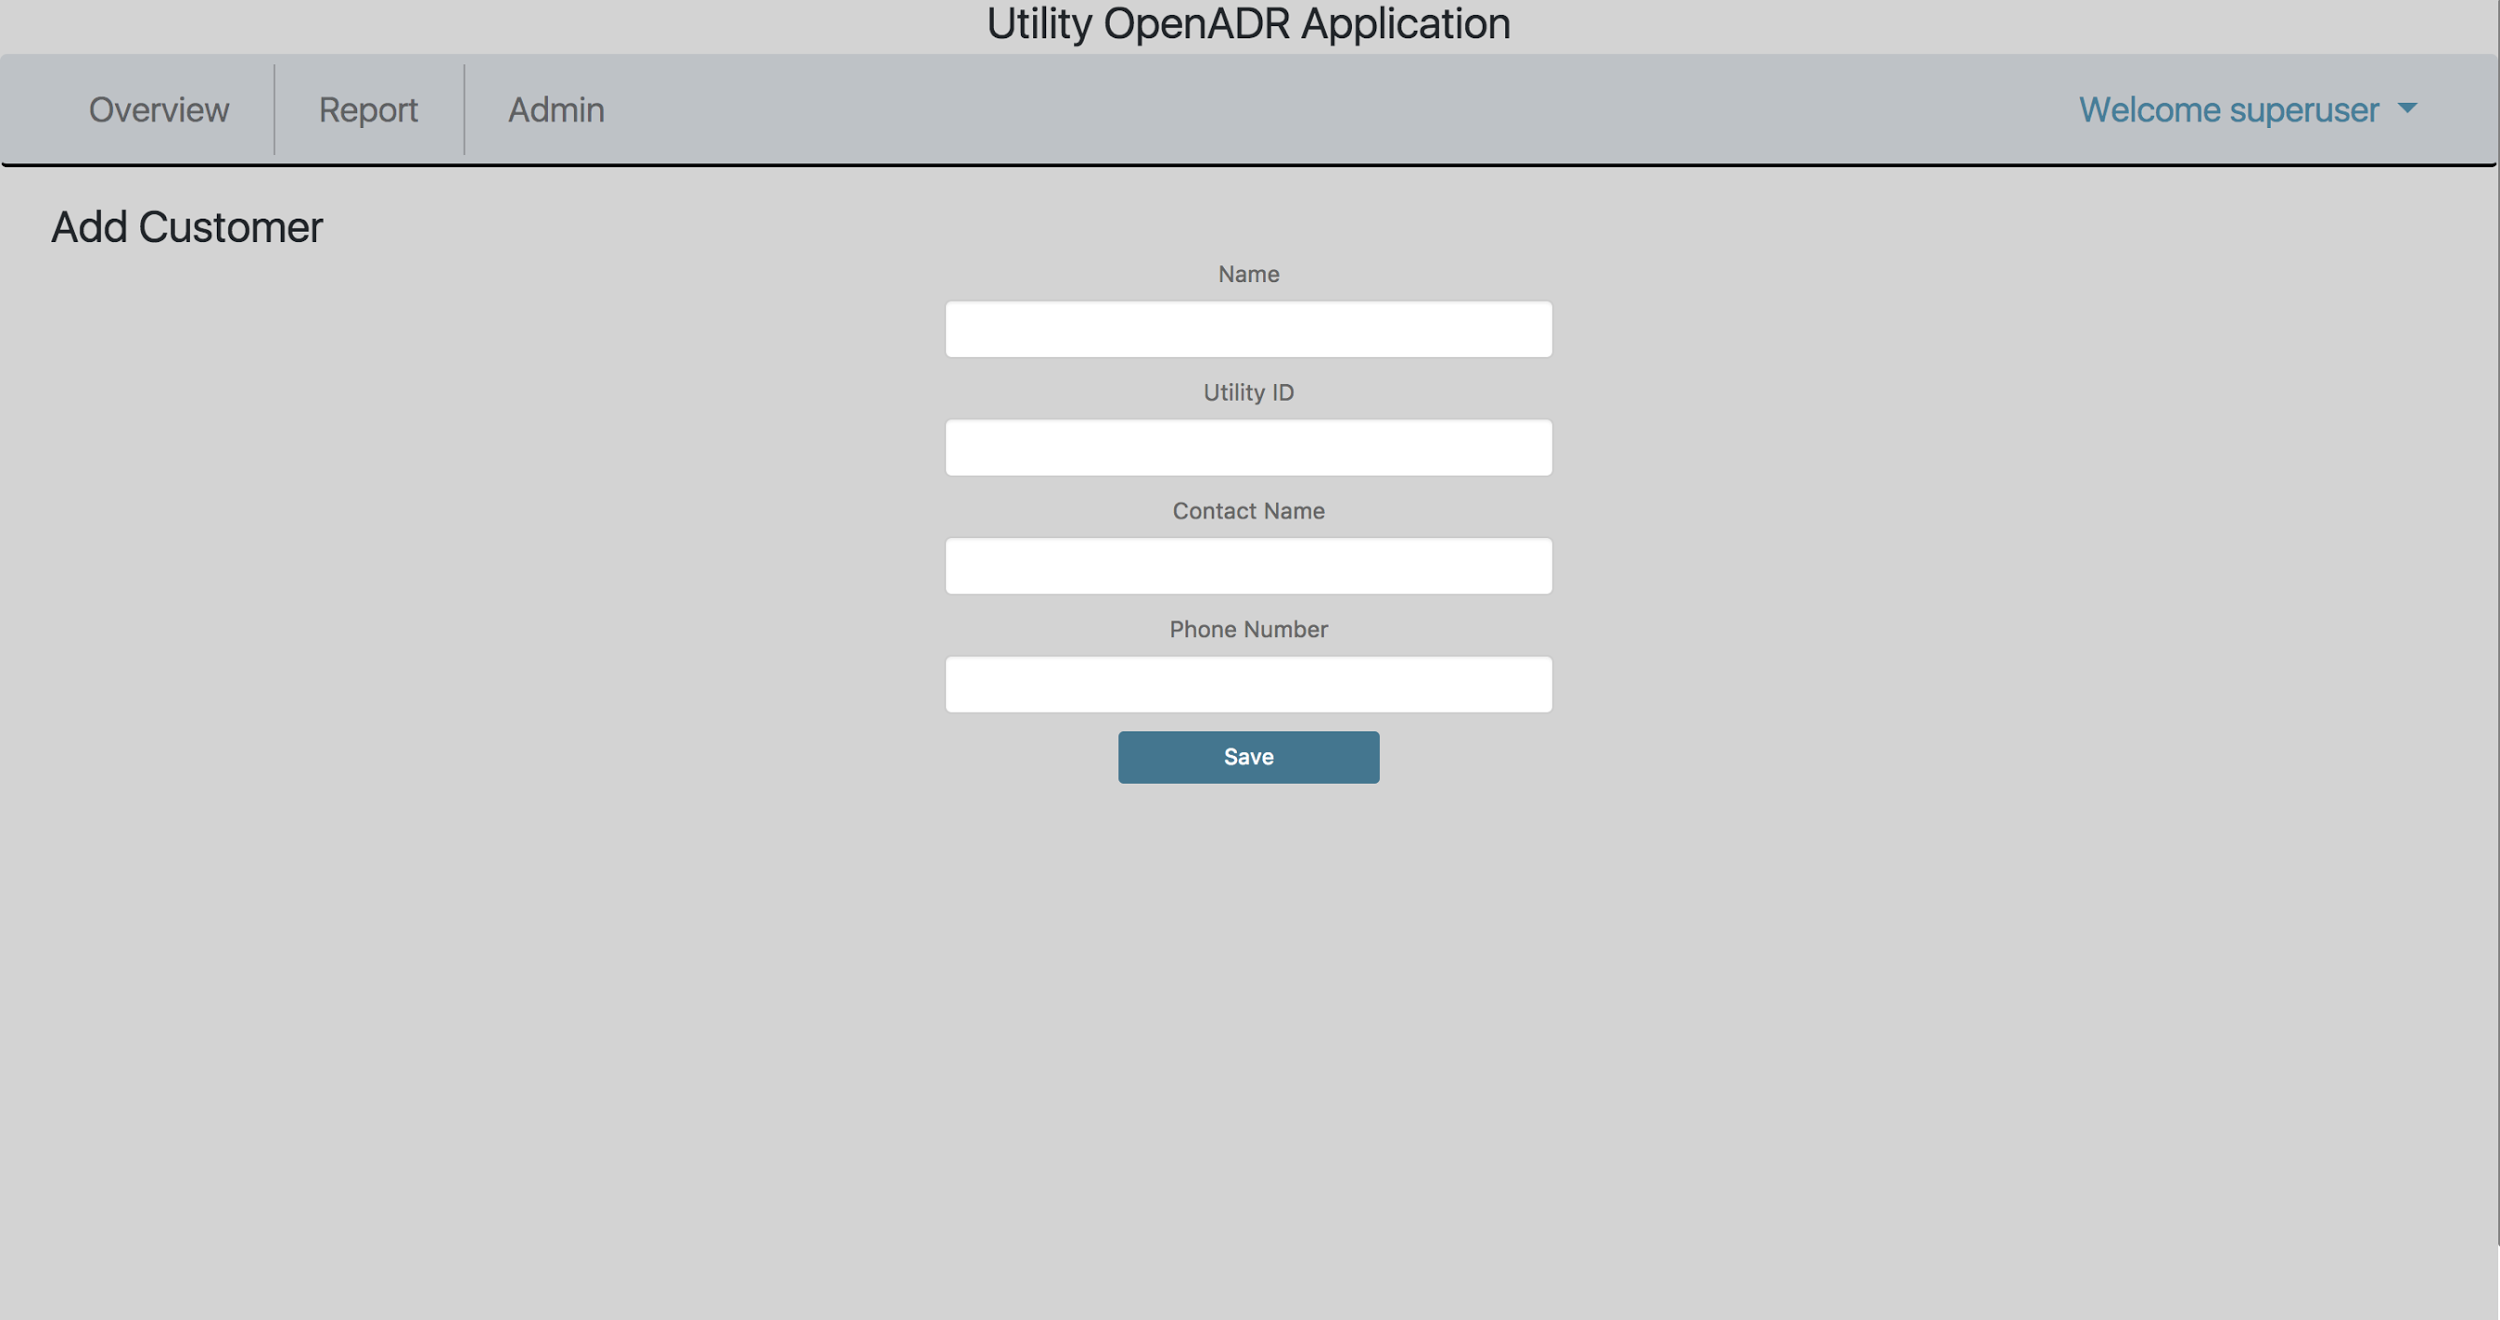
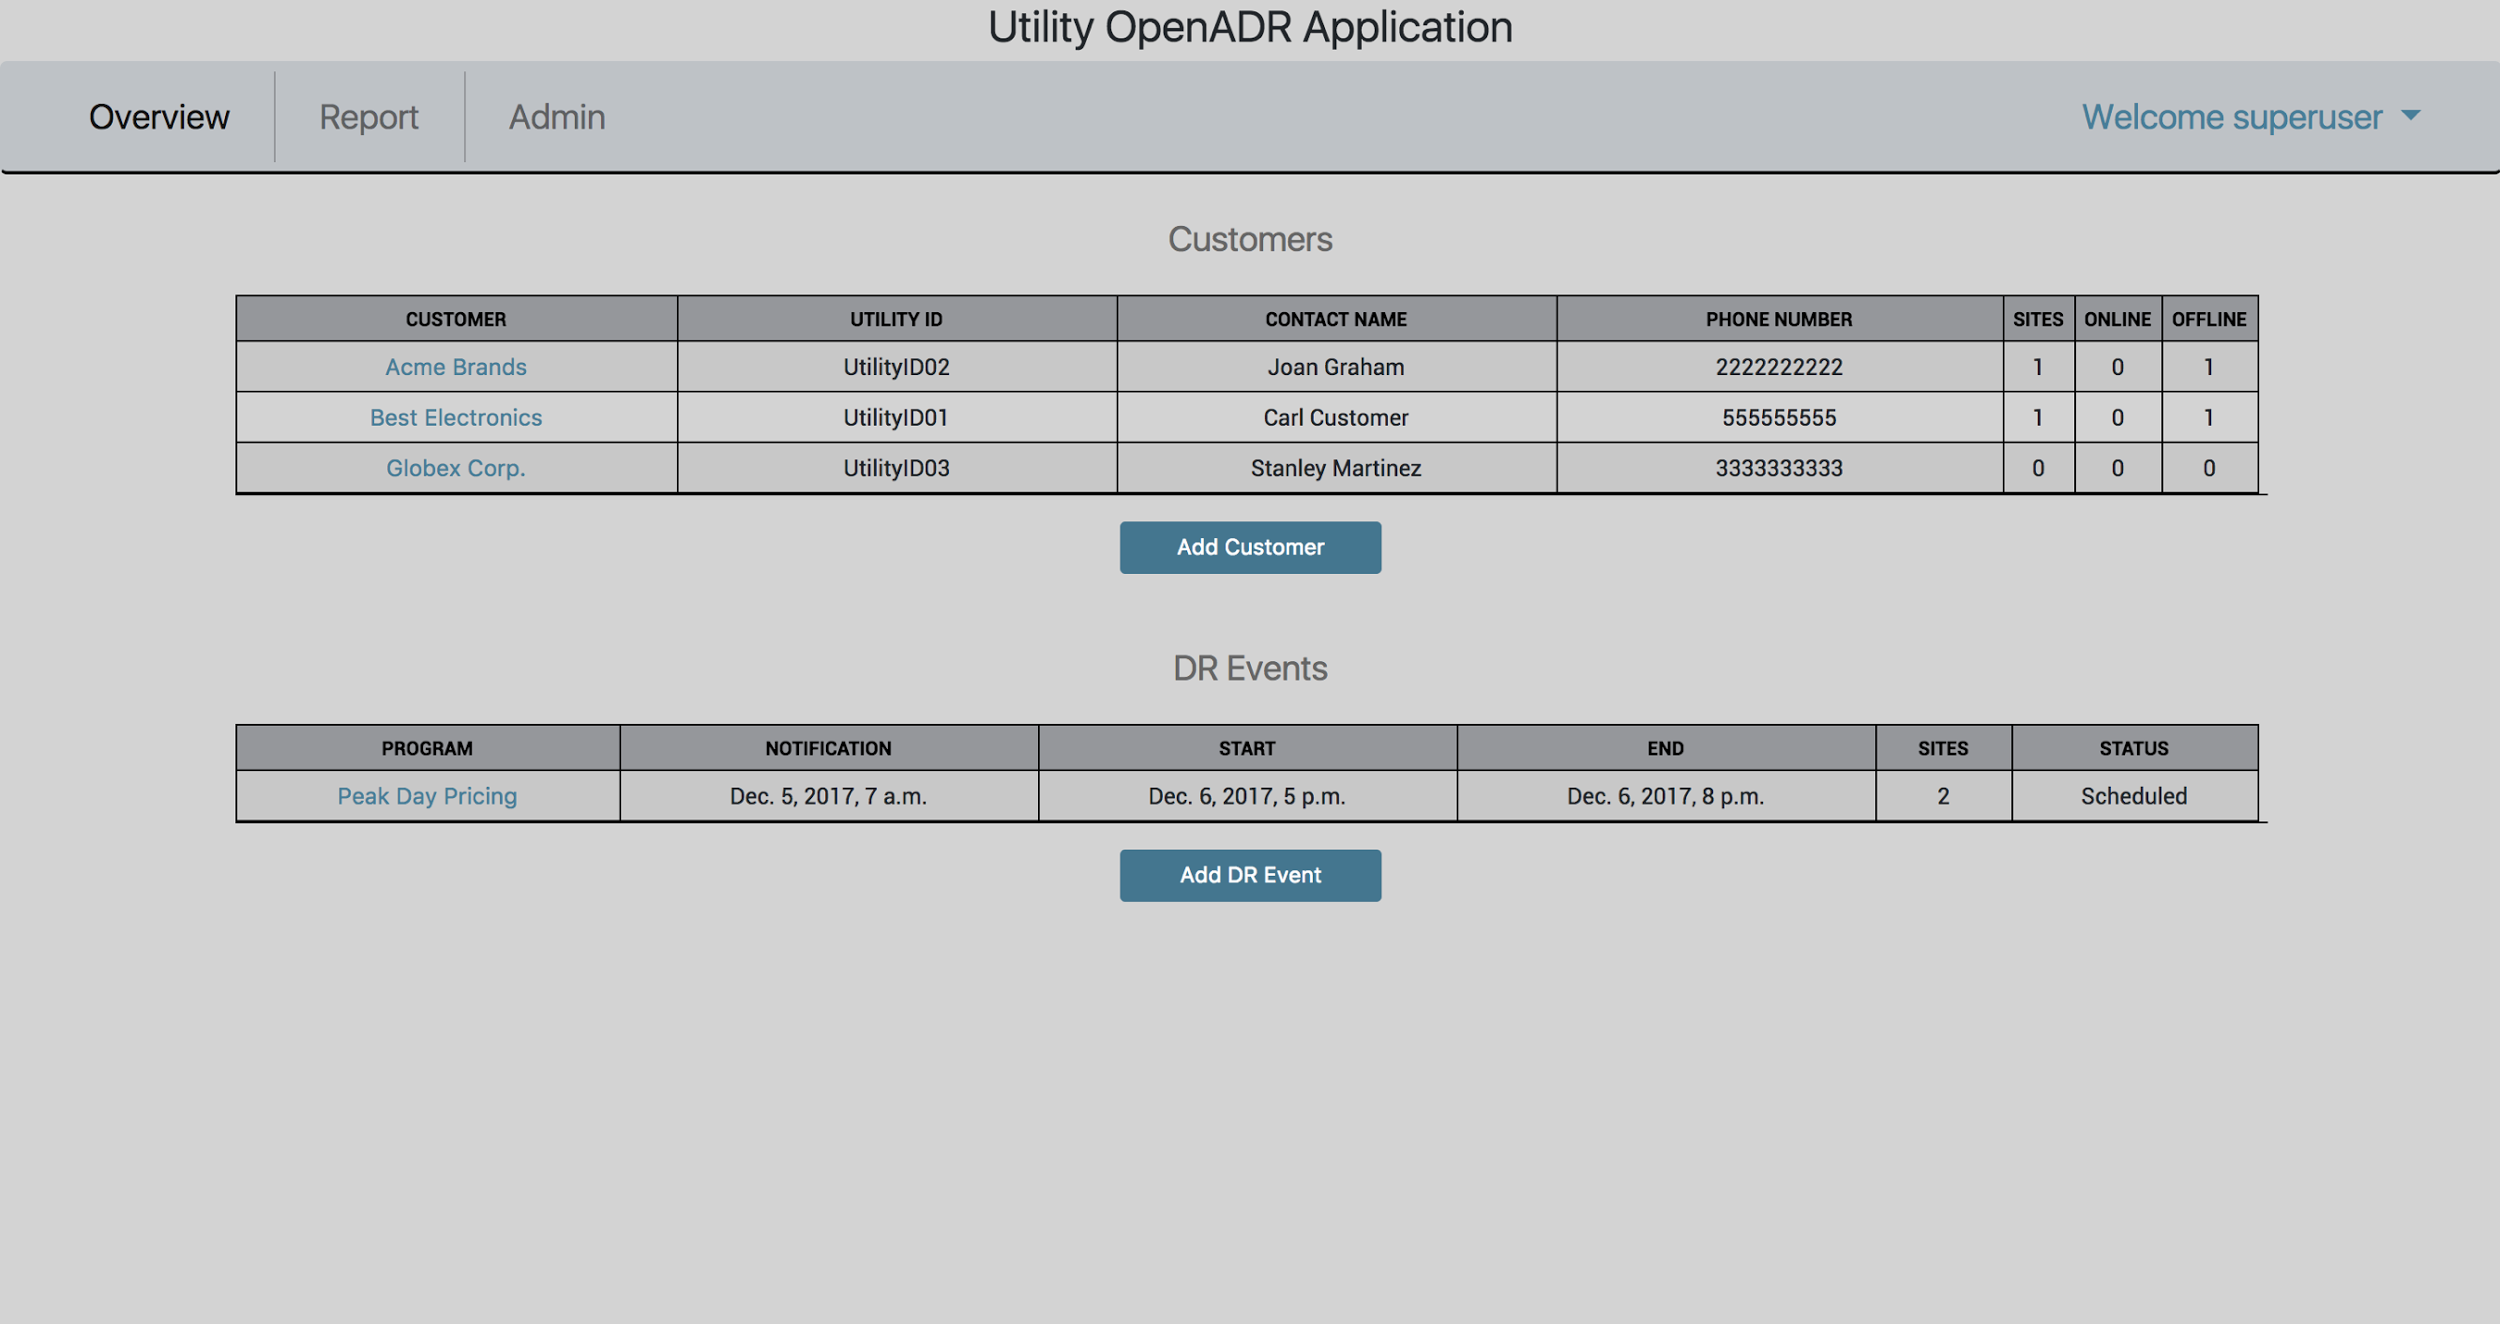
Customers will appear on the Overview screen after they have been added.
Create a Site
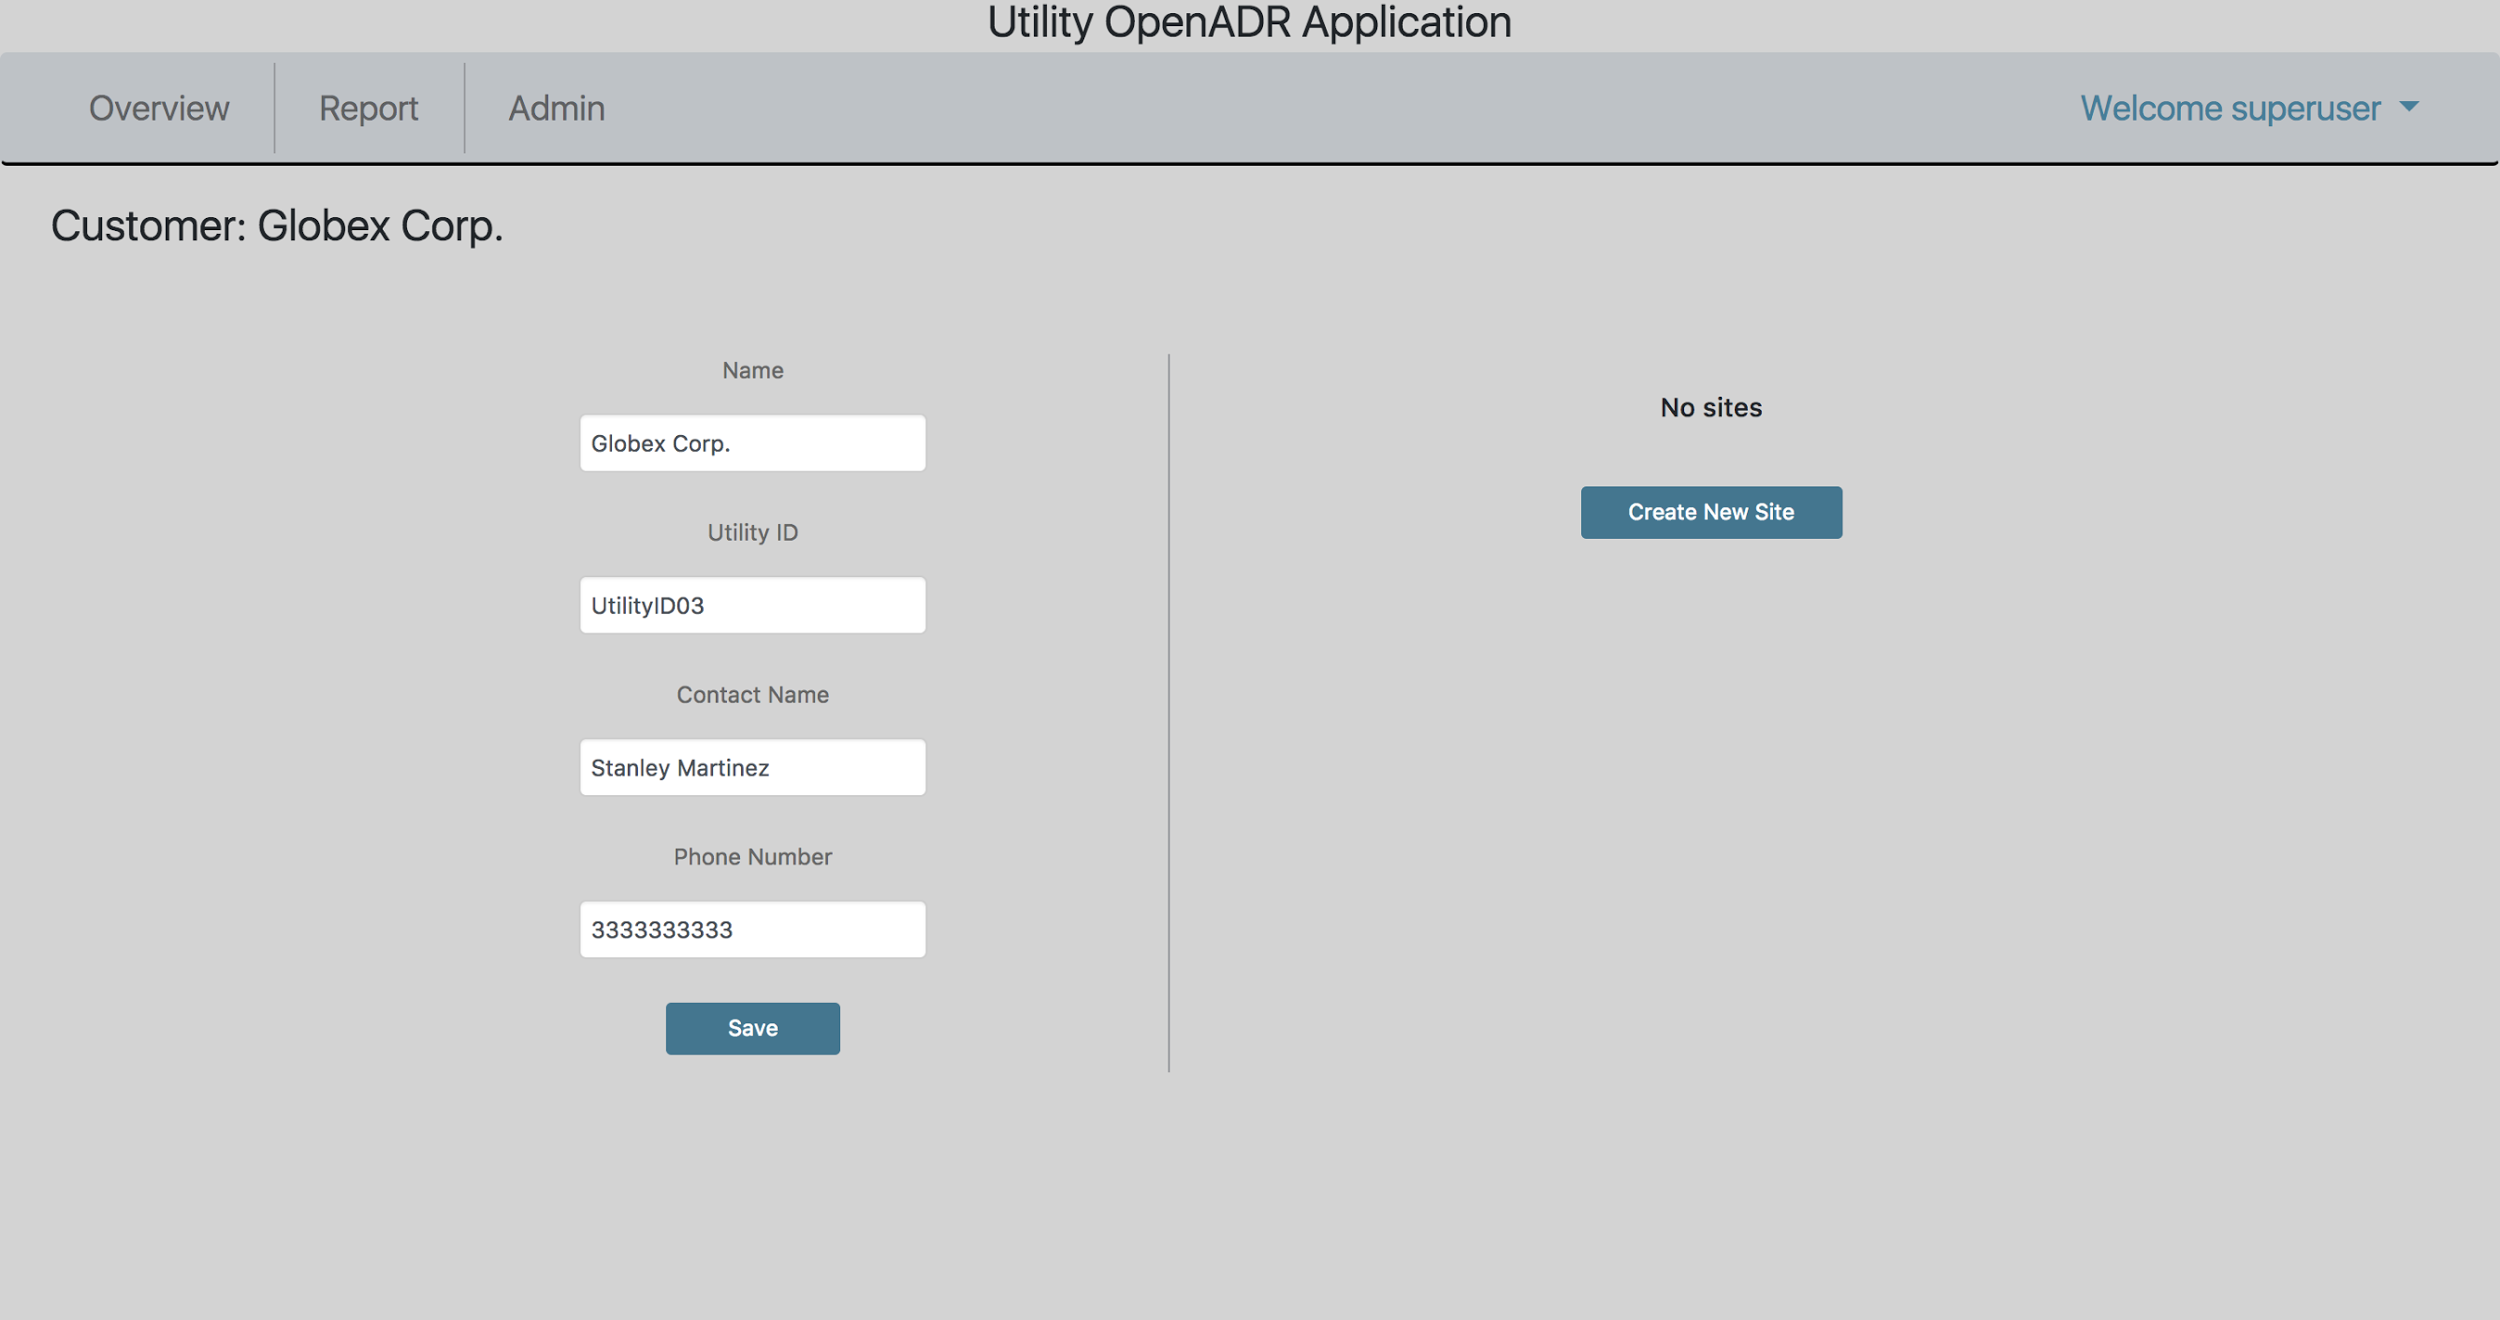
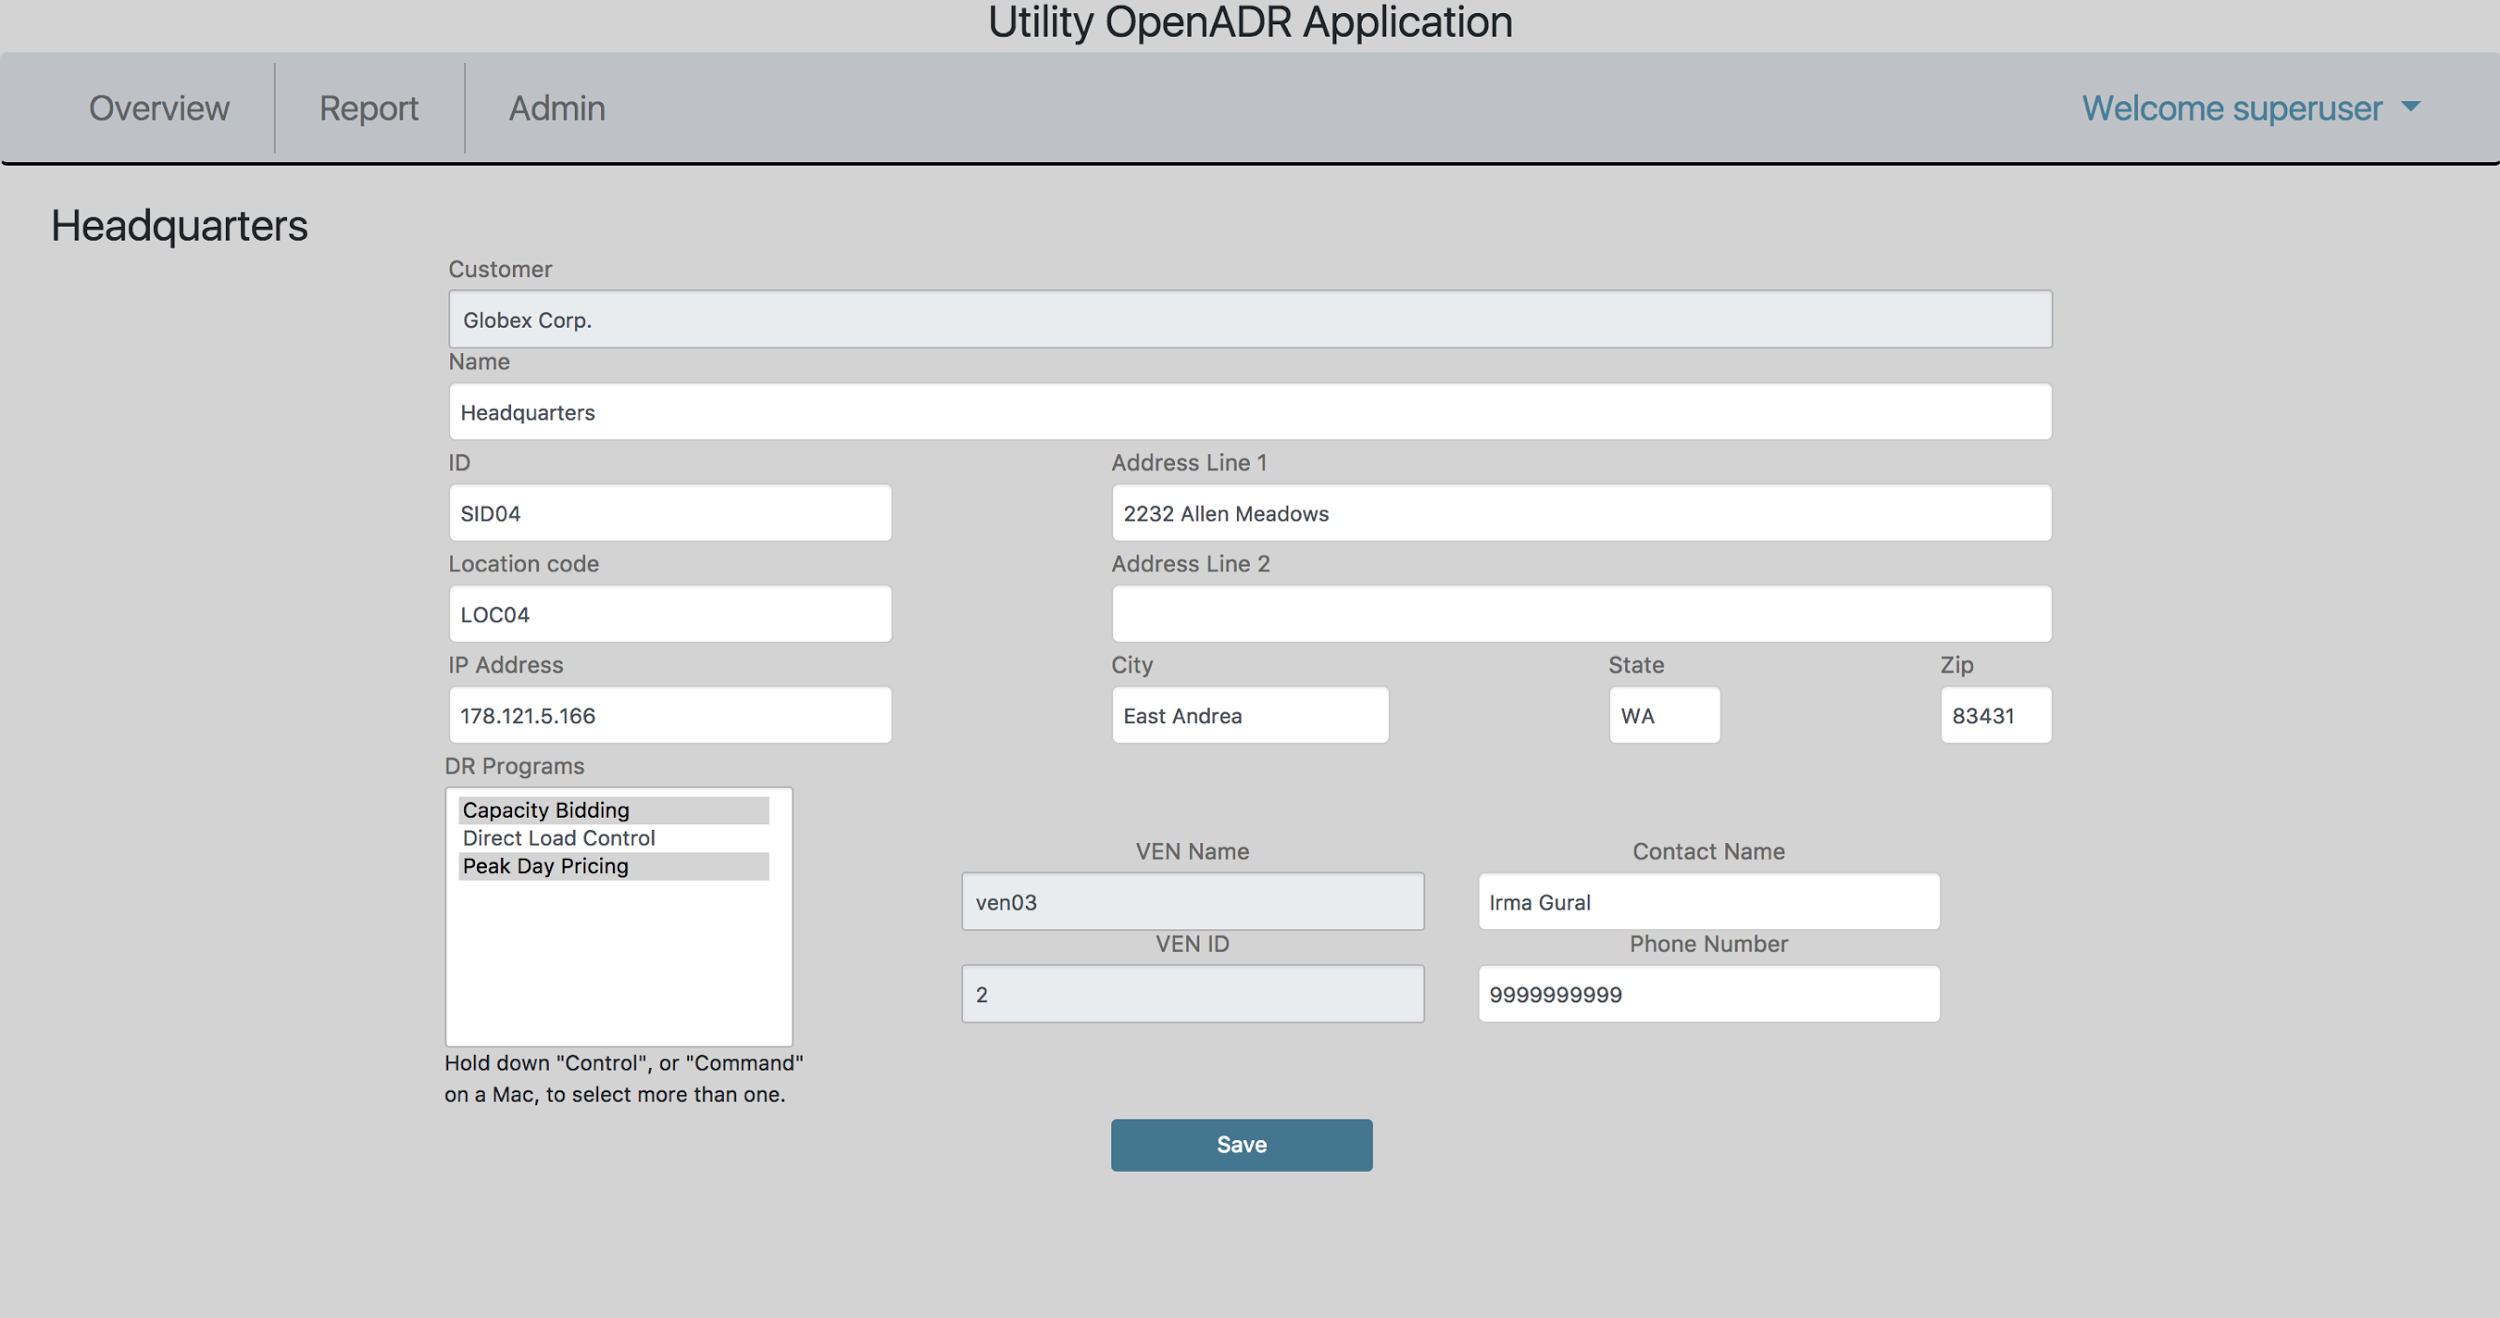
At first, Customers will not have any Sites. To add a Site for a Customer, click on the Customer’s name from the Overview screen, and then click ‘Create New Site’.
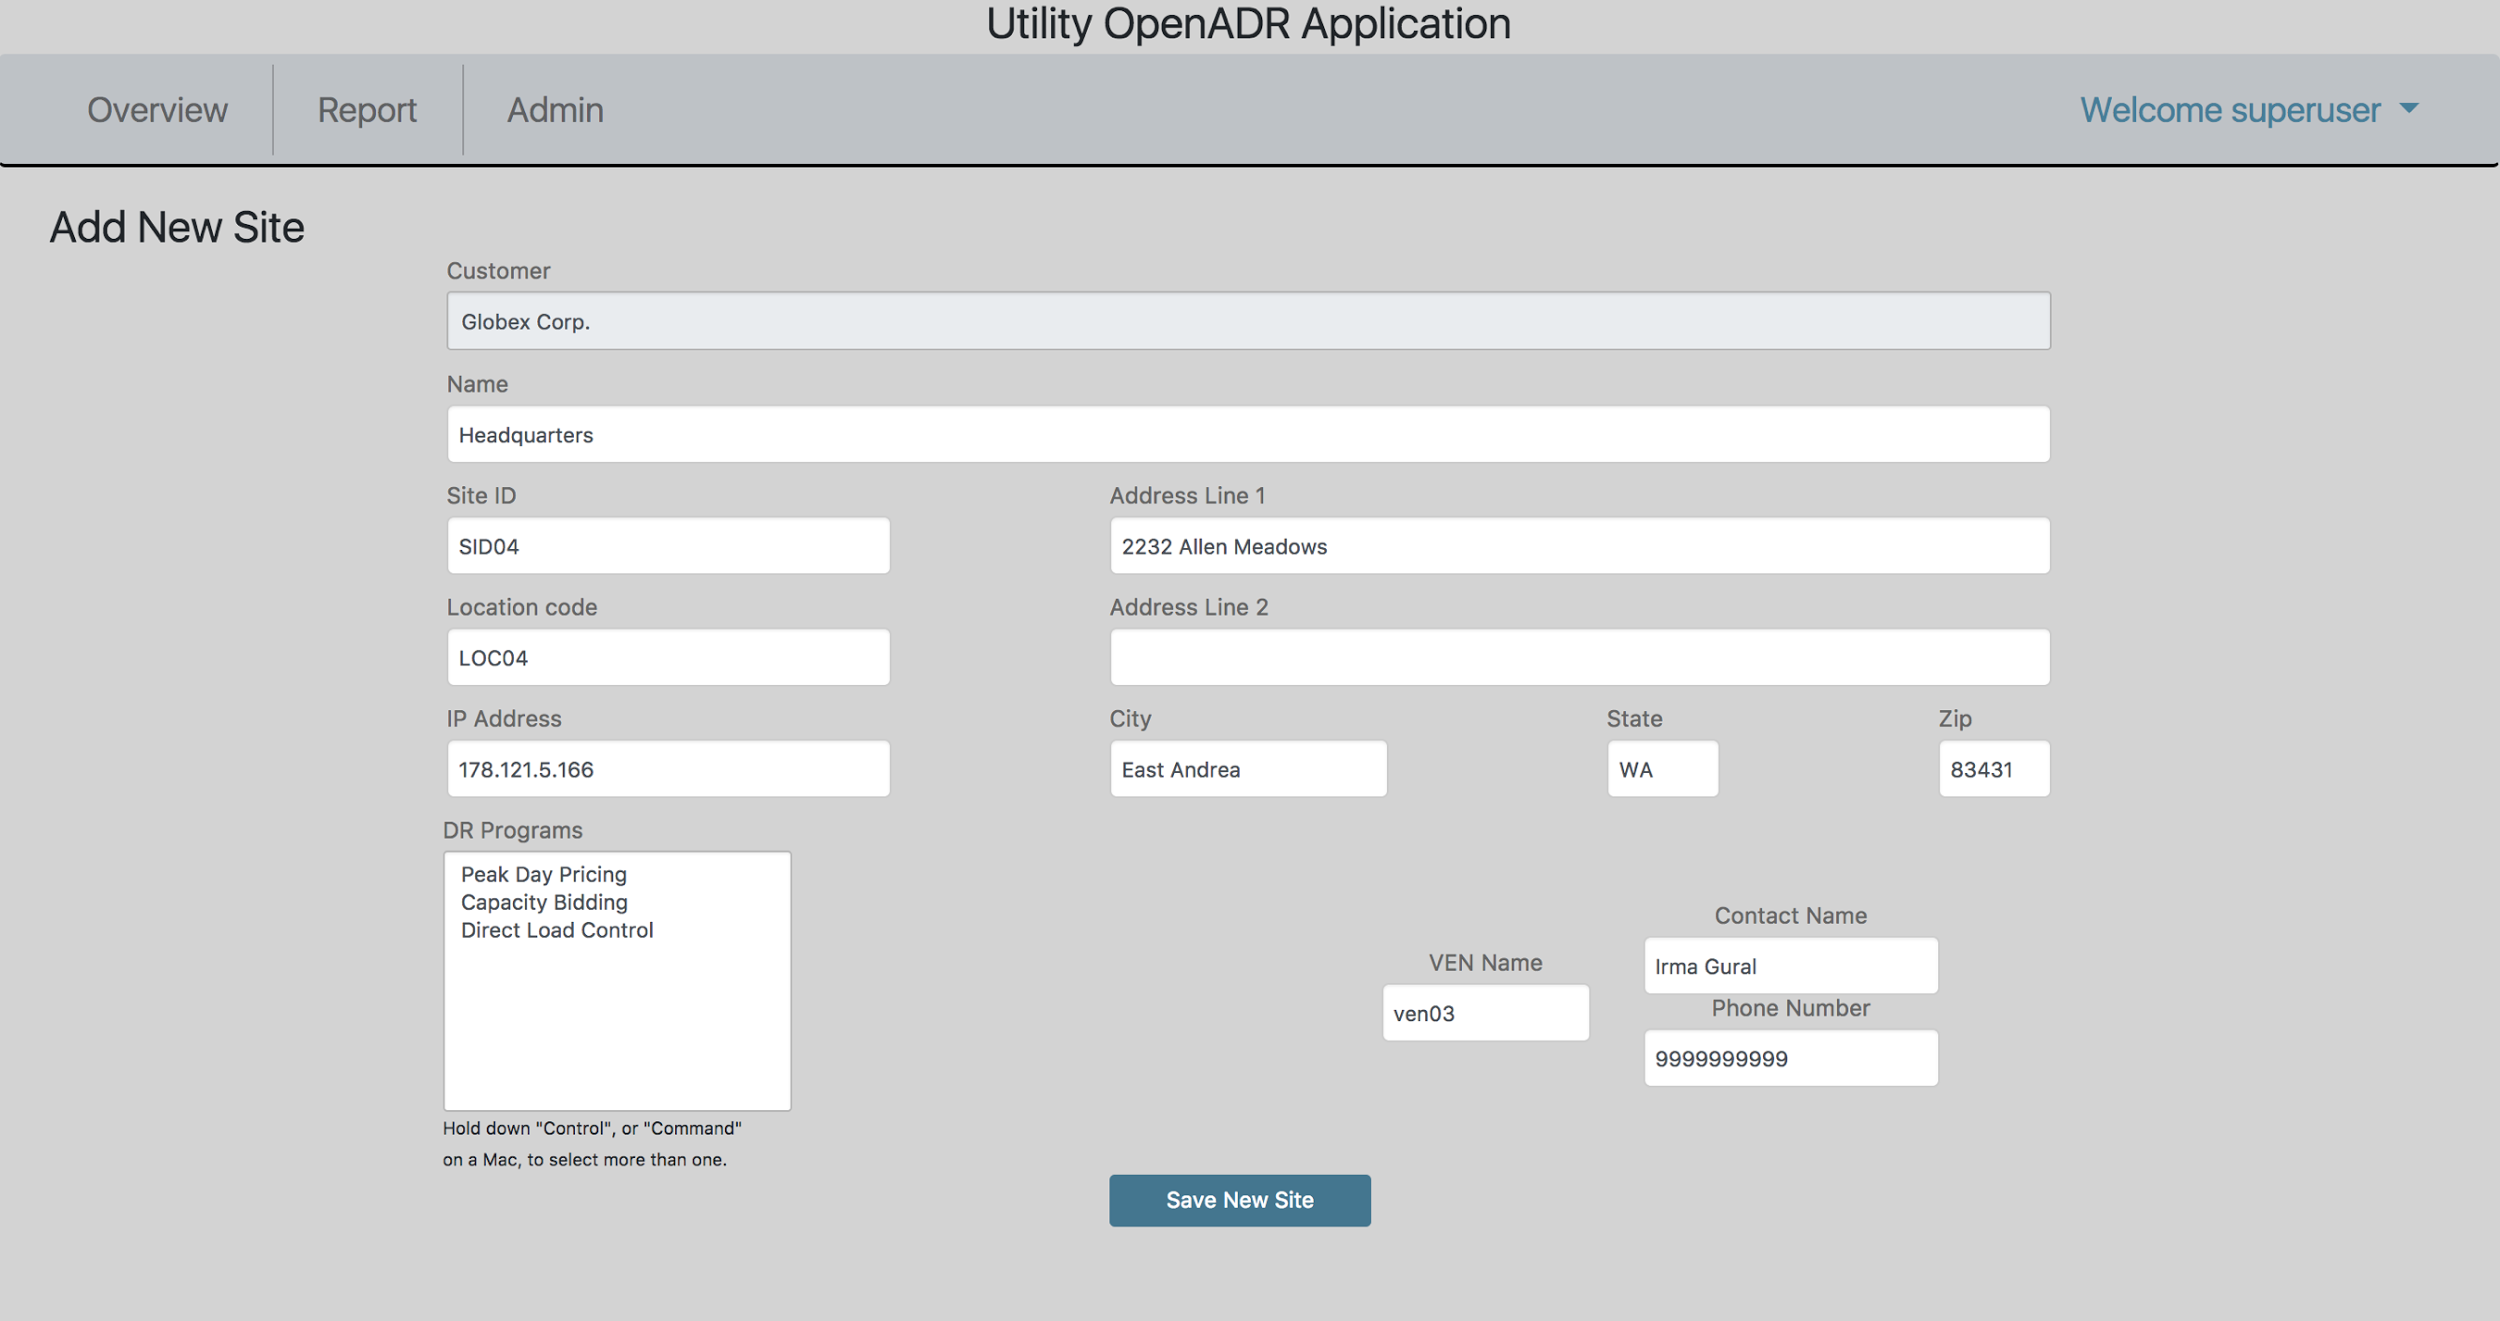
On the Create Site screen, DR Programs will appear in the ‘DR Programs’ multiple-select box if they have been added. This will be discussed soon. Selecting one or more DR Programs here means, when creating a DR Event with a specified DR Program, the site will be an available option for the given DR Event.
A site’s ‘VEN Name’ is permanent. In order to change a Site’s VEN Name, the Site must be deleted and re-added.
After creating a Site for a given customer, the Site will appear offline until communication has been established with the Site’s VEN within a configurable interval (default is 15 minutes).
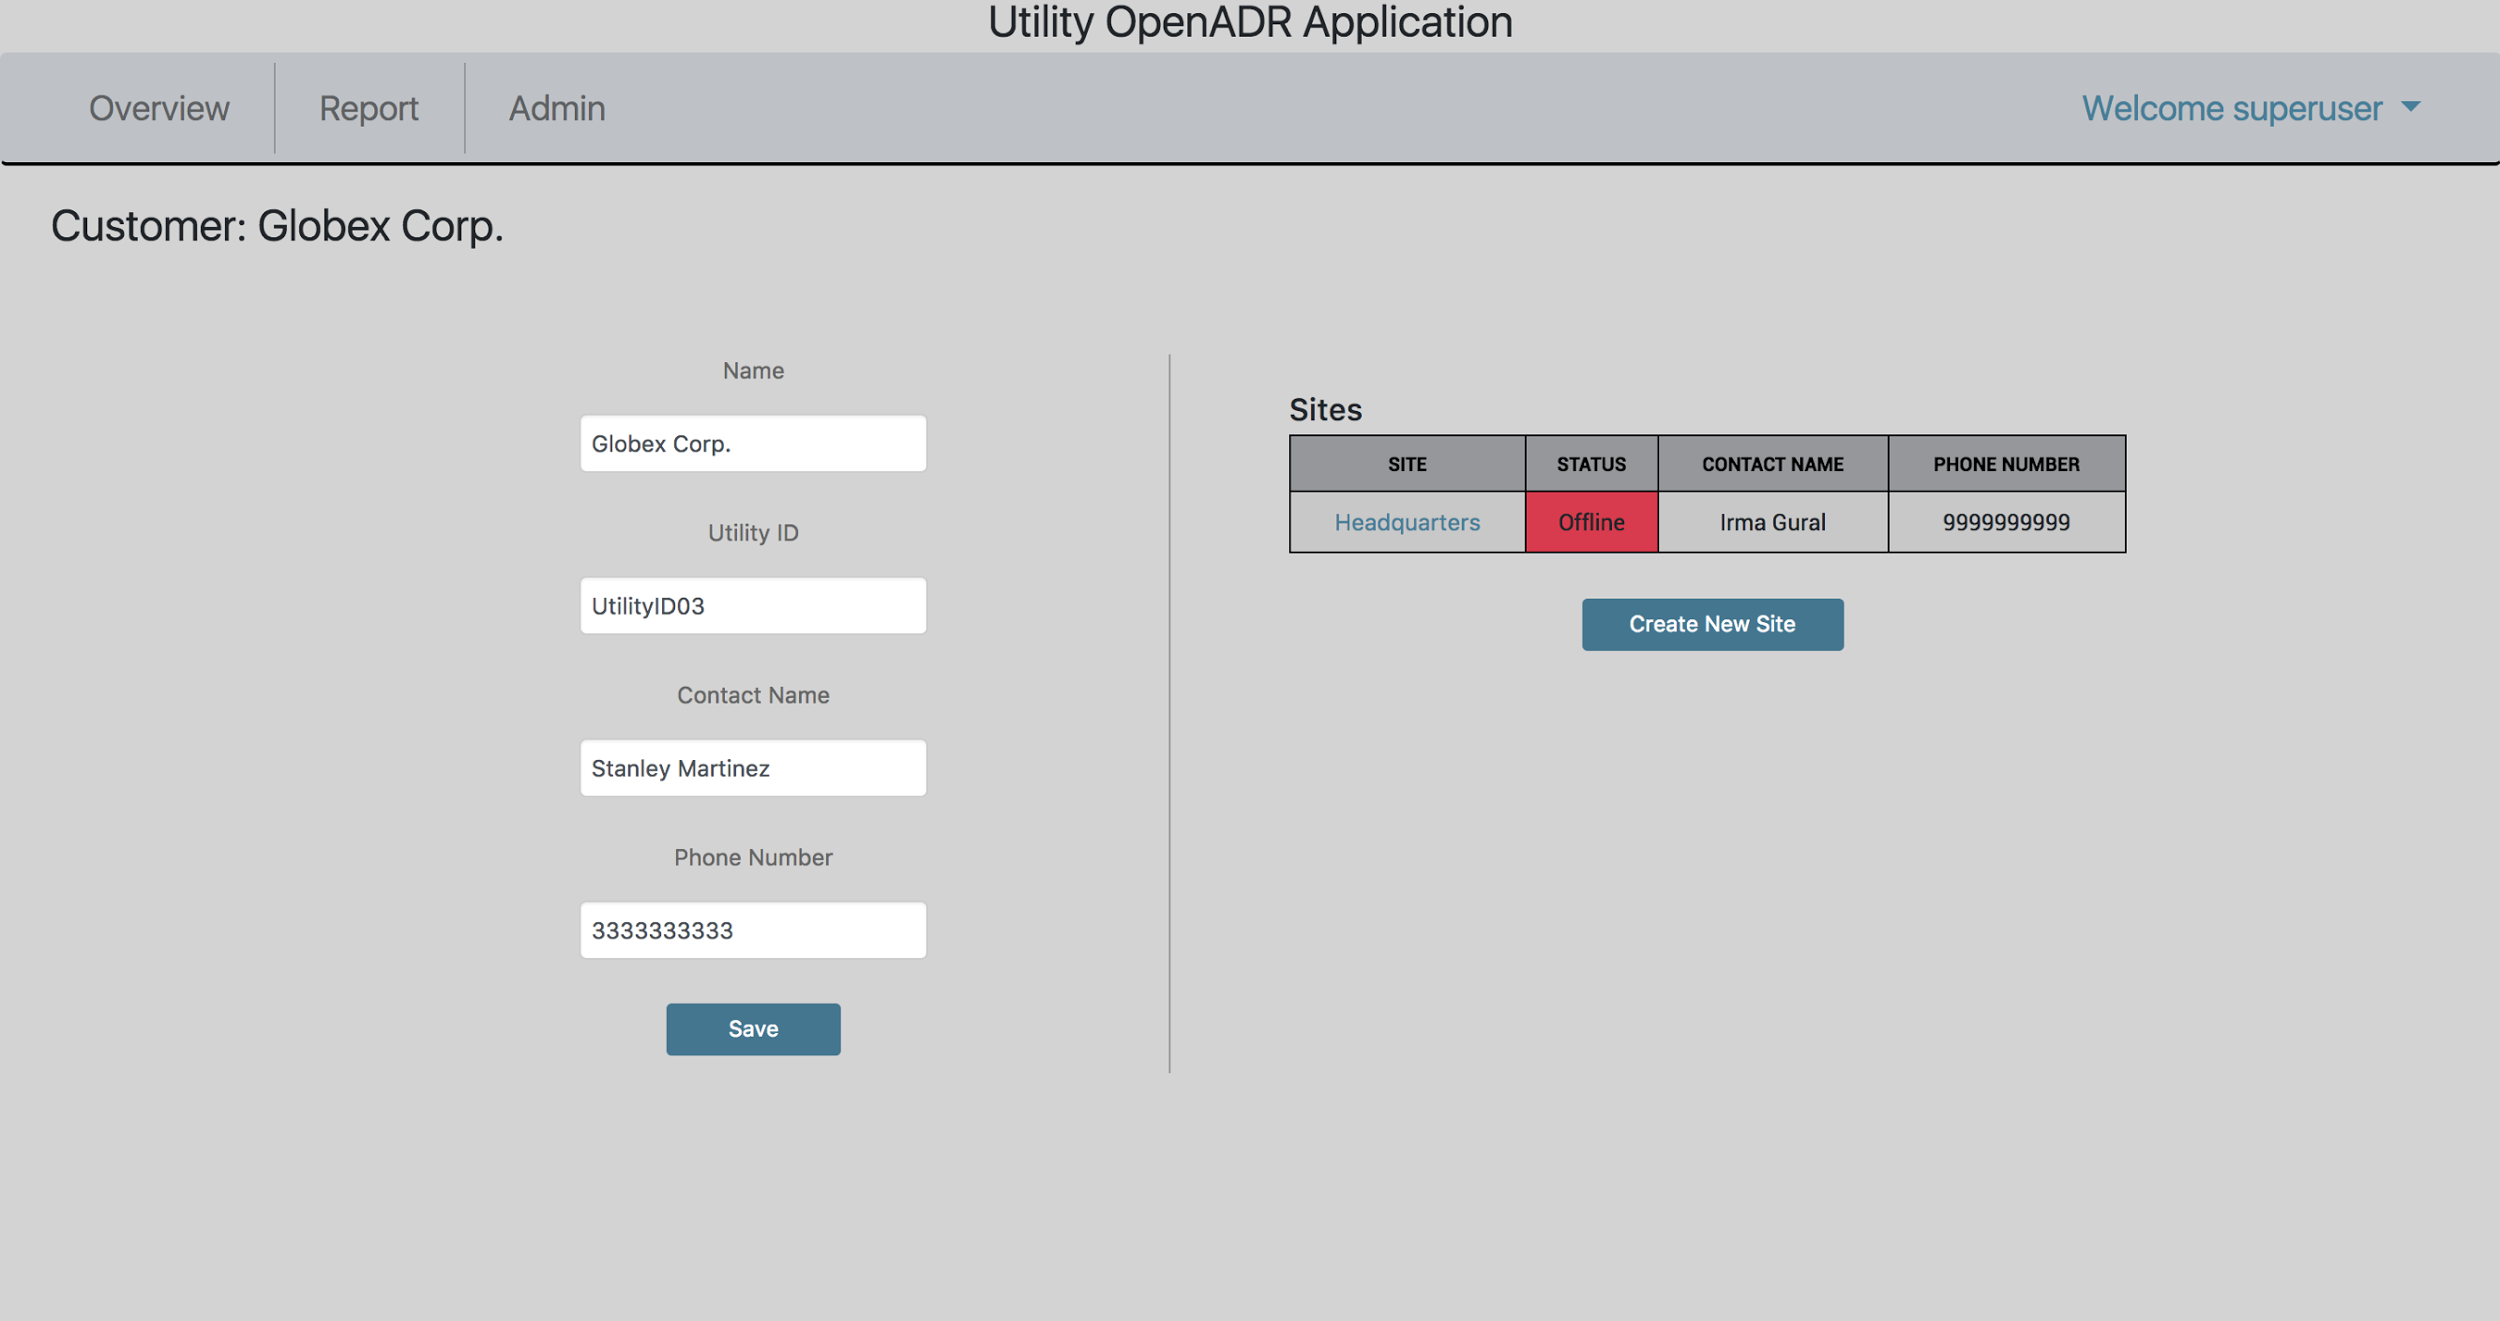
Note: When editing a Site, you will notice an extra field on the Screen labeled ‘VEN ID’. This field is assigned automatically upon creation of a Site and is used by the VTN to communicate with and identify the VEN.
Create a DR Program
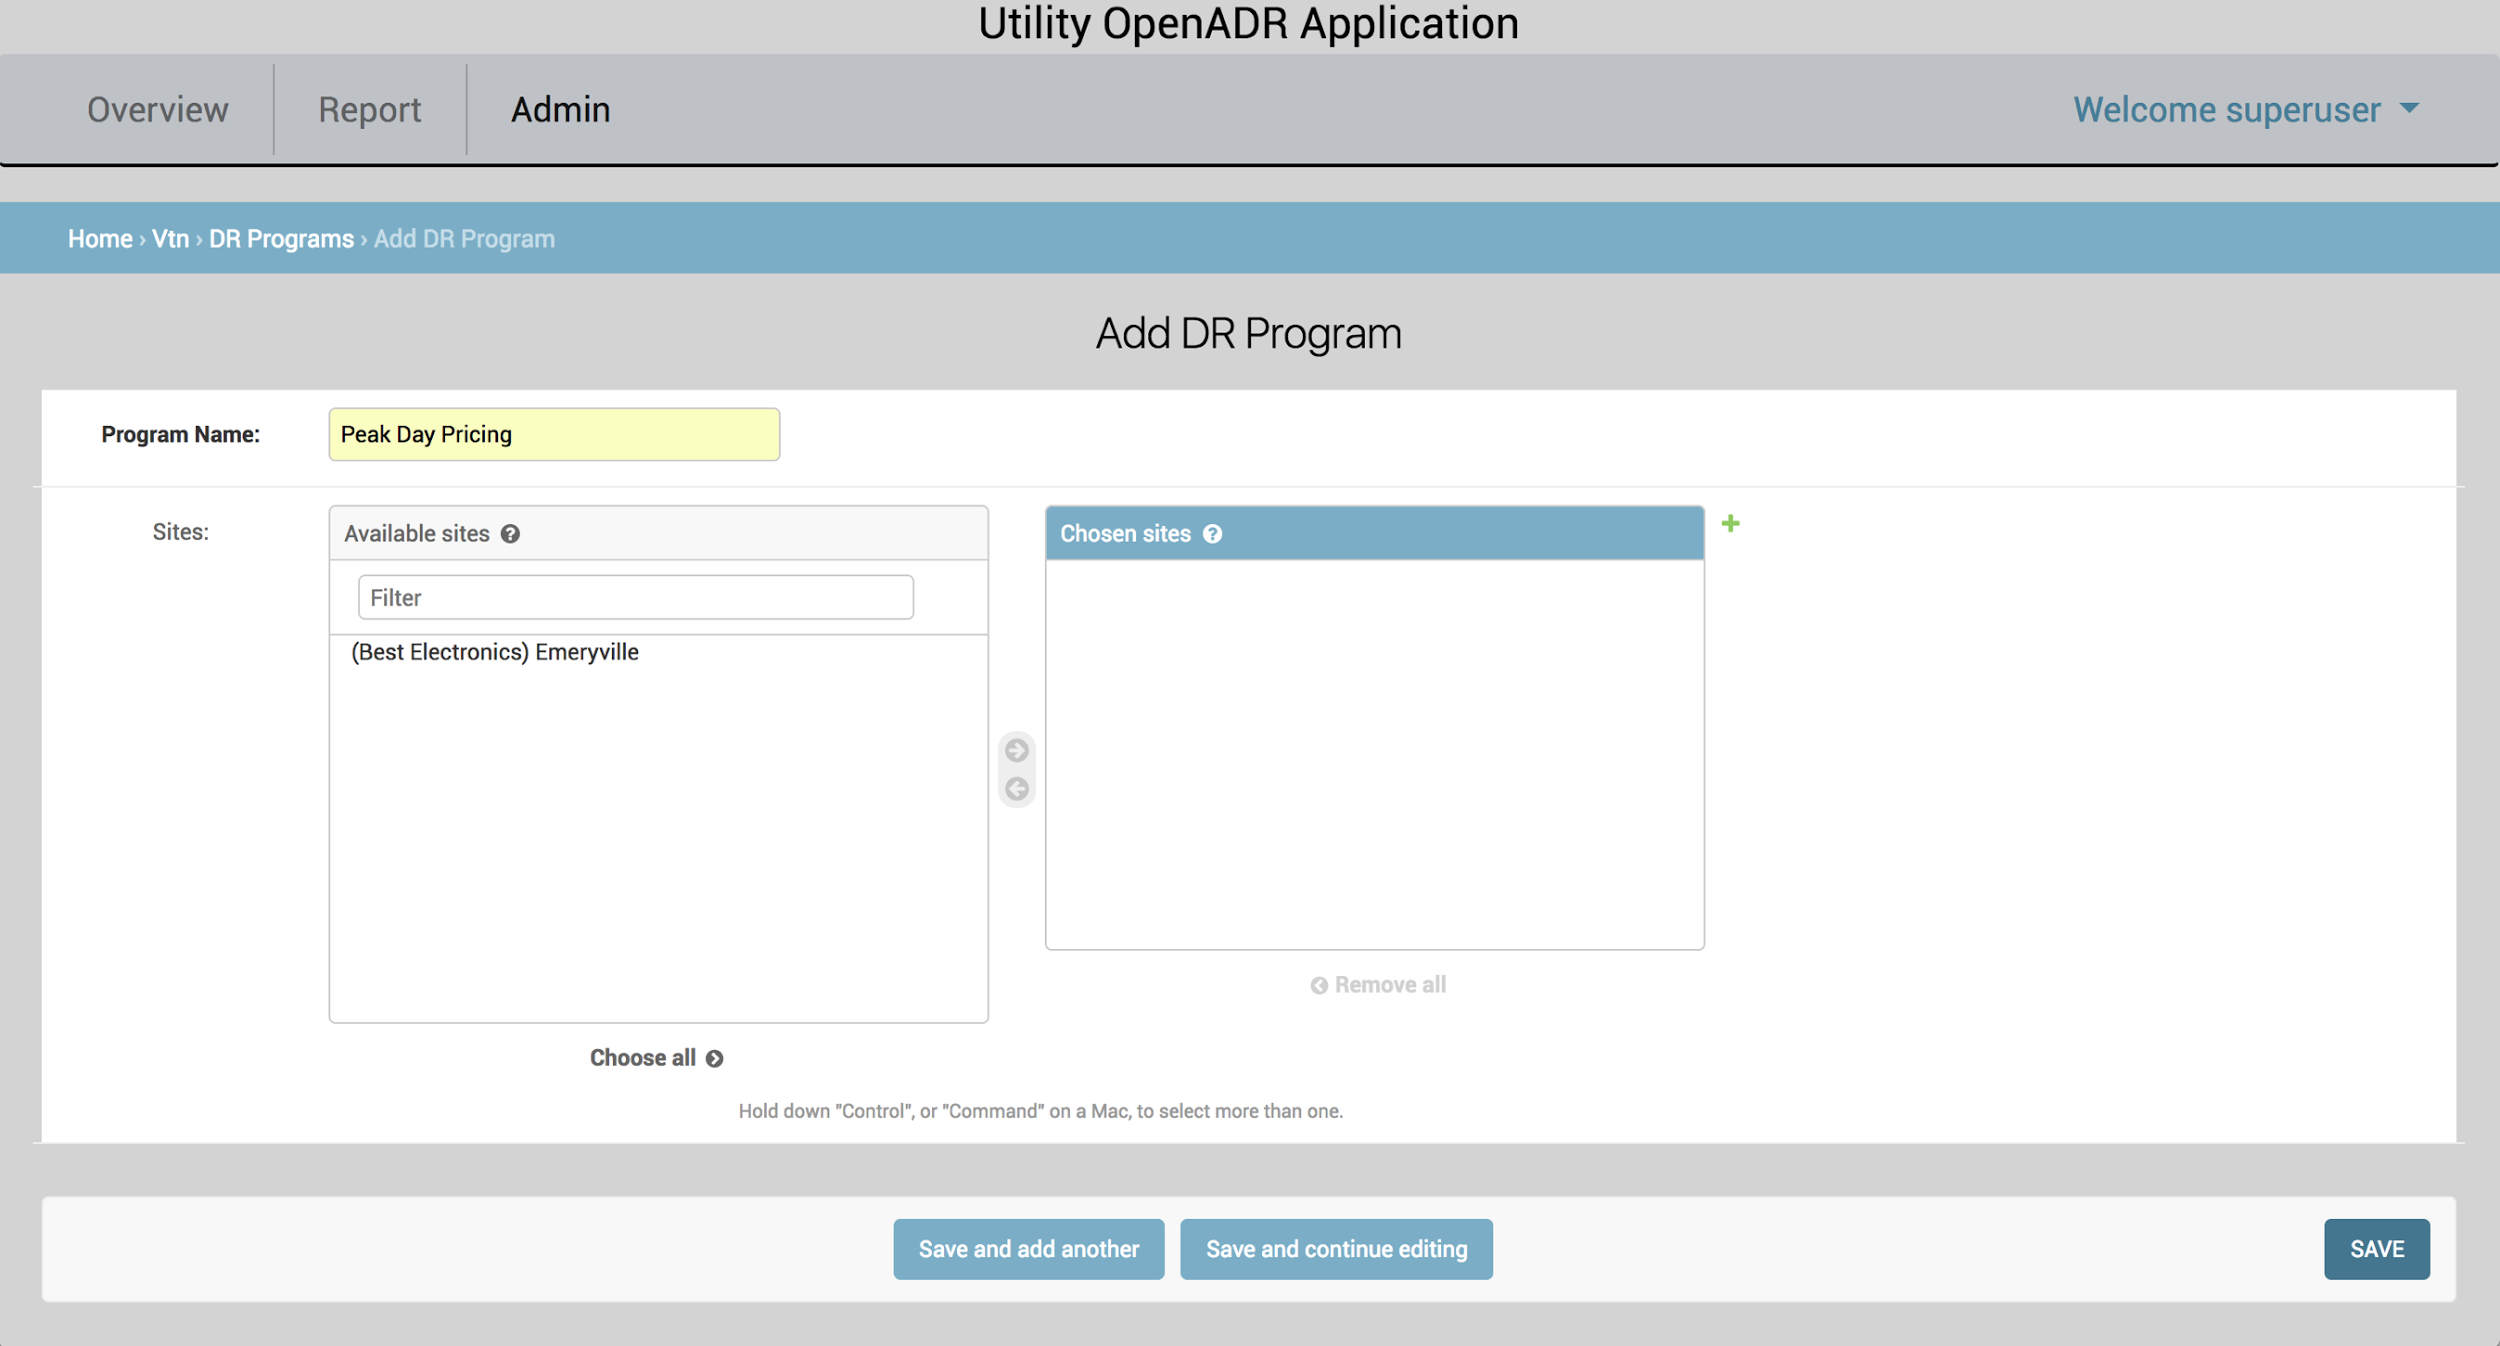
DR Programs must be added via the Admin interface. DR Programs can be added with or without associated sites. In other words, a DR Program can be created with no sites, and sites can be added later, either by Creating/Editing a Site and selecting the DR Program, or by Creating/Editing the DR Program and adding the Site.
Create a DR Event
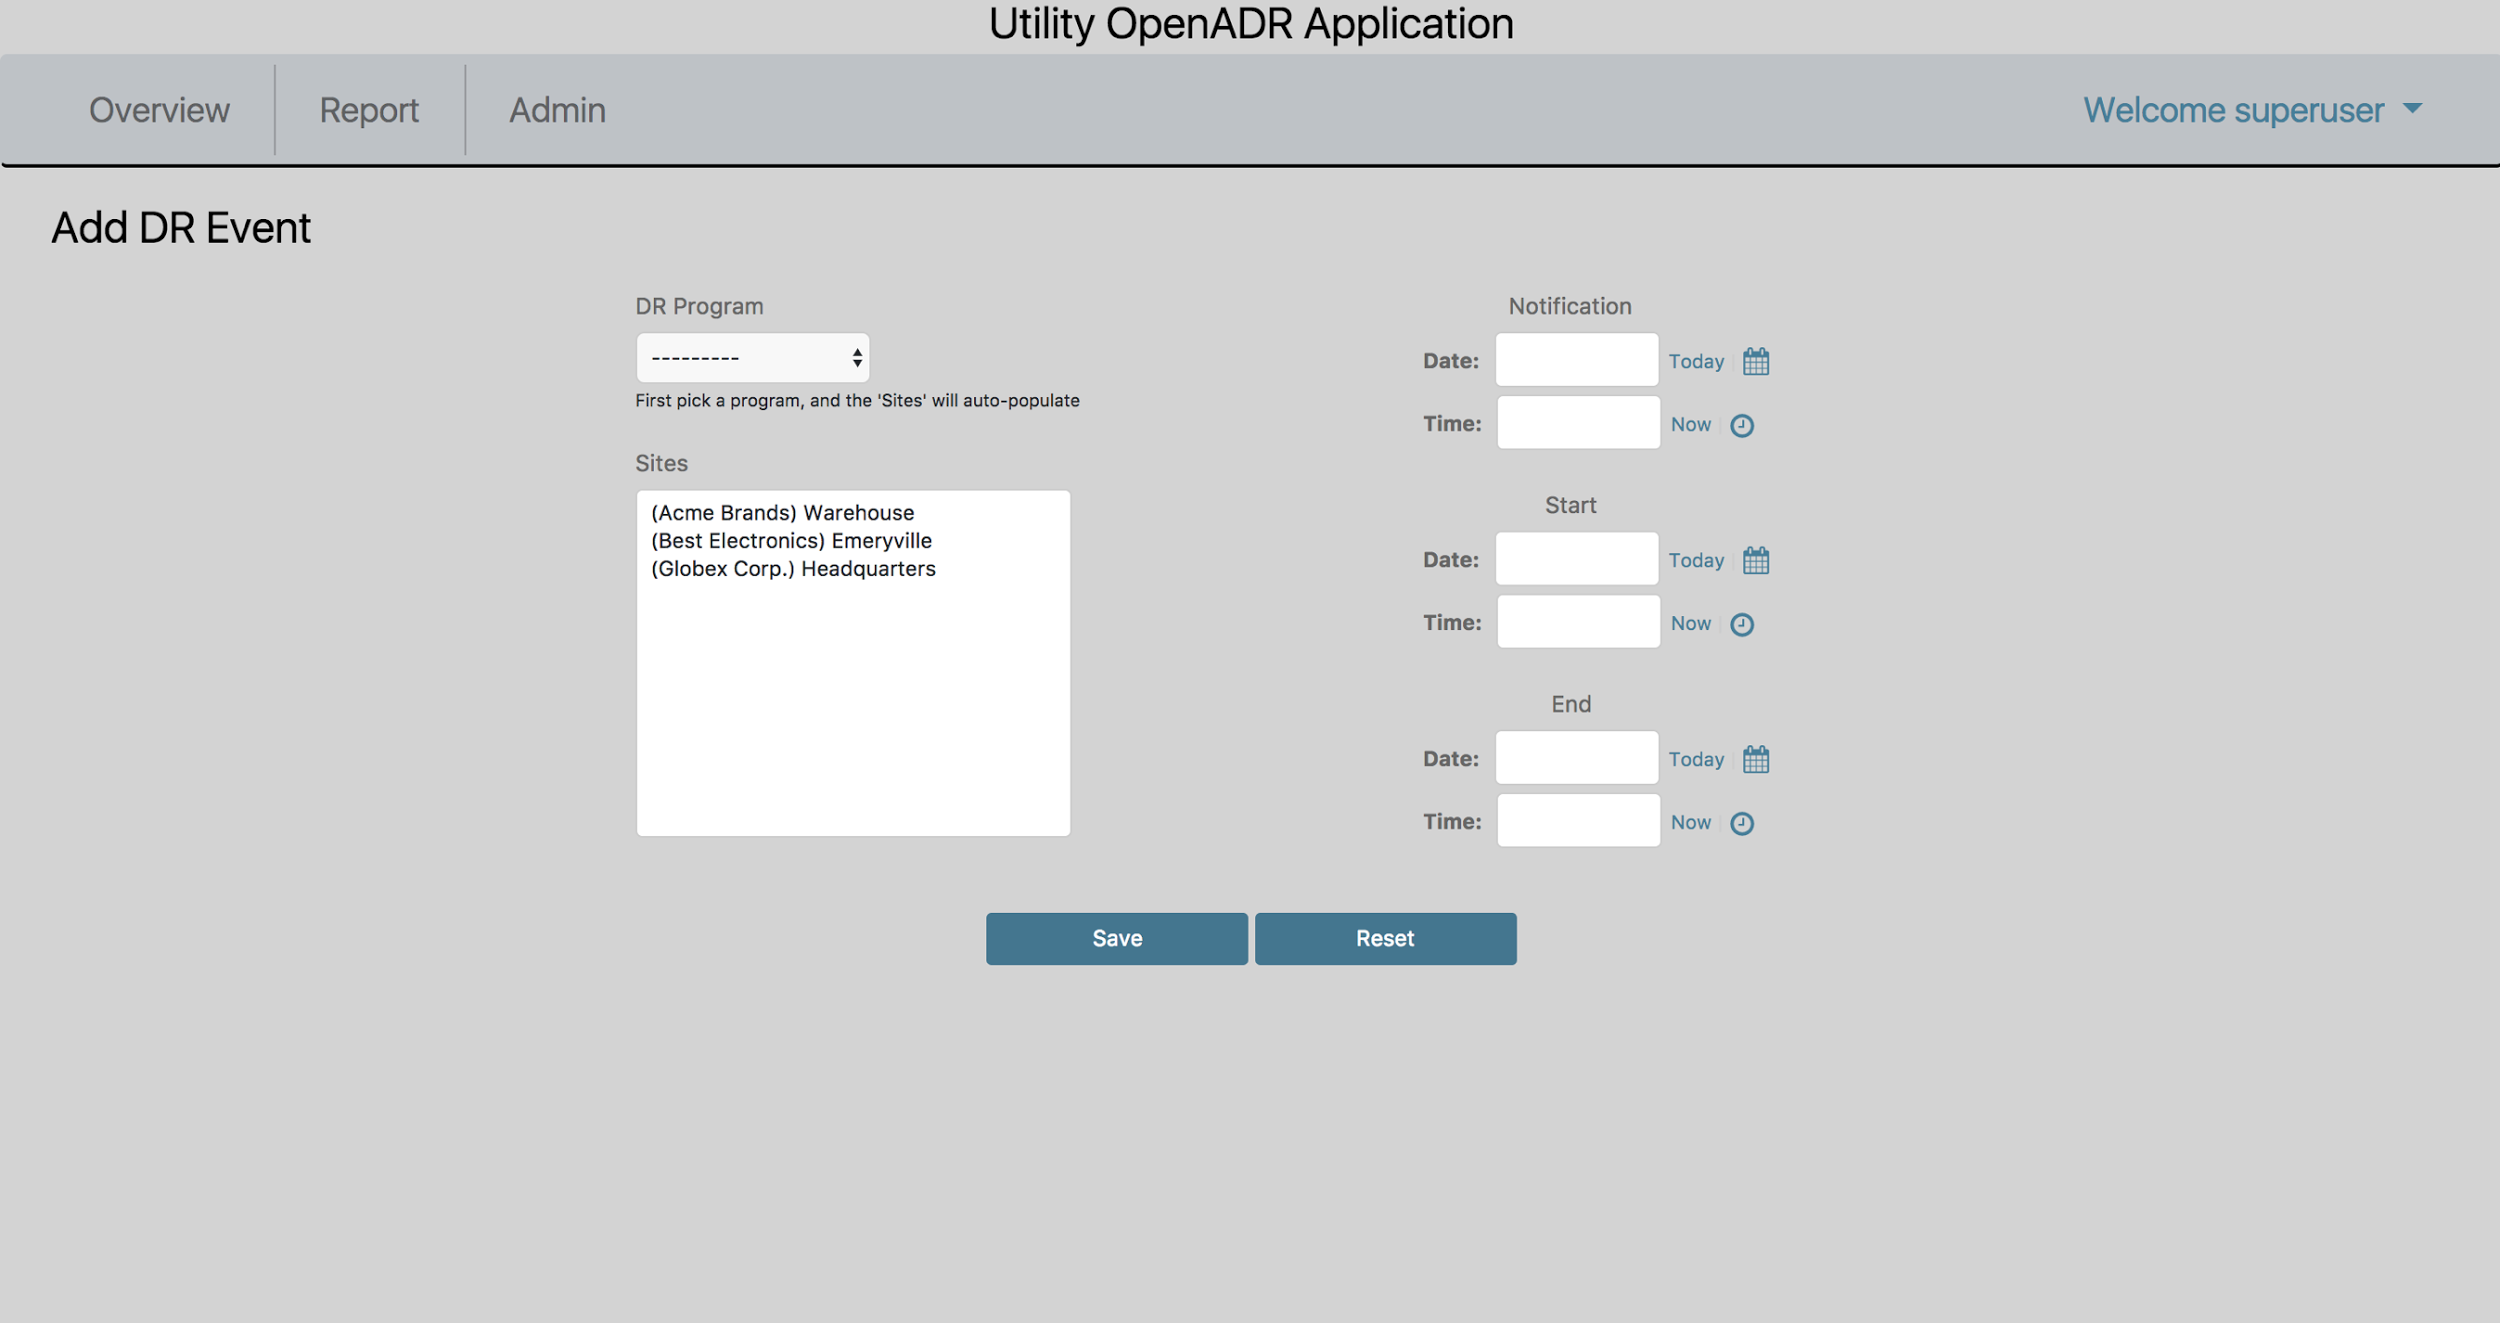
Once a Customer (with at least one site) and a DR Program have been added, a DR Event can be created. This is done by navigating to the Overview screen and clicking ‘Add DR Event’.
On the Add DR Event screen, the first step is to select a DR Program from the drop-down menu. Once a DR Program is selected, the ‘Sites’ multi-select box will auto-populate with the Sites that are associated with that DR Program.
Note that the Notification Time is the absolute soonest time that a VEN will be notified of a DR Event. VENs will not ‘know’ about DR Events that apply to them until they have ‘polled’ the VTN after the Notification Time.
Active DR events are displayed on the Overview screen. DR Events are considered active if they have not been canceled and if they have not been completed.
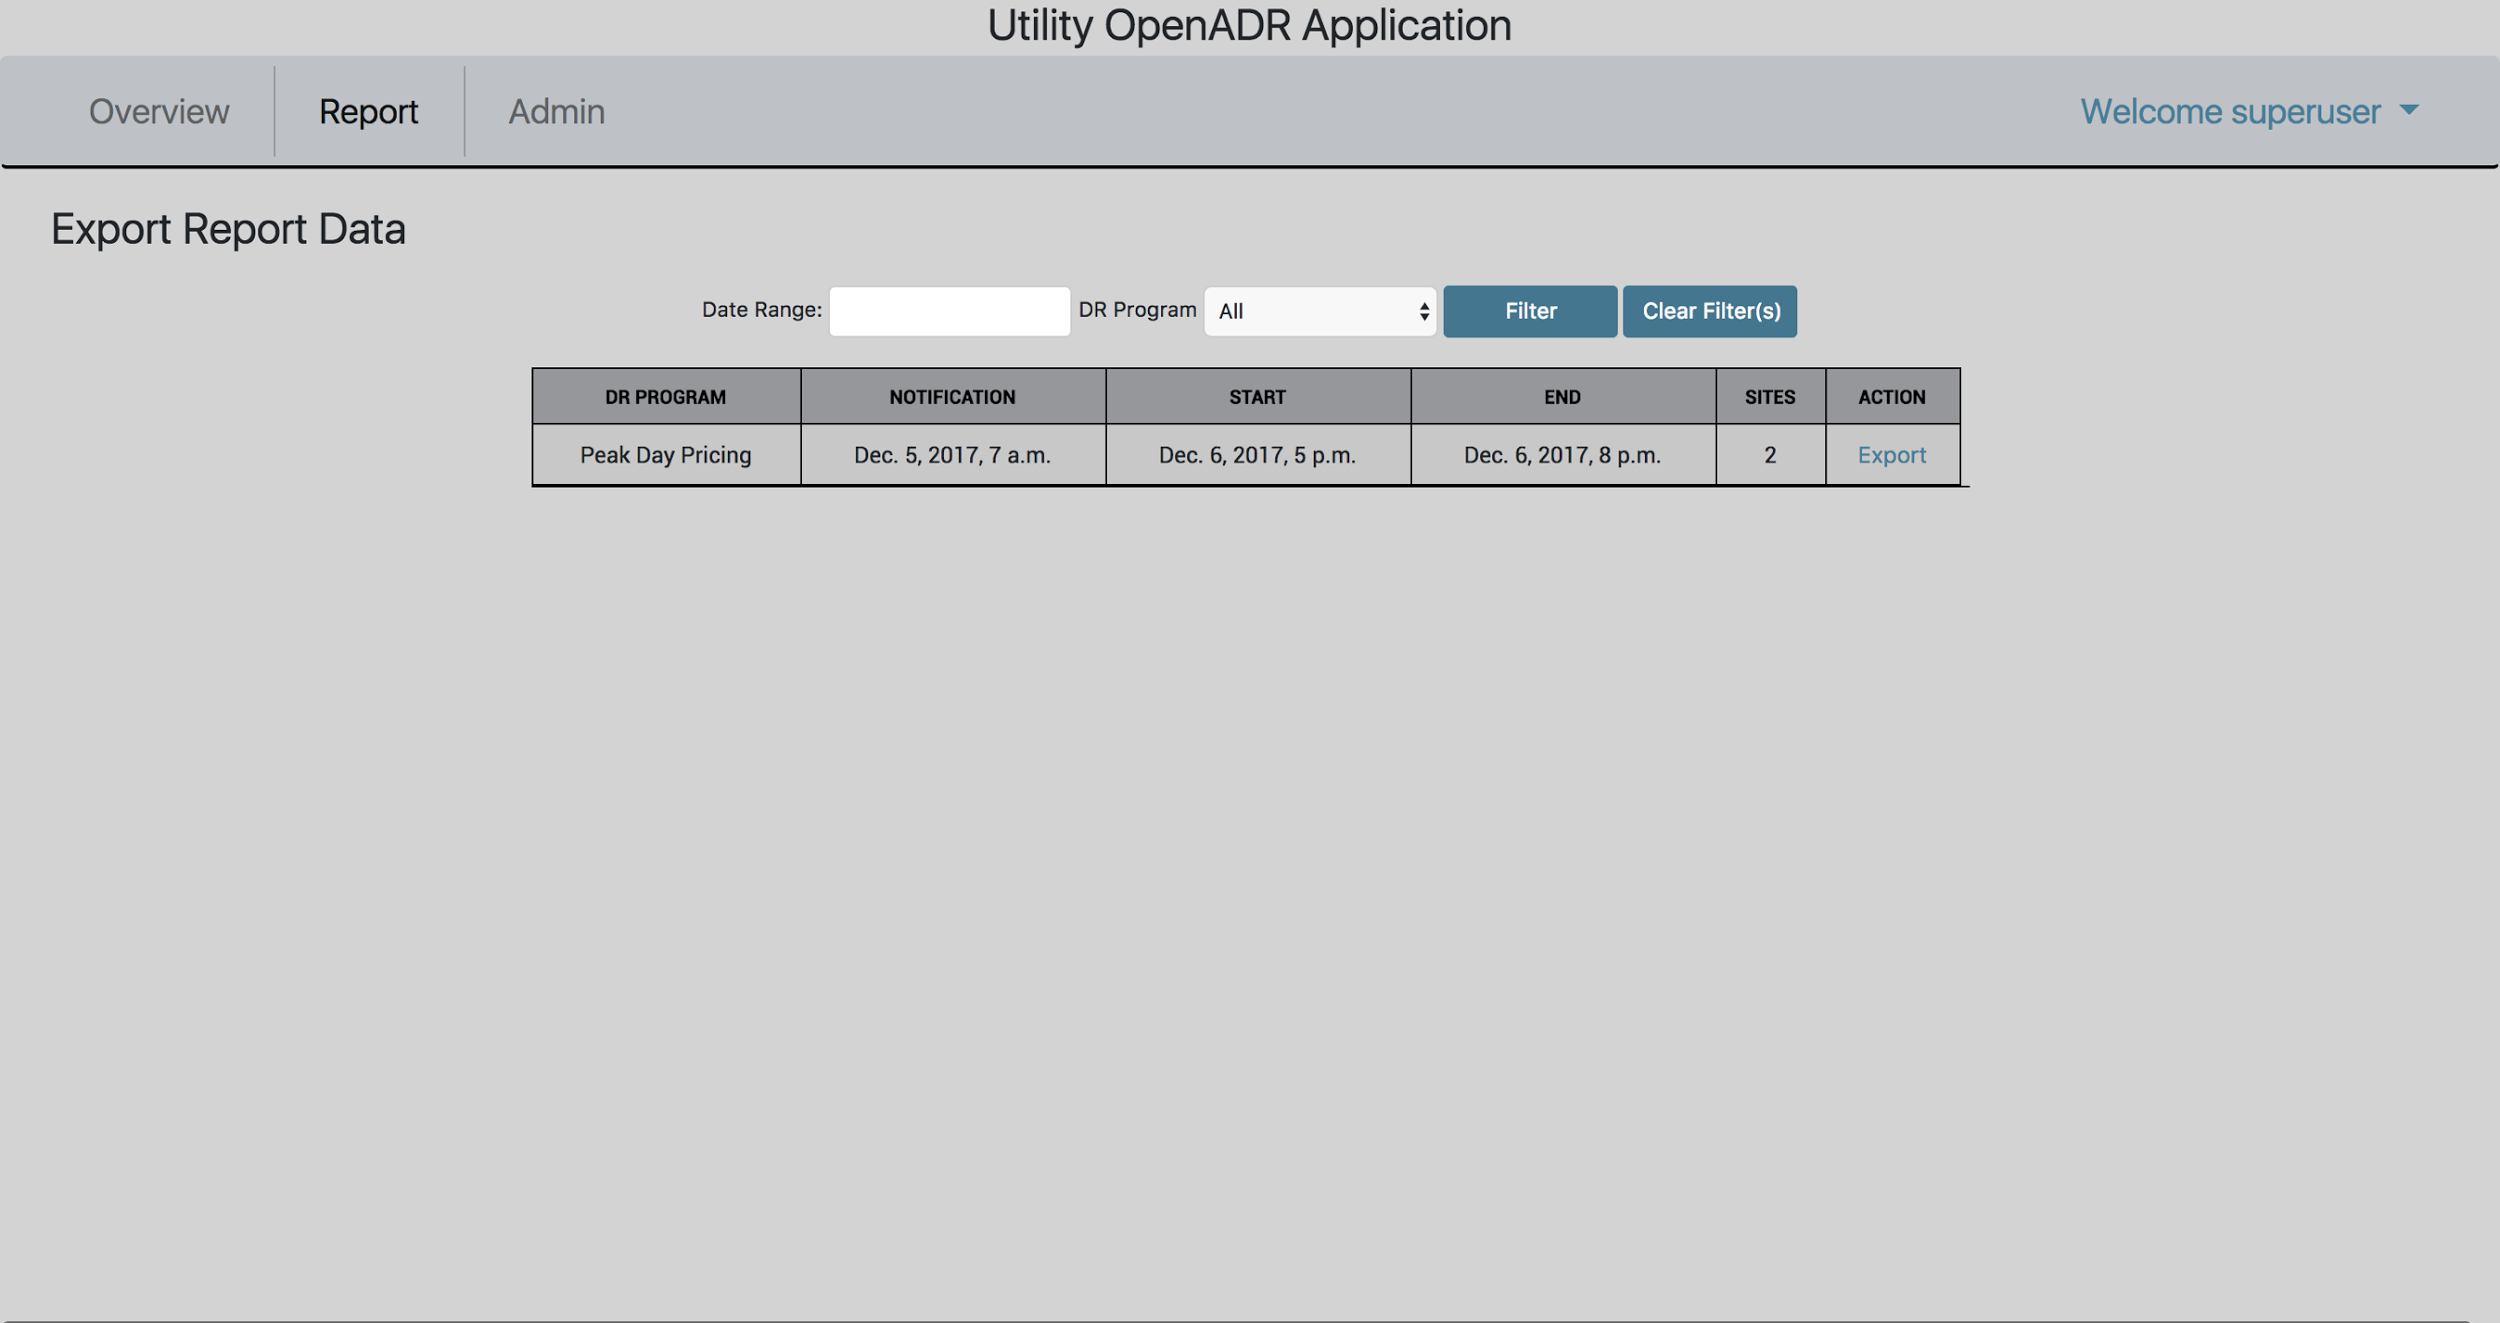
Exporting event telemetry to a .csv is available on the Report tab. In the case of this VTN and its associated VENs, the telemetry that will be reported include baseline power (kw) and measured power (kw).
